Appetizers · Part 1 of 3: Ingredients
Crispy Pan-Fried Rice Paper Dumplings with Smoky Tofu Filling
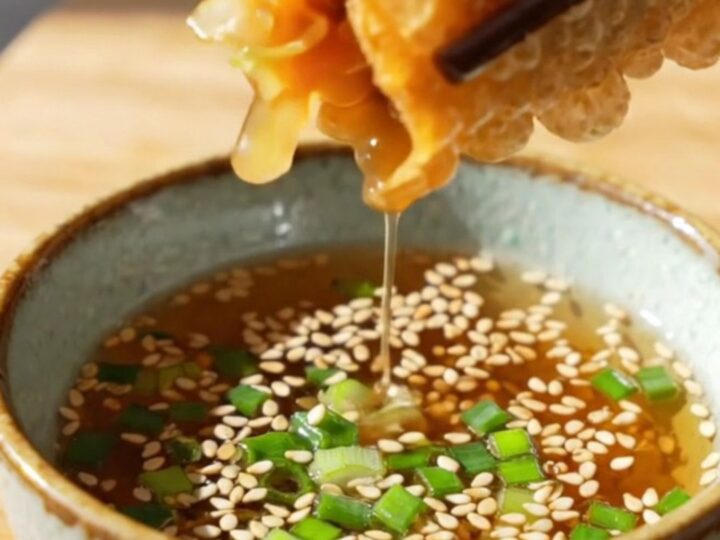
- Prep
- Cook
- Total
- Serves
- 4
Discover the secret to achieving an incredible, echoing crunch at home with these crispy pan-fried rice paper dumplings. This simple culinary hack transforms basic pantry staples into a viral-worthy appetizer that is sure to impress.
By double-wrapping a flavorful, savory tofu and glass noodle filling, you create a structure that stays intact while frying to golden perfection. It is the ultimate way to satisfy your cravings for something crispy, savory, and undeniably delicious without needing complex techniques or specialized equipment.
These dumplings are a masterclass in texture, balancing a shattered-crisp exterior with a tender, smoky interior. The combination of firm tofu, crunchy cabbage, and chewy glass noodles creates a delightful contrast that keeps every bite interesting. Whether you are looking for a quick weeknight appetizer or a crowd-pleasing snack, this recipe delivers consistent results.
The method relies on the unique properties of rice paper, which when fried in shallow oil, puffs up and blisters, creating a light yet sturdy shell that encases the aromatic filling perfectly. It is a straightforward process that rewards you with restaurant-quality results in under twenty minutes of active time.
Ingredients
Filling
- 150 g firm tofu, crumbled
- 100 g cabbage, shredded
- 80 g vermicelli noodles, soaked
- 20 ml oyster-soy sauce (contains molluscs)
Wrappers
- 16 rice paper sheets
Cooking
- 2 tbsp avocado oil
Serving
- sesame-scallion dipping sauce, for serving
Why this recipe works
The method of double-wrapping is essential for maintaining the structure of the dumpling during the frying process. By using two layers of damp rice paper, the outer shell becomes more resilient to the heat of the oil, preventing the filling from leaking while allowing the exterior to crisp up beautifully. This technique ensures that each parcel maintains its shape and provides a satisfying, substantial bite.
Pan-frying at a precise temperature of 365°F is the key to achieving the signature blistered and puffed texture. At this temperature, the moisture in the rice paper evaporates rapidly, creating thousands of tiny air pockets that turn golden and crunchy. This controlled heat application is what separates a soggy wrapper from a perfectly crisp, light, and airy dumpling that shatters upon the very first bite.
Notes and substitutions
For the best results, ensure the cabbage is shredded into fine, thin ribbons so it incorporates seamlessly with the vermicelli and tofu. This uniformity helps the filling hold together when spooned onto the rice paper.
If preferred, you can replace the oyster-soy sauce with a combination of tamari and a hint of smoked paprika to achieve a similar savory, smoky profile without using shellfish-based ingredients.
The choice of equipment makes a significant difference in the final outcome. A high-quality non-stick pan is highly recommended to prevent the rice paper from sticking during the initial searing phase.
If a non-stick pan is not available, ensure the oil is hot enough before adding the dumplings, and use a thin, flexible spatula to gently loosen the edges before attempting to flip them to avoid tearing the delicate wrappers.
- avocado oil: any neutral high-heat oil like grapeseed or vegetable oil
- firm tofu: minced mushrooms or cooked ground pork
Equipment
- large mixing bowl
- shallow dish for water
- non-stick frying pan
- tongs
Up next · Part 2 of 3
3 steps · 6 min of cooking · what to look for at each stage
Step-by-step instructions (Part 2)