Dinner · Part 2 of 3: Instructions
Crispy Oven-Roasted Chicken with Butter and Thyme Step-by-step instructions
- Prep
- Cook
- Total
- Serves
- 6
Before you start
Before beginning the roasting process, retrieve the whole chicken from the refrigerator about thirty minutes prior to cooking to take the chill off, ensuring even cooking throughout the bird. Gather the roasting pan, wire rack, basting brush, and seasoning ingredients.
Melt the unsalted butter so it is ready for basting. Preheat the oven to 400°F (200°C) and adjust the oven rack to the lower-middle position to accommodate the height of the whole chicken. Pat the chicken thoroughly dry with paper towels.
Ingredients at a glance (4)
- 1 whole chicken, approximately 4 to 5 pounds
- 1 tbsp garlic powder
- 4 sprigs fresh thyme, leaves stripped
- 4 tbsp unsalted butter, melted
Instructions
Preparation and Seasoning
- Prepare the ChickenRemove the whole chicken from the refrigerator and pat the skin completely dry with paper towels to ensure optimal crispiness. Place the chicken breast-side up on a wire rack set inside a large roasting pan.Look for The skin should feel dry and matte to the touch.Tip Never skip drying the skin, as surface moisture creates steam and prevents crisping.
- Season the ChickenRub the garlic powder evenly over the entire surface of the chicken skin, then scatter the fresh thyme leaves over the bird, pressing them gently into the skin.Look for The seasoning should be distributed uniformly across the whole bird.Tip Rub some seasoning inside the cavity for deeper flavor throughout the meat.
The chicken should be completely dry to the touch, with a pale, matte appearance on the skin. The garlic powder and fresh thyme leaves must be evenly rubbed across the entire surface, including under the skin of the breasts, ensuring no bare spots remain.
The chicken should sit securely on the wire rack inside the roasting pan, ready to enter the preheated oven without any excess moisture pooling at the bottom of the pan.
Roasting and Basting
- Begin RoastingPlace the roasting pan in a preheated oven at 400°F (200°C). Roast uncovered for thirty minutes until the skin starts to turn a light golden color and the fat begins to render.Look for The chicken skin will begin to tighten and show light browning.Tip Position the roasting pan in the lower-middle part of the oven for even heat distribution.
- Baste with ButterCarefully open the oven and use a basting brush to coat the entire chicken with the melted unsalted butter. Continue roasting, basting with the pan drippings and remaining butter every fifteen minutes.Look for The chicken skin should look glistening and bubble slightly.Tip Work quickly while basting to prevent the oven temperature from dropping too much.
The chicken skin will begin to turn a light golden color, and the kitchen will fill with the rich aroma of roasting poultry and garlic. When basting, the melted butter should sizzle gently as it hits the hot skin, creating a glistening, semi-translucent coating. The skin should look noticeably tighter and drier, showing the very first signs of bubbling and crisping as the fat renders.
Final Cook, Rest, and Carve
- Roast to Safe TemperatureContinue roasting for another thirty to forty minutes until the skin is blistered and dark golden brown. Insert an instant-read thermometer into the thickest part of the thigh, ensuring it reaches a safe internal temperature of 165°F (74°C).Look for The juices should run completely clear when the thigh is pierced.Safe temperature 165°F (74°C) internal temperature (poultry)Tip Avoid touching the bone with the thermometer probe to get an accurate reading.
- Rest and CarveRemove the roasted chicken from the oven and let it rest on the wire rack for fifteen minutes. Use a sharp carving knife to slice into the ultra-crispy golden skin, revealing the steaming, succulent juices before serving.Look for The chicken should rest quietly, allowing the juices to redistribute.Tip Do not tent the chicken tightly with foil while resting, as the trapped steam will soften the crispy skin.
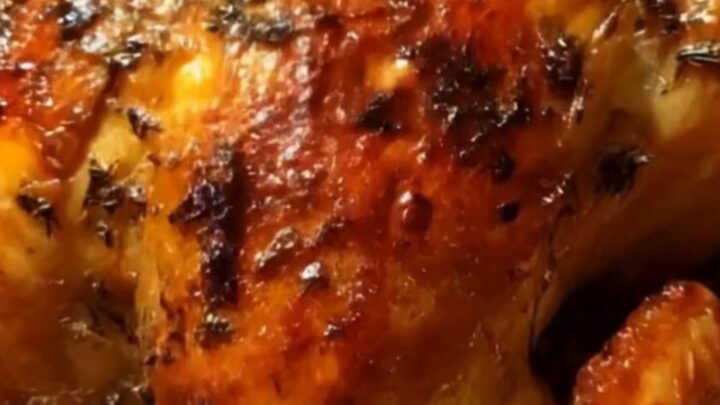
The chicken skin should be deeply golden brown, blistered, and ultra-crispy to the touch, yielding a satisfying crackle when tapped. Steaming, succulent juices should run clear when the thigh is pierced. An instant-read thermometer inserted into the thickest part of the thigh must register 165°F (74°C). After resting, the meat will be incredibly tender and juicy, ready for precise, clean carving.
Common mistakes
One common mistake is failing to dry the chicken skin thoroughly before roasting. Any residual moisture on the skin will create steam in the hot oven, resulting in a soft, rubbery texture instead of a crisp, crackly finish.
Another mistake is skipping the resting period after cooking. Carving the chicken immediately out of the oven causes the hot, succulent juices to rapidly escape onto the cutting board, leaving the breast meat dry and tough. Always allow the roasted chicken to rest on the wire rack.
How to tell it’s done
Determining the perfect doneness of a whole roasted chicken requires an instant-read meat thermometer for safety and precision. Insert the probe into the thickest part of the thigh, making sure not to touch the bone, which can give a false reading.
The poultry is fully cooked and safe to consume when the internal temperature reaches exactly 165°F (74°C). At this temperature, the juices will run completely clear, and the joint between the leg and the thigh will wiggle easily when gently pulled.
- Poultry: 165°F (74°C) in the thickest part
Up next · Part 3 of 3
2 variations · storage & make-ahead · 4 answers · printable card
Tips, FAQ & printable recipe (Part 3)← Back to the ingredients (Part 1)