Dinner · Part 1 of 3: Ingredients
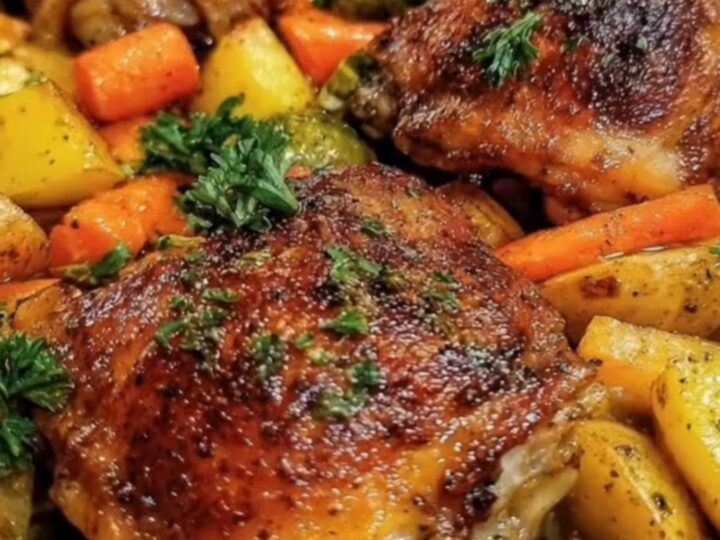
Crispy One-Pan Oven-Baked Chicken Thighs with Roasted Vegetables
- Prep
- Cook
- Total
- Serves
- 4
Nothing beats the satisfying sound of a knife scraping across perfectly crackling, golden-brown chicken skin. This simple, one-pan oven-baked chicken thigh recipe combines juicy, tender meat with caramelized roasted carrots and potatoes. By roasting everything together on a single baking sheet, you get a complete, delicious dinner with minimal cleanup and maximum flavor.
Weeknight cooking should be straightforward, satisfying, and easy to clean up. This recipe delivers on all fronts by utilizing a single rimmed baking sheet to cook both your protein and your side dishes simultaneously. The chicken thighs render their natural juices directly onto the bed of carrots and potatoes, infusing the root vegetables with rich, savory flavor as they roast.
Meanwhile, the high heat of the oven transforms the chicken skin into a beautiful, crispy crust while keeping the meat underneath incredibly moist and tender. It is a foolproof method that guarantees a perfect texture every single time.
Ingredients
- 4 bone-in skin-on chicken thighs (about 2 pounds)
- 3 medium carrots, peeled and sliced
- 3 medium russet potatoes, scrubbed and cubed
- 3 tbsp extra-virgin olive oil, divided
- 1 tbsp poultry seasoning blend (salt, black pepper, and paprika)
- 2 tbsp fresh parsley, chopped
Why this recipe works
Roasting at a high temperature of 425°F (218°C) is key to achieving the ultimate crispy chicken skin. The intense dry heat quickly evaporates surface moisture, allowing the fat under the skin to render and fry the skin to a perfect crackling texture.
Simultaneously, this high heat caramelizes the natural sugars in the carrots and potatoes, creating deeply flavorful, sweet, and savory browned edges that contrast beautifully with the tender interiors.
Using bone-in, skin-on chicken thighs provides a natural barrier that protects the meat from drying out during the roasting process. The bone conducts heat evenly throughout the center of the thigh, ensuring uniform cooking, while the rendering fat bastes the meat from the outside.
This built-in moisture shield allows the chicken to remain exceptionally juicy even under high oven temperatures, making it far more forgiving than chicken breasts.
Notes and substitutions
For the best results, select medium-sized carrots and firm potatoes like russets or Yukon Golds. Cut them into uniform pieces so they cook at the same rate as the chicken thighs. If the vegetables are cut too small, they may mush or burn before the poultry is fully cooked. You can easily substitute other root vegetables like parsnips or sweet potatoes depending on what you have on hand in your pantry.
Ensure you use a heavy-duty, rimmed baking sheet that can withstand high oven temperatures without warping. A light-colored aluminum sheet is ideal as it distributes heat evenly and prevents the bottoms of the vegetables from burning too quickly.
If you prefer an even faster cleanup, you can line the baking sheet with heavy-duty aluminum foil, though roasting directly on the metal pan yields slightly better caramelization.
- chicken thighs: chicken drumsticks or bone-in chicken breasts, though baking times will vary depending on the cut.
- russet potatoes: Yukon Gold or red potatoes, which hold their shape well and develop a creamy interior when roasted.
Equipment
- large rimmed baking sheet
- large mixing bowl
- chef knife
- cutting board
- meat thermometer
Up next · Part 2 of 3
3 steps · 40 min of cooking · what to look for at each stage
Step-by-step instructions (Part 2)