Breakfast · Part 1 of 3: Ingredients
Crispy One-Pan Four-Quadrant Breakfast Tortilla
- Prep
- Cook
- Total
- Serves
- 1
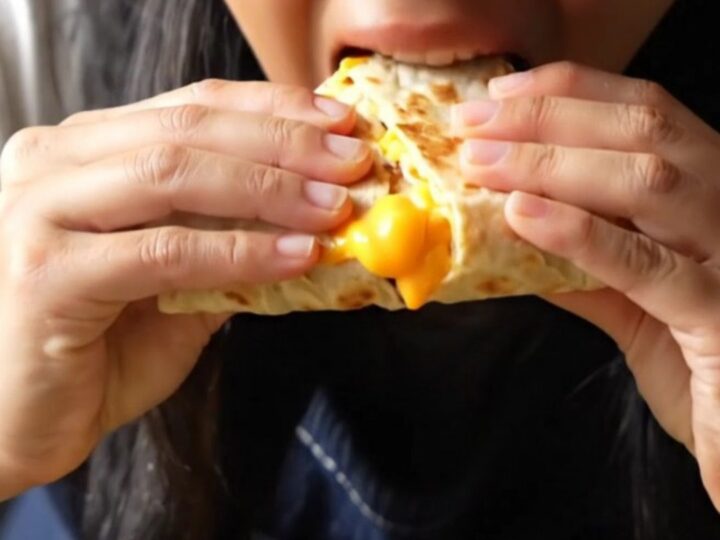
Discover the ultimate breakfast solution with this clever one-pan tortilla fold that delivers maximum flavor with minimal effort. This viral method creates a perfectly crispy, multi-layered triangle packed with fluffy eggs, savory bacon, melted sharp cheddar, and creamy avocado.
It is the ideal breakfast for busy mornings when you want something satisfying, warm, and delicious without the stress of multiple pans or a complicated cleanup routine. Experience the perfect harmony of textures in every single bite.
The one-pan four-quadrant breakfast tortilla is a culinary game-changer that streamlines your morning cooking. By layering your favorite breakfast staples into a single tortilla and utilizing a simple folding technique, you transform humble ingredients into a handheld masterpiece.
This recipe focuses on efficiency and flavor, ensuring that every quadrant provides a distinct, delicious component. Whether you are prepping for a quick workday breakfast or a lazy weekend brunch, this dish offers a foolproof way to achieve professional-looking results right in your own kitchen.
Ingredients
Filling
- 2 large eggs, whisked and seasoned
Base
- 1 flour tortilla (approx. 10 inches)
Filling
- 2 strips bacon, cooked
- 40 g sharp cheddar cheese, shredded
- 1/4 cup tomato, diced
- 1/4 cup avocado, sliced
Cooking
- 15 g unsalted butter
Why this recipe works
The four-quadrant folding method works because it maximizes the surface area of the tortilla while creating a compact, easy-to-handle shape. By cooking the egg directly onto the tortilla, you create a seamless base that holds the fillings together, preventing them from spilling out during the toasting process. This technique ensures every bite contains a balanced ratio of protein, cheese, and vegetables.
The use of a cast-iron skillet is essential for achieving the perfect crispy exterior. The high heat capacity of the iron allows the tortilla to toast quickly while the butter adds a rich, golden finish.
This two-stage cooking process—first setting the eggs, then toasting the folded triangle—guarantees that the interior remains warm and the cheese reaches a perfectly gooey, molten state without burning the tortilla.
Notes and substitutions
For the best results, use a large flour tortilla that is flexible and at room temperature. If your tortillas feel stiff, wrap them in a slightly damp paper towel and microwave for 10 seconds to soften. Using sharp cheddar provides a bold, savory contrast to the creamy avocado, but feel free to experiment with other melting cheeses like Monterey Jack or Gruyere depending on your preference.
Equipment choice plays a significant role in this recipe. A seasoned cast-iron skillet provides the best heat distribution and non-stick surface.
If you do not have cast iron, a high-quality non-stick pan will work well, though you may need to adjust the heat slightly to ensure the tortilla achieves the desired level of crispiness. Always use a wide, sturdy spatula to flip the tortilla to maintain the integrity of the quadrants.
- bacon: cooked sausage crumbles or sautéed mushrooms for a vegetarian option
- sharp cheddar: pepper jack or Monterey Jack for a different melt profile
Equipment
- 10-inch cast-iron skillet
- Whisk
- Spatula
- Sharp knife
Up next · Part 2 of 3
3 steps · 5 min of cooking · what to look for at each stage
Step-by-step instructions (Part 2)