Dinner · Part 1 of 3: Ingredients
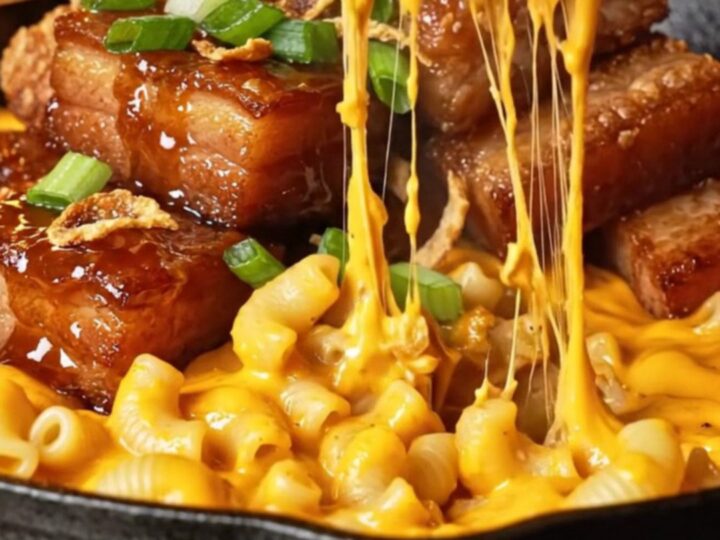
Crispy Maple-Bourbon Pork Belly Mac and Cheese
- Prep
- Cook
- Total
- Serves
- 4
Elevate your next dinner with this indulgent maple-bourbon pork belly mac and cheese. This recipe combines crispy, savory pork with a velvety, smoky cheese sauce to create the ultimate comfort food experience.
Each bite balances the rich, salty depth of smoked cheddar and Gruyère with the sweet, sticky caramelization of bourbon-glazed pork. Perfect for those who crave a sophisticated take on a classic, this dish transforms simple pantry staples into a restaurant-quality meal that satisfies even the heartiest appetites.
Mac and cheese reaches an entirely new level when topped with crispy, maple-glazed pork belly. This recipe emphasizes the contrast between tender pasta, a creamy, smoky cheese sauce, and the satisfying crunch of seared pork belly cubes.
By using a combination of smoked cheddar and Gruyère, you achieve a complex flavor profile that stands up perfectly to the bold, sweet, and boozy notes of the bourbon maple glaze. It is a decadent, comforting dinner that requires minimal effort but delivers maximum impact for family meals or dinner parties.
Ingredients
Pork
- 350 grams pork belly, cubed
Glaze
- 30 milliliters bourbon
- 2 tbsp maple syrup
Pasta
- 450 grams pasta shells
Sauce
- 600 milliliters smoked cheddar and Gruyère cheese sauce
Garnish
- to taste fried shallots
- to taste chopped scallions
Why this recipe works
The method of searing the pork belly cubes in a cast-iron skillet ensures that the fat renders out completely, creating an intense, savory crust. By glazing the meat right in the same pan, you capture all the flavorful browned bits, which are then incorporated into the final dish. This process guarantees that the pork remains the star of the show, providing a concentrated burst of flavor in every forkful that complements the creamy, mild pasta base.
Simmering the pasta directly in the cheese sauce or coating it while hot ensures that the starch on the shells helps bind the sauce, creating a cohesive and luxurious texture.
The final broiling step adds a necessary textural contrast, caramelizing the maple glaze on the pork and slightly crisping the top layer of the cheese. This technique creates a multi-dimensional dish that transitions from a soft, creamy base to a crisp, sticky, and savory finish.
Notes and substitutions
For the best results, use a high-quality smoked cheddar; the intensity of the smoke will determine the overall character of the sauce. If you cannot find a pre-made smoked cheese sauce, you can create your own by whisking shredded smoked cheddar and Gruyère into a simple béchamel base. The Gruyère provides a superior melting quality that prevents the sauce from breaking or becoming overly greasy when combined with the pasta.
When it comes to equipment, a heavy-duty cast-iron skillet is essential for searing the pork belly, as it holds heat consistently and develops the best crust. If you do not have one, a stainless steel pan will work, but you may need to adjust the cooking time slightly.
Ensure you use a wide-mouth baking dish for the final broiling step to allow the heat to distribute evenly across the surface of the mac and cheese, ensuring a consistent golden finish.
- bourbon: apple juice or non-alcoholic whiskey alternative
- pork belly: thick-cut bacon or smoked pancetta
Equipment
- cast-iron skillet
- large pasta pot
- whisk
- baking dish
- tongs
- chef's knife
Up next · Part 2 of 3
4 steps · 30 min of cooking · what to look for at each stage
Step-by-step instructions (Part 2)