Dinner · Part 1 of 3: Ingredients
Crispy Korean Soy Garlic Popcorn Chicken Bites
- Prep
- Cook
- Total
- Serves
- 4
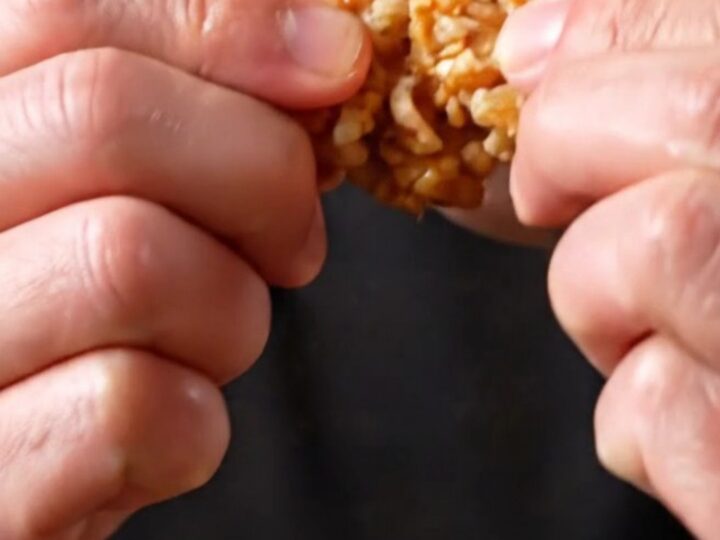
Imagine biting into a piece of chicken that shatters with a loud crunch, revealing juicy, tender meat inside, all wrapped in a glossy, savory-sweet soy garlic glaze. These Korean soy garlic popcorn chicken bites deliver exactly that—double-fried for maximum crunch, then tossed in a sticky, fragrant glaze that clings to every craggy surface.
Perfect as an appetizer, a game-day snack, or a fun dinner, these bites are surprisingly easy to make at home. The double-frying technique ensures a crust that stays crisp even after being coated in the sauce.
Korean fried chicken is famous for its ultra-crispy, almost glass-like crust and bold, addictive sauces. This version, soy garlic popcorn chicken, combines the best of both worlds: bite-sized pieces of chicken thigh, double-fried until shatteringly crisp, then coated in a glossy glaze made with soy sauce, honey, brown sugar, and lots of fresh garlic.
The result is a perfect balance of salty, sweet, savory, and umami, with a hint of ginger and mirin rounding out the flavors. This recipe is designed for American home cooks, using easily accessible ingredients and straightforward techniques. The key is the double-fry: a first fry at a lower temperature cooks the chicken through, while a second fry at a higher temperature creates that signature crunchy exterior.
Ingredients
- 500 g boneless skinless chicken thighs, cut into bite-sized pieces
- 3 tbsp soy sauce
- 1 tbsp fresh ginger, grated
- 1 cup potato starch
Glaze
- 1/4 cup honey
- 2 tbsp brown sugar
- 4 cloves garlic, minced
- 2 tbsp mirin
Garnish
- 1 tbsp toasted sesame seeds
- 4 cups vegetable oil, for frying
Why this recipe works
Double-frying is the secret to Korean fried chicken's legendary crunch. The first fry at a moderate temperature cooks the chicken gently, ensuring the meat is juicy and fully cooked without browning the coating too quickly.
The second fry at a higher temperature blasts away any residual moisture from the crust, creating a dry, crispy shell that stays crunchy even after being tossed in the sticky glaze. This two-step process is what sets Korean fried chicken apart from regular fried chicken, and it's the reason these bites are so addictive.
The glaze is a masterclass in balance. Soy sauce provides salty, savory depth; honey and brown sugar add sweetness and a glossy sheen; fresh garlic gives a pungent, aromatic kick; and mirin contributes a subtle acidity and complexity. Simmered together, these ingredients transform into a thick, syrupy sauce that clings to the chicken without making it soggy. The key is to toss the hot, crispy chicken in the warm glaze just before serving, so the coating absorbs the flavor while maintaining its crunch.
Notes and substitutions
Ingredient choices matter: use boneless, skinless chicken thighs for the juiciest results; they have more fat and collagen than breasts, which keeps the meat moist during frying. Potato starch is the traditional coating for Korean fried chicken—it creates a lighter, crispier crust than all-purpose flour.
If you can't find potato starch, cornstarch is a good substitute. For the glaze, use a good-quality soy sauce (low-sodium works fine) and fresh garlic—don't skimp on the garlic, as it's the star of the sauce. Mirin adds a subtle sweetness and depth; if you don't have it, a splash of dry sherry or rice vinegar with a pinch of sugar works.
Equipment: a heavy-bottomed pot or Dutch oven is ideal for deep frying, as it holds heat evenly. A deep-fry thermometer is essential for maintaining the correct oil temperatures. A wire rack set over a baking sheet is perfect for draining the fried chicken, allowing air to circulate and keeping the crust crisp. You'll also need a small saucepan for the glaze and a large mixing bowl for tossing. No special equipment is required, but a spider or slotted spoon makes handling the chicken easier.
- potato starch: cornstarch or a 1:1 mix of cornstarch and all-purpose flour works well. Potato starch gives the crispiest texture.
- mirin: Use 1 tbsp rice vinegar mixed with 1 tsp sugar, or dry sherry. The flavor will be slightly different but still delicious.
- honey: Maple syrup or agave nectar can replace honey. Use a mild-flavored syrup to keep the glaze balanced.
- chicken thighs: Boneless skinless chicken breasts work, but thighs stay juicier. If using breasts, reduce the first fry time by 1 minute.
Equipment
- Large heavy-bottomed pot or Dutch oven
- Deep-fry thermometer
- Wire rack
- Large mixing bowls
- Whisk
- Tongs
- Small saucepan
- Measuring cups and spoons
Up next · Part 2 of 3
6 steps · 20 min of cooking · what to look for at each stage
Step-by-step instructions (Part 2)