Dinner · Part 1 of 3: Ingredients
Crispy Korean Honey Butter Popcorn Chicken
- Prep
- Cook
- Total
- Serves
- 4
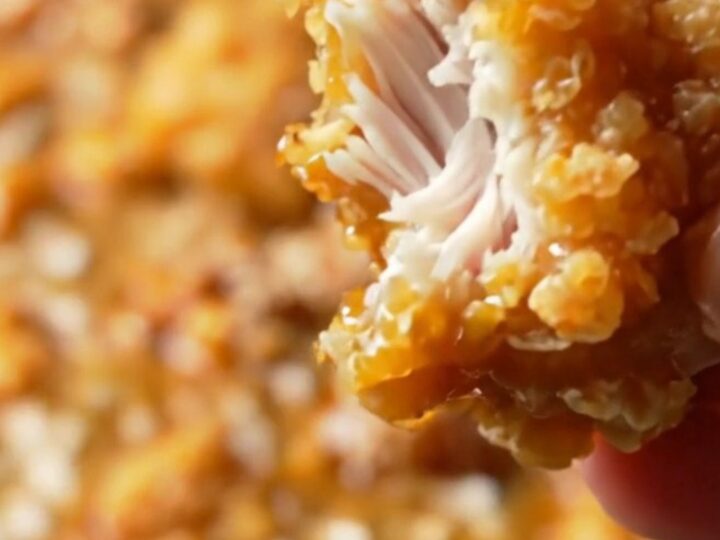
These crispy Korean honey butter popcorn chicken bites are dangerously addictive. Double-fried for an incredible crunch, then tossed in a sweet and buttery honey glaze with a hint of soy. Perfect as a party snack or a fun weeknight dinner.
The contrast of shatteringly crisp exterior and juicy chicken inside, coated in a glossy, sticky glaze, is irresistible. Once you try them, you'll understand why they're called popcorn chicken—you can't stop at one.
Korean honey butter chicken has taken the culinary world by storm, and for good reason. The combination of crispy, double-fried chicken with a sweet, buttery, and slightly savory glaze is pure magic. This recipe uses boneless chicken thighs, marinated in soy and ginger, then coated in potato starch for an extra-crunchy crust.
The glaze is simple—butter, honey, brown sugar, and soy—but it transforms the chicken into something spectacular. Serve as an appetizer, main course, or game-day snack. The recipe is straightforward and yields restaurant-quality results at home.
Ingredients
- 500 g boneless, skinless chicken thighs, cut into bite-sized pieces
Marinade
- 2 tbsp soy sauce
- 1 tbsp fresh ginger, grated
- 1/2 tsp black pepper
Coating
- 1/2 cup potato starch
For frying
- 3 cups vegetable oil, for frying
Glaze
- 50 g butter
- 3 tbsp wild honey
- 2 tbsp brown sugar
- 1 tbsp soy sauce
Garnish
- 1 tbsp toasted sesame seeds
Why this recipe works
The double-frying method is the key to achieving that shatteringly crisp crust. The first fry at a lower temperature cooks the chicken through without browning too much.
The second fry at a higher temperature creates a blistered, ultra-crispy exterior that stays crunchy even after being coated in the glaze. This technique is used in Korean fried chicken and is the secret to its legendary texture.
Potato starch is the coating of choice here. Unlike all-purpose flour, potato starch creates a light, airy crust that crisps up beautifully and absorbs less oil. The starch also forms a protective barrier that keeps the chicken juicy inside. The result is a crunchy exterior that doesn't become soggy when tossed with the warm honey butter glaze.
Notes and substitutions
Use boneless, skinless chicken thighs for the juiciest result. Thighs have more fat and flavor than breasts, which helps keep the meat moist during frying. If you prefer breast, reduce the first fry time slightly to prevent drying. The marinade of soy, ginger, and pepper adds a savory depth that balances the sweet glaze.
Wild honey is called for in the video, but any good-quality honey works. The brown sugar adds a molasses note and helps the glaze caramelize slightly. Soy sauce provides the salty counterpoint.
For the coating, potato starch is essential for the crispiest texture; cornstarch can substitute but yields a slightly denser crust. Use a neutral oil with a high smoke point for frying.
- potato starch: cornstarch or a 50/50 mix of cornstarch and all-purpose flour for a similar crisp texture.
- wild honey: regular honey or maple syrup for a slightly different sweetness.
- chicken thighs: chicken breast, but reduce the first fry time by 1 minute to avoid drying out.
- vegetable oil: peanut oil or canola oil for frying.
Equipment
- Large wok or deep skillet
- Deep-fry thermometer
- Mixing bowls
- Wire rack
- Tongs
- Measuring spoons
Up next · Part 2 of 3
6 steps · 25 min of cooking · what to look for at each stage
Step-by-step instructions (Part 2)