Dinner · Part 1 of 3: Ingredients
Crispy Kimchi and Mozzarella Mandu
- Prep
- Cook
- Total
- Serves
- 4
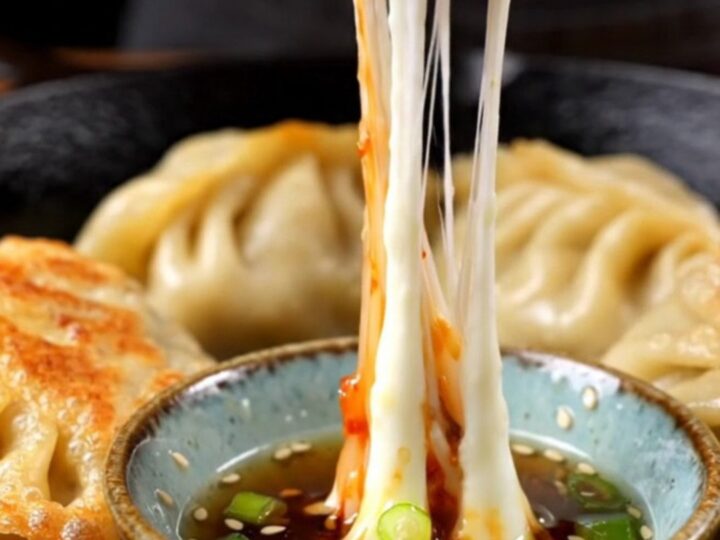
Discover the ultimate balance of spice, tang, and molten cheese with these giant crispy kimchi and mozzarella mandu. These dumplings offer a satisfying crunch followed by a gooey, stretchy center that makes every bite an incredible culinary experience.
Perfect for a quick weeknight dinner or an impressive appetizer, this recipe highlights the beauty of Korean-inspired flavors combined with a classic crispy pan-sear technique. Prepare to elevate your dumpling game with this simple yet bold recipe that brings authentic, cozy kitchen vibes straight to your table.
These kimchi and mozzarella mandu are a testament to how simple ingredients can transform into something truly spectacular. The secret lies in the combination of aged fermented kimchi, which provides a deep, tangy kick, and the creamy, melt-in-your-mouth quality of mozzarella. By pan-searing them in fragrant perilla oil, you achieve a crackling amber crust that perfectly contrasts with the soft, cheesy interior.
This dish is designed for those who appreciate bold flavors and satisfying textures. Follow these straightforward steps to create restaurant-quality dumplings that are sure to become a favorite in your household rotation, providing a delightful culinary treat any night of the week.
Ingredients
Filling
- 200 g aged fermented napa kimchi
- 150 g diced pork belly
- 100 g mozzarella cheese
- 15 ml sesame oil
- 8 large dumpling wrappers
Cooking
- 2 tbsp perilla oil
Serving
- Soy-vinegar scallion sauce for serving
Why this recipe works
The method of squeezing the kimchi dry is essential for maintaining the structural integrity of the dumpling. Excess moisture can make the wrapper soggy and prone to tearing during the pan-searing process. By removing the liquid, you ensure that the dumpling remains crisp on the outside while the filling stays perfectly contained, allowing for that signature crackling crust that defines a well-made mandu.
Pan-searing in perilla oil adds a distinctively earthy and nutty aroma that is characteristic of traditional Korean cooking. This specific oil has a higher smoke point than some alternatives, making it ideal for achieving the perfect golden-brown finish without burning the wrapper.
The high heat ensures that the pork belly cooks through quickly while the mozzarella melts into a perfectly gooey, stretchy consistency, creating a balanced and harmonious bite.
Notes and substitutions
Choosing the right kimchi is paramount for this recipe. Always opt for aged or well-fermented kimchi rather than fresh, as the fermentation process provides the necessary depth of flavor and acidity required to cut through the richness of the mozzarella and pork belly. If the kimchi is not fermented enough, the final flavor profile may lack the punchy, tangy complexity that makes this dish so iconic and delicious.
When it comes to equipment, a high-quality non-stick skillet is your best friend for this recipe. It allows for even heat distribution, which is critical for achieving that uniform amber crust without the dumplings sticking or tearing.
Ensure you do not overcrowd the pan, as this can cause the temperature to drop and lead to steaming rather than searing, which will prevent the wrappers from becoming as crispy as intended.
- Perilla oil: Sesame oil or vegetable oil works as a neutral or aromatic alternative.
- Pork belly: Ground pork or finely chopped chicken thighs can be used.
Equipment
- Mixing bowl
- Chef knife
- Cutting board
- Non-stick skillet
- Tongs
Up next · Part 2 of 3
4 steps · 5 min of cooking · what to look for at each stage
Step-by-step instructions (Part 2)