Dinner · Part 1 of 3: Ingredients
Crispy Hot Honey Chicken Sandwich
- Prep
- Cook
- Total
- Serves
- 2
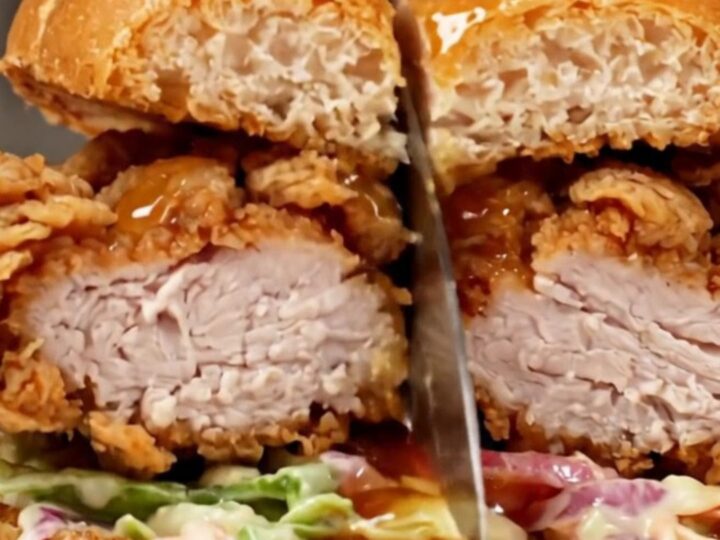
This crispy hot honey chicken sandwich delivers a masterclass in texture and flavor balance. It combines the deep, satisfying crunch of a perfectly fried chicken breast with the sticky, sweet, and subtle heat of a chili-infused honey glaze. It is a quick and reliable way to elevate a standard sandwich into something that feels like a special treat, all while keeping the preparation straightforward and the results consistently golden and delicious.
The secret to a great chicken sandwich lies in the contrast between the hot, crunchy exterior and the tender, juicy interior of the meat. By dredging the chicken in seasoned flour and frying it in hot oil, you create a craggy crust that holds onto the honey glaze perfectly.
This recipe focuses on simple, high-quality execution to ensure that every bite is as good as the last. It is an ideal choice for a quick dinner that satisfies the craving for something crispy, savory, and just a little bit sweet.
Ingredients
Chicken
- 2 pieces chicken breast, boneless and skinless
Breading
- 1 cup all-purpose flour, seasoned
Cooking
- 1/2 cup vegetable oil for frying
Glaze
- 2 tbsp honey, red-tinted with chili
Serving
- 2 burger buns, toasted
- 1/4 cup coleslaw for serving
Why this recipe works
The method of dredging in seasoned flour creates a substantial barrier that protects the moisture of the chicken breast while it fries. This technique ensures the surface becomes craggy and golden, which is essential for trapping the hot honey glaze later.
The high-heat frying process is specifically designed to create a rapid color change and crispness without drying out the interior, resulting in a sandwich that feels light but remains deeply satisfying.
Using a honey glaze applied after frying is the most effective way to maintain the structural integrity of the crust. If the honey were added during the cooking process, the sugars would burn and the texture would lose its signature crunch. By brushing it on at the very last moment, the honey stays on the surface, providing a sticky, sweet finish that cuts through the savory richness of the fried coating and the fresh, cool crunch of the slaw.
Notes and substitutions
When selecting chicken breasts, aim for pieces of similar thickness to ensure they cook at the same rate. If the breasts are uneven, use a meat mallet to gently pound the thicker sections until they are uniform.
This simple step prevents the thinner edges from overcooking before the center is safe to eat. Using a heavy-bottomed skillet is recommended because it maintains a stable temperature, which is crucial for achieving that consistent golden color throughout the frying process.
The choice of oil matters significantly for the final texture of the fried chicken. Neutral oils with high smoke points like vegetable or canola are ideal because they allow the chicken to fry without imparting unwanted flavors.
Be careful to manage the heat carefully; if the oil is too cool, the coating will absorb too much fat, and if it is too hot, the exterior will darken before the chicken is cooked through. Testing the oil with a small pinch of flour can help gauge the heat before adding the meat.
- vegetable oil: canola oil or peanut oil for high-heat frying
- red-tinted honey: honey mixed with a dash of cayenne pepper or hot sauce
Equipment
- large skillet
- tongs
- mixing bowl
- pastry brush
- knife
Up next · Part 2 of 3
3 steps · 10 min of cooking · what to look for at each stage
Step-by-step instructions (Part 2)