Dinner · Part 1 of 3: Ingredients
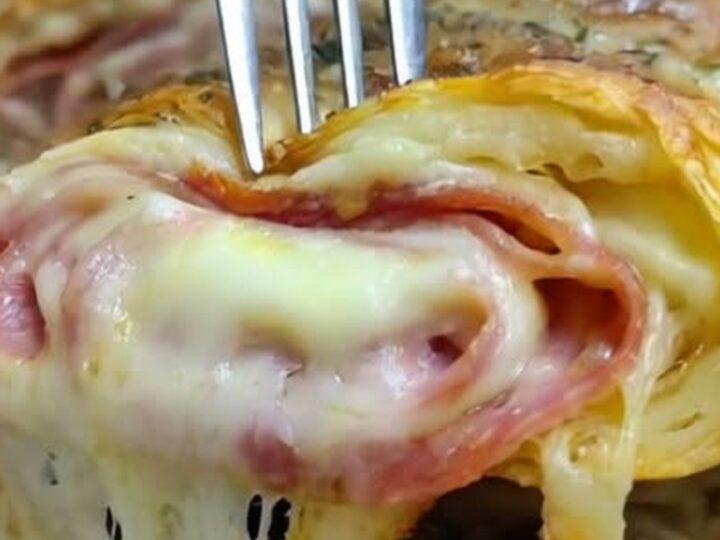
Crispy Homemade Italian Stromboli with Molten Mozzarella
- Prep
- Cook
- Total
- Serves
- 4
Few things match the sheer comfort of a freshly baked Italian stromboli. As you slice through the crisp, golden-brown crust, the aroma of savory meats and herbs fills the air, revealing a molten core of stretchy mozzarella cheese. It is the ultimate crowd-pleasing dish that brings the warmth of a classic Italian bakery right into your kitchen.
Originating in the Philadelphia area, the stromboli has become a beloved staple of Italian-American cuisine. Unlike a calzone, which is folded like a turnover, a stromboli is rolled into a tight cylinder, creating beautiful spiral layers of dough, cheese, and cured meats.
This recipe uses convenient store-bought pizza dough and a classic combination of Genoa salami, pepperoni, and deli ham to deliver a restaurant-quality meal with minimal effort. It is perfect for casual family dinners, game day gatherings, or weekend entertaining.
Ingredients
- 1 lb store-bought pizza dough, at room temperature
- 2 tbsp all-purpose flour, for dusting
- 2 cups shredded low-moisture mozzarella cheese
- 4 oz sliced Genoa salami
- 4 oz sliced pepperoni
- 4 oz sliced deli ham
- 1 tbsp olive oil
- 1/2 tsp dried oregano
Why this recipe works
Rolling the ingredients into a tight spiral ensures that every single bite contains a perfect balance of flaky crust, savory meat, and gooey cheese.
This rolling technique also traps steam inside the layers, which helps cook the interior dough while keeping the meats incredibly tender and juicy. The cheese acts as a delicious binder, melting into the crevices and holding the structure together so the slices remain intact when cut.
Baking the stromboli at a high temperature of 400°F (200°C) is crucial for achieving the ideal texture contrast. The intense heat rapidly expands the air pockets in the dough, creating a light, airy crumb, while simultaneously crisping the outer crust to a beautiful golden brown.
Brushing the exterior with olive oil before baking enhances this browning process and adds a delicate, savory crunch that seals in the moisture.
Notes and substitutions
For the best results, select high-quality deli meats that are sliced thin but not paper-thin, as slightly thicker slices hold up better to the rolling process.
Low-moisture shredded mozzarella is highly recommended over fresh mozzarella; fresh mozzarella contains too much water, which will make the dough soggy and cause the stromboli to burst open. You can also add a pinch of garlic powder or grated parmesan to the crust for an extra layer of savory flavor.
Ensure your pizza dough is at room temperature before you begin rolling. Cold dough is highly elastic and will constantly spring back, making it difficult to achieve the flat, even rectangle needed for a tight spiral. If the dough feels too stubborn, simply cover it with a clean kitchen towel and let it rest on the counter for ten minutes to allow the gluten network to relax before trying again.
- store-bought pizza dough: Homemade pizza dough or puff pastry for an extra flaky texture.
- Genoa salami: Prosciutto, capicola, or spicy soppressata for a different meat profile.
Equipment
- Baking sheet
- Parchment paper
- Rolling pin
- Pastry brush
- Serrated knife
- Wire cooling rack
Up next · Part 2 of 3
6 steps · 25 min of cooking · what to look for at each stage
Step-by-step instructions (Part 2)