Dinner · Part 1 of 3: Ingredients
Crispy Garlic Parmesan Pork Chops for a Quick Dinner
- Prep
- Cook
- Total
- Serves
- 4
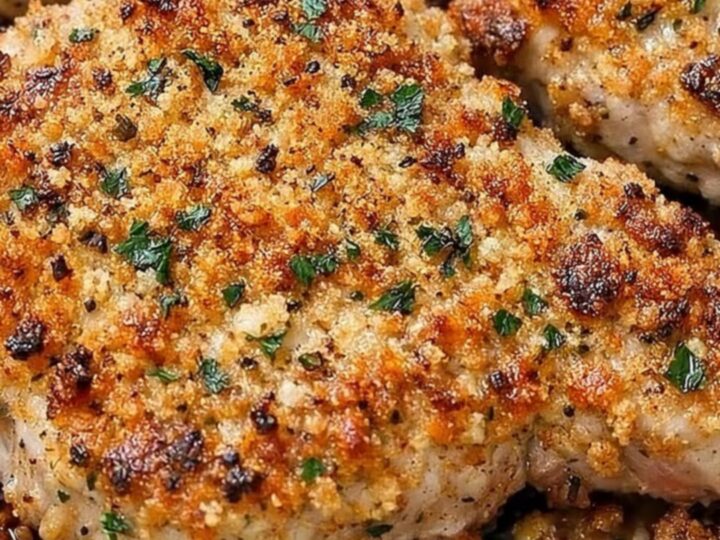
Elevate a standard weeknight dinner with these incredibly crispy garlic parmesan pork chops. By focusing on a thick, savory crust and a juicy, perfectly cooked interior, this recipe delivers a restaurant-style experience at home.
This dish relies on simple ingredients and a straightforward method to create a satisfying meal that the entire family will enjoy. Prepare to be amazed by the audible crunch of the golden crust in every single bite of these savory, tender pork chops.
This recipe for garlic parmesan pork chops focuses on achieving a balance between a crunchy exterior and a tender, juicy center. The process involves creating a flavorful breadcrumb mixture that adheres perfectly to the meat, creating a protective layer that keeps the pork moist while it bakes in the oven.
With minimal preparation and a simple baking process, these pork chops provide a reliable and delicious dinner option for any occasion. The result is a beautifully browned dish that looks and tastes like a professional preparation, perfect for serving with your favorite seasonal vegetables.
Ingredients
Pork
- 4 pieces thick-cut pork chops
Crust
- 1 cup panko breadcrumbs
- 1/2 cup grated parmesan cheese
- 1 tbsp minced garlic
Garnish
- fresh parsley, for serving
Why this recipe works
The combination of panko breadcrumbs and parmesan cheese creates a texture that is both light and exceptionally crispy when baked. Panko, being larger and airier than traditional breadcrumbs, provides a superior crunch that holds up well during the cooking process. When combined with the salty, savory notes of parmesan, the crust develops a deep golden brown color and a rich, nutty flavor that complements the mild taste of the pork perfectly.
Using a glass baking dish allows for even heat distribution, which is essential for cooking the pork chops through without drying them out. The bubbling pan juices that collect during the baking process help to self-baste the pork from the bottom, ensuring that the meat remains moist and tender throughout.
This method minimizes the need for extra fats while maximizing the flavor development of the garlic-infused crust, resulting in a perfectly balanced and cohesive final dish.
Notes and substitutions
When selecting pork chops, look for thick-cut, bone-in or boneless options with a consistent thickness to ensure they cook evenly. If the chops vary significantly in size, adjust the baking time accordingly to prevent overcooking the thinner pieces.
Using fresh, high-quality parmesan cheese that is grated finely will yield a better crust than pre-packaged varieties, as it melts more evenly and provides a superior flavor profile to the overall coating.
The equipment used in this recipe is minimal, requiring only a glass baking dish and a mixing bowl. If a glass dish is unavailable, a ceramic or heavy-duty metal pan can be used, though adjustments to cooking time may be necessary due to differences in heat conductivity. Ensure that the garlic used is minced very finely to prevent large chunks from burning before the breadcrumbs have reached the desired level of crispiness and golden color.
- panko breadcrumbs: crushed pork rinds for a lower carbohydrate alternative
- grated parmesan cheese: pecorino romano for a sharper and saltier flavor profile
Equipment
- large glass baking dish
- mixing bowl
- chef knife
- tongs
- measuring cups
Up next · Part 2 of 3
3 steps · 25 min of cooking · what to look for at each stage
Step-by-step instructions (Part 2)