Dinner · Part 1 of 3: Ingredients
Crispy Garlic Parmesan Chicken Tenders with Chili Dip
- Prep
- Cook
- Total
- Serves
- 4
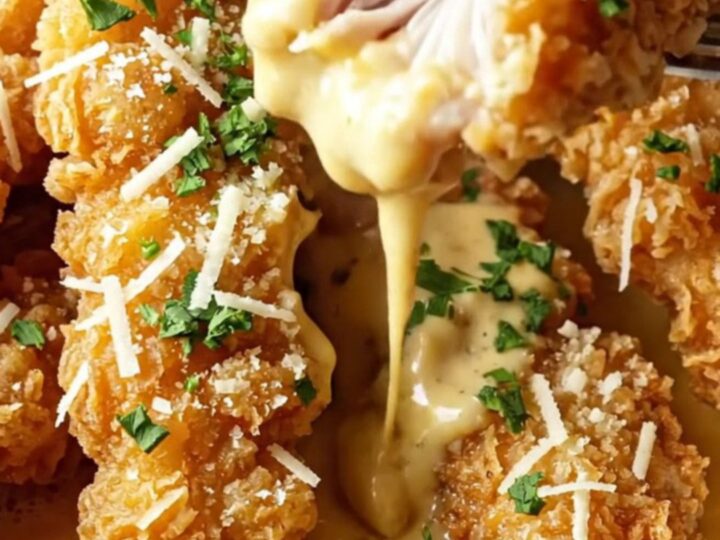
These garlic Parmesan chicken tenders are the ultimate weeknight dinner: juicy on the inside, shatteringly crisp on the outside, and tossed in a rich garlic butter with salty Parmesan and fresh parsley.
The creamy chili dipping sauce adds a tangy, slightly spicy kick that makes every bite irresistible. Ready in about 40 minutes, this recipe turns simple ingredients into a restaurant-quality meal the whole family will love.
There’s something deeply satisfying about a perfectly fried chicken tender — golden, crunchy, and tender inside. This recipe elevates the classic with a fragrant garlic butter coating and a shower of Parmesan cheese.
The accompanying chili dipping sauce, made with mayo, ketchup, chili sauce, and Dijon, provides a creamy, tangy contrast that brightens each bite. Whether for a casual dinner or game-day snack, these tenders deliver big flavor with minimal fuss.
Ingredients
- 2 lb chicken breast, sliced into strips
- 1 tbsp garlic powder
- 1 tsp black pepper
- 1 tsp fine salt
- 1 cup all-purpose flour
- 2 large eggs, beaten
- 2 cups coarse panko breadcrumbs
- Vegetable oil, for frying, to taste
- 3 tbsp unsalted butter
- 4 garlic cloves, minced
- 1/2 cup freshly grated Parmesan cheese
- 2 tbsp fresh parsley, chopped
Chili Dipping Sauce
- 1/2 cup mayonnaise
- 2 tbsp ketchup
- 1 tbsp chili sauce
- 1 tsp Dijon mustard
Why this recipe works
The three-step breading process — flour, egg, panko — creates a sturdy, craggy crust that stays crisp even after tossing with the garlic butter.
The flour helps the egg adhere, while the panko provides a light, airy crunch that doesn’t absorb excess oil. Frying at 350°F ensures the coating browns quickly without overcooking the chicken, locking in moisture.
Tossing the hot tenders in garlic butter after frying not only adds rich flavor but also helps the Parmesan and parsley cling to every crevice. The butter seeps into the crust, making it savory and aromatic without making it soggy. The chili dipping sauce balances the richness with acidity and a gentle heat, creating a well-rounded flavor profile.
Notes and substitutions
Use chicken breast sliced into even strips so they cook uniformly. If using chicken tenders, trim any tendons. Panko breadcrumbs are preferred for their extra-crispy texture; regular breadcrumbs can be substituted but may yield a denser crust. Freshly grated Parmesan melts better and has more flavor than pre-shredded.
A deep-fry thermometer is essential for maintaining oil temperature. If the oil is too hot, the crust burns before the chicken cooks; if too cool, the tenders absorb oil and become greasy.
The chili sauce can be adjusted to taste — use more for extra heat or omit for a milder dip. Vegetable oil or canola oil are ideal for frying due to their high smoke point.
- chicken breast: Chicken tenders or chicken thighs (cut into strips) work well; adjust cooking time as needed.
- panko breadcrumbs: Regular breadcrumbs or crushed cornflakes can be used for a different crunch.
- chili sauce: Sriracha or hot sauce can replace chili sauce for extra heat.
- Parmesan cheese: Pecorino Romano or Asiago cheese offer a similar salty, nutty flavor.
Equipment
- Large skillet
- Deep-fry thermometer
- Three shallow dishes for breading
- Tongs
- Mixing bowls
- Paper towels
- Cutting board
- Chef's knife
Up next · Part 2 of 3
7 steps · 20 min of cooking · what to look for at each stage
Step-by-step instructions (Part 2)