Dinner · Part 3 of 3: Tips & recipe card
Crispy Garlic Parmesan Chicken Roll-Ups Tips, FAQ & printable recipe
- Prep
- Cook
- Total
- Serves
- 4
Tips for success
For an extra crispy crust, place the roll-ups on a wire rack set over the baking sheet. This allows air to circulate underneath, preventing soggy bottoms.
You can also broil the rolls for the last 1-2 minutes to deepen the golden color, but watch them closely to avoid burning. The rolls are best served fresh from the oven, but they can be kept warm in a low oven for up to 30 minutes.
When slicing the roll-ups, use a serrated knife and a gentle sawing motion to avoid squashing the filling. For a cleaner cut, wipe the knife between slices.
If you are serving these as appetizers, slice them into 1-inch pieces and secure with toothpicks. For a main course, serve them whole or halved. A side of marinara sauce or ranch dressing also pairs well.
Variations
- Spicy Chicken Roll-Ups: Add 1/2 teaspoon of red pepper flakes or a dash of hot sauce to the chicken while sautéing. You can also use pepper jack cheese instead of mozzarella for extra heat. Serve with a cooling ranch or blue cheese dip.
- Veggie-Packed Roll-Ups: Add 1 cup of sautéed mushrooms, bell peppers, or spinach to the filling. Cook the vegetables with the chicken until softened, then proceed with the recipe. This adds color and nutrition without changing the cooking time.
- BBQ Chicken Roll-Ups: Replace the smoked paprika and onion powder with 1/2 cup of barbecue sauce. Toss the cooked chicken with the barbecue sauce before assembling. Reduce the cream cheese to 2 oz and omit the garlic herb flavor, using plain cream cheese. The result is a sweet and smoky roll-up.
- Buffalo Chicken Roll-Ups: Stir 1/4 cup of buffalo sauce into the cooked chicken along with 1 tablespoon of melted butter. Use blue cheese crumbles in place of half the mozzarella. Serve with celery sticks and extra buffalo sauce for dipping.
Storage and make-ahead
- Fridge
- Store leftovers in an airtight container in the refrigerator for up to 3 days. Reheat in a 350°F oven for 5-7 minutes until hot and crispy.
- Freezer
- Freeze unbaked roll-ups (without the butter and parmesan coating) for up to 2 months.
- Reheat
- Reheat baked roll-ups in a 350°F oven for 5-7 minutes until hot and crispy. Avoid microwaving to preserve the crunchy texture.
Store leftover roll-ups in an airtight container in the refrigerator for up to 3 days. Reheat in the oven or toaster oven to restore crispiness. Avoid microwaving, as it will make the tortillas soggy.
You can assemble the roll-ups up to 24 hours in advance. After rolling, place them on the baking sheet, cover with plastic wrap, and refrigerate. When ready to bake, brush with the butter mixture and coat with parmesan just before baking. You may need to add 2-3 minutes to the baking time if starting from cold.
Serving ideas
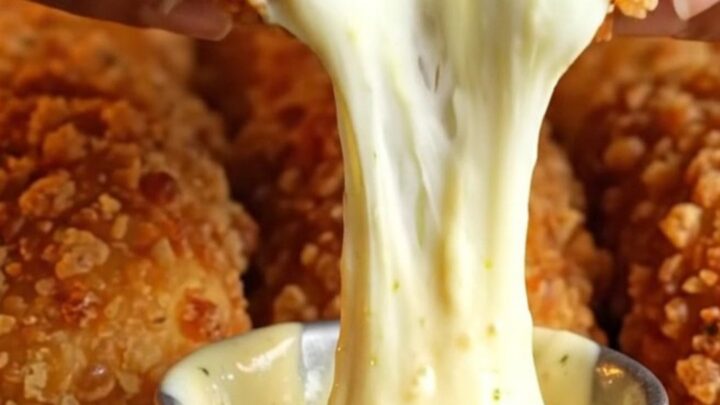
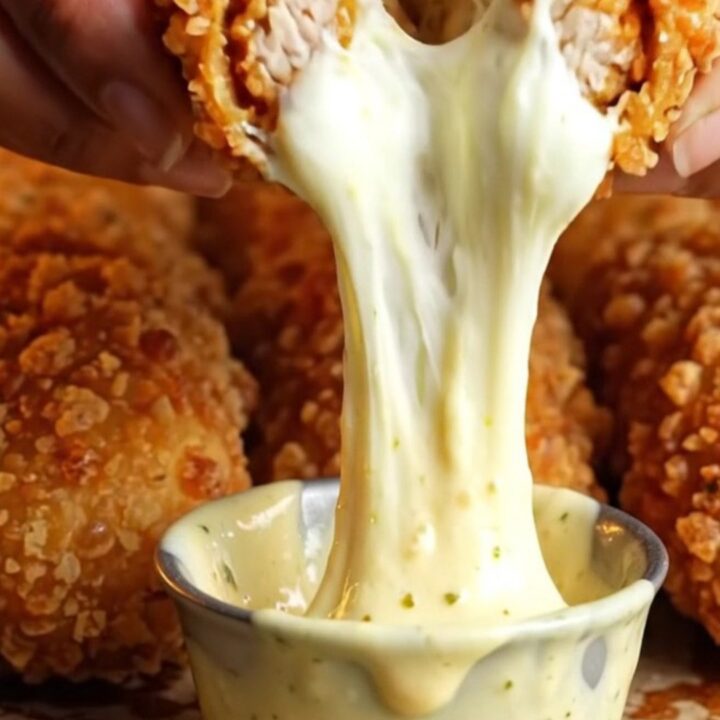
Serve these roll-ups warm, straight from the oven, with a side of garlic mayo for dipping. The creamy, garlicky sauce complements the crispy, cheesy rolls beautifully.
You can also serve them with marinara sauce for a pizza-like twist, or with a simple green salad for a complete meal. They are substantial enough to be a main course, but also work well as a party appetizer when sliced into smaller pieces.
For a family dinner, serve the roll-ups with roasted vegetables or a side of pasta. They are also great for game day or potlucks—just slice them into bite-sized pieces and arrange on a platter.
The rolls are best enjoyed fresh, but any leftovers can be reheated in the oven to bring back some of the crunch. Pair with a crisp white wine or a cold beer.
Frequently asked questions
Can these roll-ups be made gluten-free?
Can the roll-ups be prepared ahead of time?
How should leftovers be reheated?
Can the chicken be substituted with ground meat?
What dipping sauces go well with these roll-ups?
Crispy Garlic Parmesan Chicken Roll-Ups
Ingredients
- 2 lb boneless skinless chicken breasts, diced small
- 2 tbsp olive oil
- 2 tbsp minced garlic
- 1 tsp smoked paprika
- 1 tsp onion powder
- 1 tsp salt
- 1/2 tsp black pepper
- 4 large soft flour tortillas (10-inch)
- 4 oz garlic herb cream cheese, softened
- 2 cups shredded mozzarella cheese
- 3 tbsp unsalted butter, melted
- 2 tbsp fresh parsley, finely chopped
- 1/2 cup grated parmesan cheese
Instructions
- Heat the olive oil in a large skillet over medium-high heat. Add the diced chicken, minced garlic, smoked paprika, onion powder, salt, and black pepper. Cook, stirring occasionally, until the chicken is golden brown and cooked through, about 8-10 minutes. The chicken should reach an internal temperature of 165°F (74°C). Remove from heat and set aside.
- In a small bowl, stir the garlic herb cream cheese until smooth and spreadable. If it is too firm, microwave it in 10-second intervals until softened.
- Lay one tortilla on a clean work surface. Spread a quarter of the cream cheese over the entire surface, leaving a 1-inch border at the edge. Sprinkle with a quarter of the cooked chicken and a quarter of the shredded mozzarella. Roll the tortilla tightly into a snug burrito, tucking in the sides as you go. Repeat with the remaining tortillas.
- Preheat the oven to 400°F (200°C). Line a baking sheet with aluminum foil or parchment paper for easy cleanup.
- In a small bowl, combine the melted butter and chopped parsley. Brush the mixture generously over the tops and sides of the rolled tortillas.
- Sprinkle the grated parmesan cheese over the buttered rolls, pressing gently so it adheres. Make sure the tops and sides are well covered.
- Place the baking sheet in the preheated oven and bake for 15 minutes, or until the crust is golden brown and crispy. The cheese should be bubbling and the rolls heated through.
- Remove the roll-ups from the oven and let them rest for 5 minutes before slicing. This helps the filling set and makes cutting easier. Serve warm with garlic mayo for dipping, if desired.
Estimated nutrition per serving
- Calories
- 650
- Protein
- 45 g
- Carbohydrates
- 35 g
- Fat
- 36 g
Next recipe
20-Minute Skillet Lasagna Roll-Ups
See the recipe → →This recipe is based on a short cooking video and is published under the pen name Clara Weller. It was checked before publication, but errors can slip through. Nutrition, when shown, is an estimate. Read more in our editorial policy and on our food safety page.
More recipes to try
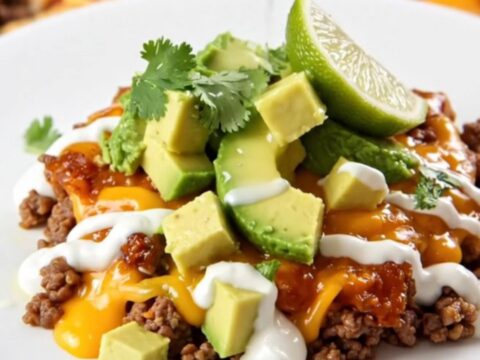
Slow-Cooker Cheesy Tortilla Chip Taco Beef Casserole
Total time: 3 h 30 min
Crispy Sesame Chicken Over Pan-Fried Chow Mein in 45 Minutes
Total time: 45 min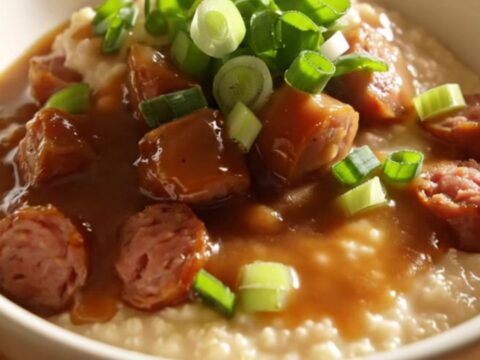
Creamy Southern Slow-Cooker Cheddar Grits with Cajun Sausage
Total time: 6 h 15 min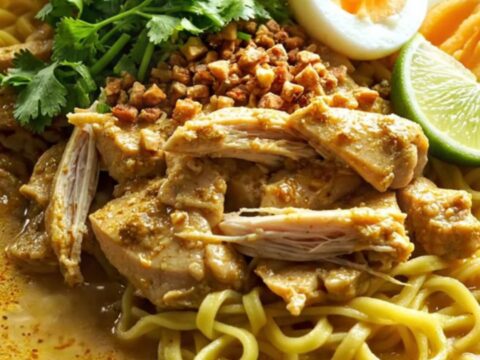
Slow-Cooker Burmese Coconut Chicken Curry Noodle Soup
Total time: 4 h 15 min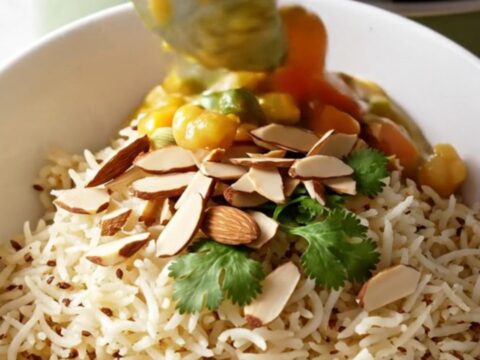
Crockpot Vegetable Navratan Korma with Cashew Cream
Total time: 4 h 20 min