Dinner · Part 1 of 3: Ingredients
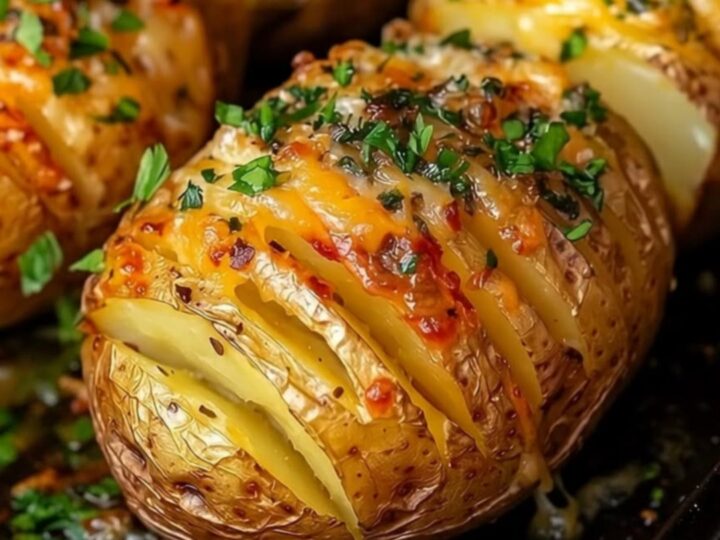
Crispy Garlic Herb Cheesy Hasselback Potatoes
- Prep
- Cook
- Total
- Serves
- 4
Few side dishes capture the imagination quite like a perfectly roasted potato, but this cheesy hasselback version takes comfort food to an entirely new level. By slicing the potatoes into thin accordion folds, you create dozens of crispy edges that catch the rich garlic herb butter and hold pockets of molten, bubbling cheese. It is a show-stopping side dish that looks complex but is incredibly simple to master.
Hasselback potatoes originate from Sweden, but this recipe infuses them with classic American comfort. The secret to their incredible texture lies in the double-bake method, which ensures the interior remains light and fluffy while the exterior becomes wonderfully crisp.
Brushing garlic-infused butter deep into the slices before baking allows the flavor to penetrate to the core. Finishing them with a generous stuffing of cheese creates a spectacular presentation that will make this dish the star of any dinner table.
Ingredients
- 4 medium Russet potatoes
- 1/2 cup unsalted butter, melted
- 3 cloves garlic, minced
- 2 tbsp finely chopped fresh herbs (such as parsley, thyme, or rosemary)
- 1 1/2 cups shredded cheese (such as cheddar or mozzarella)
Why this recipe works
The physics of the hasselback cut is what makes this recipe highly successful. Slicing the potato nearly all the way through increases the surface area exposed to the dry heat of the oven. This encourages rapid moisture evaporation from the edges, leading to a chip-like crispy texture on the outer ridges.
Meanwhile, the base of the potato remains intact, steaming gently from within to create a soft, mashed-potato-like texture. This contrast between the crunchy exterior and the tender interior is what makes the dish so satisfying.
In addition to texture, the accordion design acts as a series of natural pockets designed to trap flavor. When you brush the melted garlic butter over the raw spuds, it runs down into the crevices, flavoring the potato from the inside out as it bakes. During the second bake, the cheese melts directly into these buttery slots, bonding with the starches and creating a cohesive, savory bite. Every layer is packed with flavor, ensuring there are no bland zones.
Notes and substitutions
Selecting the right variety of potato is crucial for achieving the perfect texture. Russet potatoes are highly recommended because of their high starch content and thick skins, which crisp up beautifully in the oven.
Yukon Golds are another excellent choice, offering a naturally buttery flavor and a slightly creamier interior. Whichever variety is chosen, select potatoes that are uniform in size and shape to ensure they cook evenly. Avoid potatoes with green spots or soft patches, as these can affect the taste.
For the cheese, a high-moisture variety that melts smoothly is essential for getting that dramatic cheese pull. Mozzarella, sharp cheddar, Monterey Jack, or Gruyere are all outstanding options that complement the garlic herb butter.
Grating the cheese from a block rather than using pre-shredded packages yields much better results, as pre-bagged cheese contains anti-caking agents that prevent a smooth melt. A pastry brush is also highly recommended to help distribute the butter evenly deep inside the slices.
Equipment
- Baking sheet
- Pastry brush
- Sharp chef's knife
- Cutting board
- Small bowl
- Cheese grater
Up next · Part 2 of 3
6 steps · 1 h of cooking · what to look for at each stage
Step-by-step instructions (Part 2)