Dinner · Part 1 of 3: Ingredients
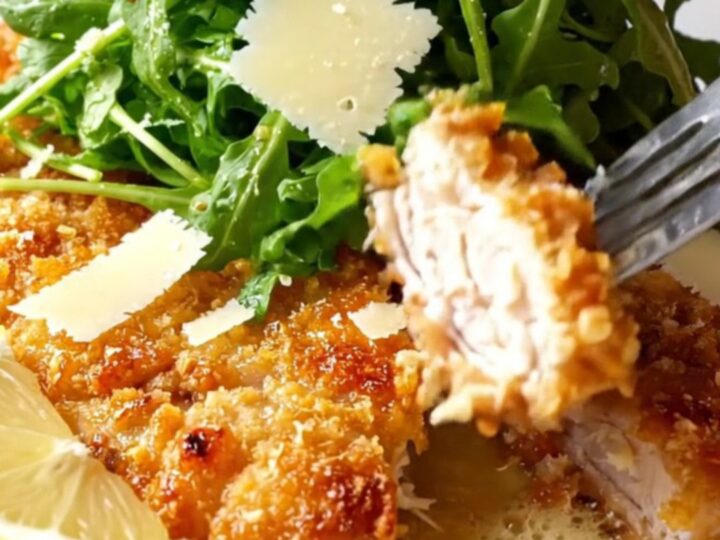
Crispy Garlic Butter Parmesan Chicken Cutlets with Lemon Arugula Salad
- Prep
- Cook
- Total
- Serves
- 4
This recipe turns simple chicken breasts into golden, crackling cutlets with a feather-light panko and parmesan crust. They are fried until deep amber, then basted with foaming garlic butter for an extra layer of savory richness.
A bright lemon arugula salad on top cuts through the richness with peppery freshness and a citrusy tang. The whole dish comes together in about 30 minutes, making it a perfect weeknight dinner that feels special.
The secret to these cutlets is pounding the chicken ultra-thin, which ensures quick, even cooking and a high ratio of crisp crust to juicy meat. The panko breadcrumbs stay light and crunchy, while freshly grated Parmigiano-Reggiano adds a nutty, salty depth.
Basting the cooked cutlets in garlic butter during the last minute of cooking infuses them with rich flavor without making the crust soggy. Topped with a simple lemon and olive oil dressed arugula, this dish balances crispy, savory, and bright in every bite.
Ingredients
- 2 large chicken breasts, butterflied and pounded thin
Breading
- 60 g all-purpose flour
- 2 large eggs, beaten
- 100 g panko breadcrumbs
- 50 g freshly grated Parmigiano-Reggiano
For cooking
- 2 tbsp butter
- 2 cloves garlic, minced
Salad
- 2 cups baby arugula
- 1 tbsp olive oil
- 1 tbsp lemon juice
For serving
- lemon wedges, for serving
Why this recipe works
Pounding the chicken breasts to an even thinness is the foundation of this recipe. It guarantees that the cutlets cook through in just a few minutes per side, avoiding the dry, thick chicken breast problem. The thin, even shape also maximizes surface area, meaning more crispy crust per bite. This technique transforms a humble ingredient into a restaurant-quality dish.
The combination of panko and Parmigiano-Reggiano creates a crust that is both airy and deeply savory. Panko's large, jagged flakes fry up shatteringly crisp, while the cheese melts and browns, adding umami and a golden color.
Basting with garlic butter at the end adds a final layer of richness that clings to the crust without weighing it down. The lemon arugula salad provides a bright, peppery contrast that cuts through the buttery richness.
Notes and substitutions
Use freshly grated Parmigiano-Reggiano for the best flavor and melting. Pre-shredded cheese often contains anti-caking agents that can affect the crust's texture.
The panko breadcrumbs should be plain, not seasoned, so you can control the seasoning. If you prefer a stronger garlic flavor, you can add a pinch of garlic powder to the breading mixture, but the video does not include it.
A large skillet is essential to avoid crowding the cutlets; if your skillet is smaller, cook them in batches. Use a neutral oil with a high smoke point, such as canola or vegetable, for frying. The olive oil is used for the salad and for the initial oil in the pan, but you can use a blend. For the salad, baby arugula is ideal for its tender texture and peppery bite.
- Chicken breasts: Boneless, skinless chicken thighs, pounded thin; adjust cooking time as needed.
- Parmigiano-Reggiano: Aged Pecorino Romano for a sharper, saltier flavor.
- Panko breadcrumbs: Fresh breadcrumbs from day-old bread, toasted lightly for extra crunch.
- Baby arugula: Baby spinach or a mix of tender greens, though arugula's peppery bite is best.
Equipment
- Meat mallet or rolling pin
- Plastic wrap
- Three shallow dishes for breading
- Large skillet
- Tongs
- Instant-read thermometer
Up next · Part 2 of 3
6 steps · 15 min of cooking · what to look for at each stage
Step-by-step instructions (Part 2)