Dinner · Part 3 of 3: Tips & recipe card
Crispy Doritos-Crusted Beef Cones Tips, FAQ & printable recipe

- Prep
- Cook
- Total
- Serves
- 6
Tips for success
For the crunchiest crust, coat the cones thoroughly and press the chips firmly into the ketchup. Use a shallow dish for the chips to make coating easier.
If you have time, chill the coated cones for 10 minutes before baking to help the crust adhere better. The toothpicks should be inserted at an angle to hold the cone securely without poking through the filling.
To prevent the cones from tipping over in the oven, pack them snugly in the baking dish, or use a muffin tin to hold them upright. If you don't have a baking dish that fits, you can create a foil nest to support them.
Keep an eye on the cones during the last few minutes of baking, as they can go from golden to burnt quickly. Serve with extra ketchup or your favorite dipping sauce.
Variations
- Chicken version: Swap ground beef for ground chicken or turkey. Cook to 165°F (74°C). Add taco seasoning for extra flavor. The cones work just as well with poultry.
- Spicy kick: Add 1/2 teaspoon of chili powder or a minced jalapeño to the beef filling. Use pepper jack cheese instead of kaşar for a spicier, meltier result.
- Veggie filling: Replace beef with a mixture of black beans, corn, and sautéed mushrooms. Season with cumin and chili powder. Cook until heated through, and stuff the cones as directed.
- Breakfast cones: Fill the cones with scrambled eggs, cooked sausage, and cheese. Bake at 375°F (190°C) for 15 minutes, until the cheese melts and the cones are crispy. Serve with salsa.
Storage and make-ahead
- Fridge
- Store leftover cones in an airtight container in the fridge for up to 3 days. Reheat in the oven to restore crispness.
- Freezer
- Freeze unbaked, filled cones on a baking sheet, then transfer to a freezer bag for up to 2 months. Bake from frozen, adding 5-10 minutes.
- Reheat
- Reheat baked cones in a 375°F (190°C) oven for 5-7 minutes until hot and crispy.
Store leftover cones in an airtight container in the refrigerator for up to 3 days. To reheat, place them on a baking sheet and warm in a 375°F (190°C) oven for 5-7 minutes, until the crust is crispy again. Avoid microwaving, as it will make the crust soggy.
You can prepare the beef filling and shape the cones ahead of time. Store the coated cones in the refrigerator for up to 24 hours before baking. When ready to bake, fill with cheese and beef and bake as directed, adding a few extra minutes if baking from cold.
Serving ideas
Serve the cones warm, fresh from the oven, with the cheese pulling in long strands. They are perfect as a main dish for dinner, paired with a simple salad or Mexican rice.
For a party, arrange them on a platter with a bowl of salsa or guacamole for dipping. The contrast of the crunchy exterior and the gooey interior makes them a hit with both kids and adults.
These cones are best enjoyed immediately, but if you have leftovers, they can be reheated in the oven to restore some crispness. To make them a complete meal, serve with a side of black beans or corn.
For a fun twist, let everyone assemble their own cones with different fillings. The possibilities are endless, but the classic beef and cheese version is always a winner.
Frequently asked questions
Can these cones be made ahead of time?
Can these cones be frozen?
What can be used instead of kaşar cheese?
Why did your cones become soggy?
Can these be made gluten-free?
Crispy Doritos-Crusted Beef Cones

Ingredients
- 6 flour tortillas (8-inch)
- 12 wooden toothpicks
- 1/4 cup ketchup
- 3 cups nacho cheese tortilla chips, crushed
- 1 lb ground beef
- 1 small onion, finely chopped
- 1 bell pepper, finely chopped
- 2 cloves garlic, minced
- 2 tbsp tomato paste
- 1 1/2 cups shredded kaşar cheese (or mozzarella)
Instructions
- Cut each flour tortilla in half. Roll one half into a cone shape, overlapping the edges slightly, and secure with two wooden toothpicks. Repeat with remaining tortilla halves. Brush the outside of each cone with ketchup, then press the coated cone into the crushed nacho cheese chips, turning to coat evenly. Set the coated cones aside on a plate.
- Heat a cast iron skillet over medium-high heat. Add the ground beef and cook, breaking it up with a spoon, until browned. Add the onion, bell pepper, and garlic, and cook until softened, about 3 minutes. Stir in the tomato paste and cook for 1 minute more. Remove from heat and let cool slightly.
- Preheat the oven to 375°F (190°C). Place the coated cones upright in an oven-safe baking dish, packing them snugly to keep them standing. Spoon a layer of shredded kaşar cheese into the bottom of each cone, then fill with the beef mixture, and top with more cheese. Press gently to pack.
- Bake the cones for 15-20 minutes, until the cheese is melted and bubbly and the edges of the cones are deeply golden and crispy. The filling should be hot throughout. Remove from the oven and let rest for 2 minutes before serving.
- Carefully remove the toothpicks. Serve the cones warm, pulling them apart to show the cheese pull. The cones are best eaten immediately while the crust is shatteringly crunchy.
Estimated nutrition per serving
- Calories
- 450
- Protein
- 25 g
- Carbohydrates
- 30 g
- Fat
- 25 g
Next recipe

Crunchy Nacho Cheese Stuffed Cones: Crispy, Cheesy, Irresistible
See the recipe → →This recipe is based on a short cooking video and is published under the pen name Clara Weller. It was checked before publication, but errors can slip through. Nutrition, when shown, is an estimate. Read more in our editorial policy and on our food safety page.
More recipes to try
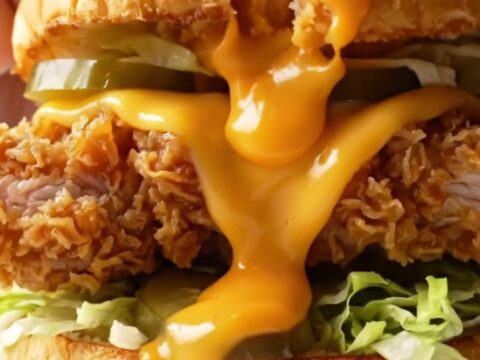
Crispy Fried Chicken Sandwich with Spicy Mayo
Total time: 40 min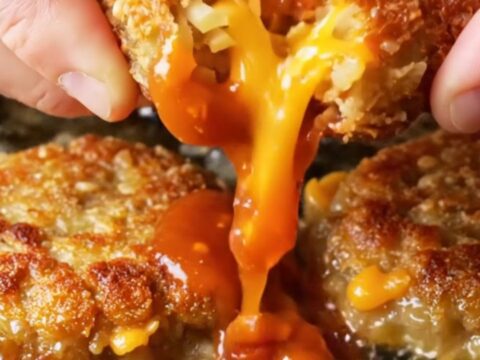
Crispy Potato Veggie Patties with Spicy Kewpie Dip
Total time: 36 min
Roasted Whole Vegetable Pipe Rigate Pasta
Total time: 50 min
Stuffed Ring Pizza with Sucuk and Peppers
Total time: 1 h 32 min
Honeycomb Turkish Mantı Dumplings with Garlic Yogurt and Sizzling Butter
Total time: 1 h 50 min