Breakfast · Part 1 of 3: Ingredients
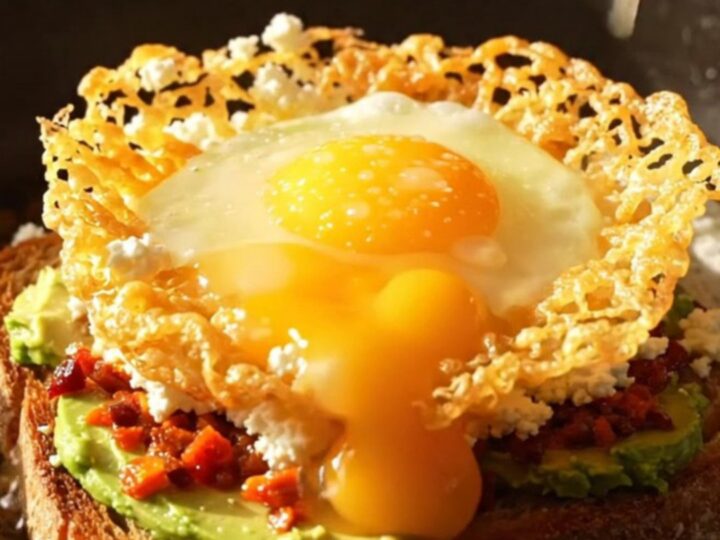
Crispy Chili Feta Egg on Sourdough
- Prep
- Cook
- Total
- Serves
- 1
This crispy chili feta egg is a one-pan breakfast that delivers a shatteringly crunchy feta crust, a glossy egg yolk, and a hit of chili crisp oil for warmth and depth. The whole thing lands on charred sourdough rubbed with avocado and finished with a squeeze of lime. It is a quick, satisfying, and visually striking morning meal that comes together in minutes.
Imagine a golden, lacy crust of melted feta that crackles as you bite into it, cradling a tender egg with a glossy, rich yolk. That is exactly what you get with this crispy chili feta egg.
The feta melts into the sizzling chili crisp oil, caramelizing at the edges into a frilly, crunchy ring, while the egg cooks gently in the center. Serve it over charred sourdough with a smear of avocado and a squeeze of lime, and you have a breakfast that feels indulgent but comes together in under ten minutes.
Ingredients
- 60 g Greek sheep feta
- 15 ml Sichuan chili crisp oil
- 1 pasture-raised egg
- 1 slice thick sourdough bread
- 1/2 ripe avocado
- 1/2 lime
Why this recipe works
The method relies on high heat and a non-stick skillet to create a dual texture: the feta melts and then crisps as it hits the hot oil, forming a lacy, golden crust that is both crunchy and salty.
The chili crisp oil adds a layer of spicy, aromatic flavor that infuses the feta as it bubbles. The egg cooks gently in the center, its whites setting while the yolk stays soft and glossy, creating a beautiful contrast with the crispy edges.
The charred sourdough provides a sturdy, crunchy base that soaks up the yolk and chili oil without becoming soggy. Rubbing the hot toast with avocado adds a creamy, cool element that balances the heat and salt. A final squeeze of lime brightens everything with a touch of acidity. The result is a harmonious combination of textures and flavors that is both comforting and exciting.
Notes and substitutions
Greek sheep feta is ideal here because it melts and crisps beautifully without turning into a rubbery mass. Cow's milk feta can also work, but look for a block that is firm and not overly brined.
The chili crisp oil is a key ingredient: choose one with a good amount of sediment (the crispy chili flakes) for the best texture. If you only have plain chili oil, add a pinch of red pepper flakes to the skillet.
A non-stick skillet is essential for easy release and a clean, unbroken crust. Use a medium heat so the feta melts and bubbles without burning. The egg should be at room temperature for even cooking.
For the bread, a thick slice of sourdough gives the best crunch and structure. If you don't have avocado, a smear of butter or a drizzle of olive oil works well as a substitute.
- Greek sheep feta: cow's milk feta or a block of firm feta, crumbled
- Sichuan chili crisp oil: chili oil with sediment, or a mix of olive oil and red pepper flakes
- sourdough bread: any crusty bread like ciabatta or a baguette
- avocado: a smear of butter or a drizzle of olive oil
Equipment
- non-stick skillet
- spatula
- toaster or grill pan
- small bowl
- fork
- knife
- cutting board
Up next · Part 2 of 3
6 steps · 3 min of cooking · what to look for at each stage
Step-by-step instructions (Part 2)