Dinner · Part 1 of 3: Ingredients
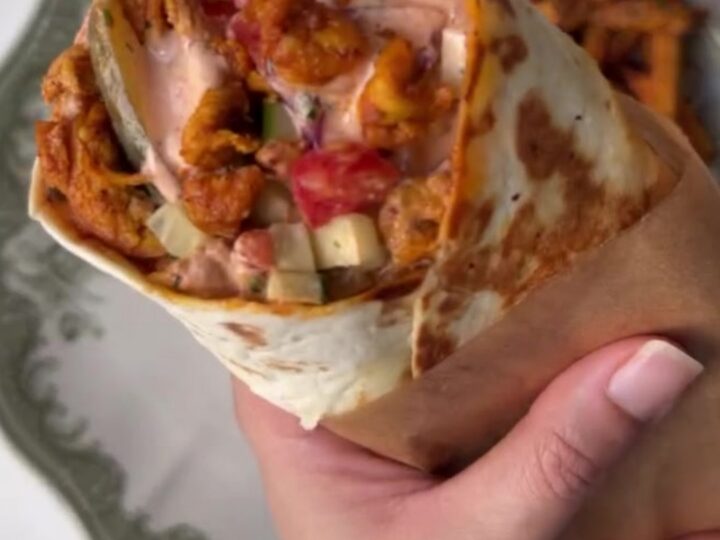
Crispy Chicken Shawarma Wrap with Garlicky Layers
- Prep
- Cook
- Total
- Serves
- 4
This chicken shawarma wrap delivers all the savory, garlicky, charred flavor of the classic street food, but it's made in a single skillet. Thinly sliced chicken thighs marinate in a smoky, creamy blend, then sear until deeply caramelized. Piled with tangy sumac onions and crisp pickles, the wrap gets a final toast in the pan juices for an irresistible crunch.
Shawarma is all about layers: seasoned meat, bright onions, sharp pickles, and a warm wrap that holds it together. This version skips the rotisserie and uses a cast-iron skillet to achieve that charred, juicy result at home.
The marinade—mayonnaise, garlic, lemon, and a warm spice blend—tenderizes the chicken and builds a flavorful crust as it sears. Then, the assembled wraps are toasted in the same skillet, soaking up the leftover juices and turning golden and crispy.
Ingredients
- 2 lb boneless, skinless chicken thighs, thinly sliced
Marinade
- 1 tbsp minced garlic
- 2 tbsp mayonnaise
- 1 tbsp olive oil
- 1 tbsp smoked paprika
- 1 tsp garlic powder
- 1 tsp black pepper
- 1/2 tsp ground cumin
- 1/2 tsp ground coriander
- 1 tsp salt
- 1/2 lemon juiced
Filling
- 1 cup sumac red onions
- 1/2 cup sliced tangy cucumber pickles
- 4 large flour tortillas
Why this recipe works
The mayonnaise-based marinade does double duty: it helps the spices cling to the chicken and promotes browning, creating a deeply caramelized crust as the meat sears in a hot skillet.
The high heat of the cast iron mimics the intense heat of a vertical rotisserie, giving the chicken that characteristic charred edge without needing special equipment. The result is juicy, flavorful strips that taste like they came from a street cart.
Toasting the assembled wraps in the skillet juices is the final touch that sets this recipe apart. The residual fat and browned bits from the chicken infuse the tortillas with flavor, while the direct heat transforms the outside into a crisp, golden shell.
This step also melts the layers together, so each bite is a harmonious blend of warm chicken, tangy onions, and crunchy pickles.
Notes and substitutions
Chicken thighs are the best choice here because their higher fat content keeps the meat moist during the high-heat sear. If using chicken breasts, reduce the cooking time slightly to prevent dryness.
The marinade can be prepared up to a day in advance, which deepens the flavor. For the most authentic result, use a well-seasoned cast-iron skillet, but a heavy stainless steel pan also works.
Sumac red onions are simply thinly sliced red onions tossed with sumac and a pinch of salt; they add a bright, lemony note that cuts through the richness. Tangy cucumber pickles provide acidity and crunch. If you can't find sumac, you can substitute with lemon zest and a pinch of salt. Flour tortillas are traditional, but you can use any large flatbread.
- chicken thighs: chicken breasts (thinly sliced) — reduce cooking time by 2 minutes to avoid dryness.
- mayonnaise: Greek yogurt (full-fat) — adds tang and keeps the marinade creamy.
- smoked paprika: regular paprika plus a pinch of liquid smoke for a similar charred flavor.
- flour tortillas: large corn tortillas (warm before assembling to prevent cracking) or gluten-free wraps.
Equipment
- Cast-iron skillet
- Cutting board
- Chef's knife
- Tongs
- Mixing bowl
- Measuring spoons
Up next · Part 2 of 3
6 steps · 12 min of cooking · what to look for at each stage
Step-by-step instructions (Part 2)