Dinner · Part 1 of 3: Ingredients
Crispy Chicken Alfredo Tacos: Italian-Mexican Mashup
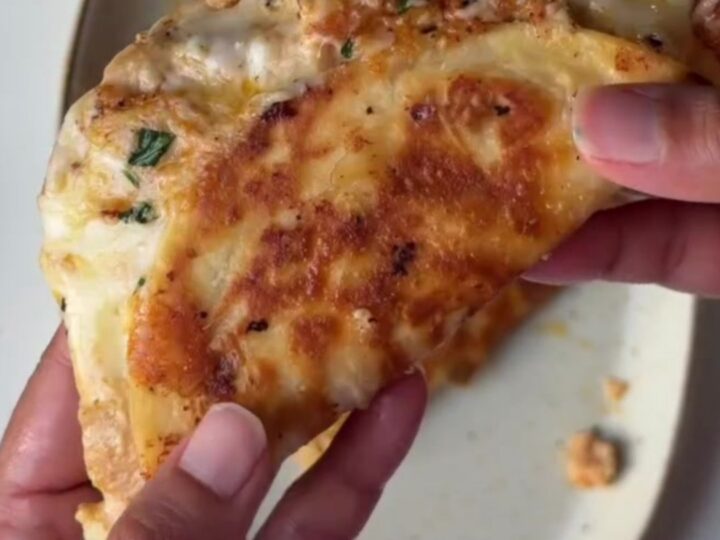
- Prep
- Cook
- Total
- Serves
- 4
These chicken Alfredo tacos bring together the best of Italian and Mexican cooking in one crunchy, cheesy bite. Juicy seared chicken is tossed in a rich, garlicky Alfredo sauce, then folded into corn tortillas with plenty of melted mozzarella and fried until the shell shatters with every bite.
A warm Alfredo dipping sauce on the side takes them over the top. Perfect for a quick weeknight dinner or a fun twist on taco night.
Imagine the creamy, savory flavor of chicken Alfredo, but wrapped in a crispy, golden corn tortilla and fried until it crackles. That is exactly what this recipe delivers. It is a straightforward stovetop dish that comes together in about half an hour, using simple ingredients you likely already have.
The combination of seared chicken, velvety Alfredo sauce, and gooey mozzarella inside a crisp shell is irresistible. Serve these tacos as a main course with a side of the same sauce for dipping, and watch them disappear.
Ingredients
- 1 lb boneless skinless chicken breast, diced
- 4 tbsp butter, divided
- 1 tsp garlic powder
- 1 tsp Italian herbs
- 1/2 tsp salt
- 1/4 tsp black pepper
- 1 cup Alfredo sauce, divided
- 2 cups shredded mozzarella cheese
- 8 corn tortillas
- 2 tbsp fresh parsley, chopped
Why this recipe works
The method here is built around texture and flavor contrast. Searing the chicken in butter creates a golden, savory crust that locks in juices and adds depth.
The Alfredo sauce coats the chicken in a creamy, garlicky richness, while the mozzarella provides that irresistible stretch. Frying the assembled tacos in butter transforms the corn tortillas into a shatteringly crisp shell that holds everything together without becoming soggy.
Using corn tortillas is key: they crisp up beautifully and provide a sturdy vessel for the filling. The butter not only adds flavor but also helps the tortillas brown evenly and develop that glass-like crackle. By cooking the tacos in a hot skillet, the cheese melts and acts as a glue, sealing the taco shut and ensuring every bite has a balance of crispy, creamy, and savory elements.
Notes and substitutions
For the best results, use a good-quality Alfredo sauce, whether homemade or a favorite jarred brand. If using jarred, choose one with a rich, creamy texture and a pronounced garlic flavor.
The chicken should be diced into small, even pieces so it cooks quickly and fits neatly inside the tortillas. Mozzarella is the classic choice for its melt and stretch, but you can experiment with other melting cheeses like provolone or Monterey Jack.
Corn tortillas are essential for the crispy texture; flour tortillas will not crisp up the same way and may become chewy. If your tortillas are stiff, warm them briefly in a dry skillet or microwave before buttering to make them pliable. The butter adds richness and helps browning, but you can substitute with a neutral oil if you prefer. Fresh parsley brightens the dish, but you can skip it or use dried parsley in a pinch.
- chicken breast: chicken thighs, diced, for juicier results
- Alfredo sauce: homemade Alfredo sauce or a jarred variety
- corn tortillas: flour tortillas for a softer texture (note: not gluten-free)
- mozzarella: provolone or Monterey Jack for a different melt
Equipment
- Large skillet
- Medium skillet
- Spatula
- Cutting board
- Chef's knife
- Measuring spoons
- Small bowl for dip
Up next · Part 2 of 3
7 steps · 20 min of cooking · what to look for at each stage
Step-by-step instructions (Part 2)