Dinner · Part 1 of 3: Ingredients
Crispy Chicken Alfredo Bake with Mozzarella
- Prep
- Cook
- Total
- Serves
- 4
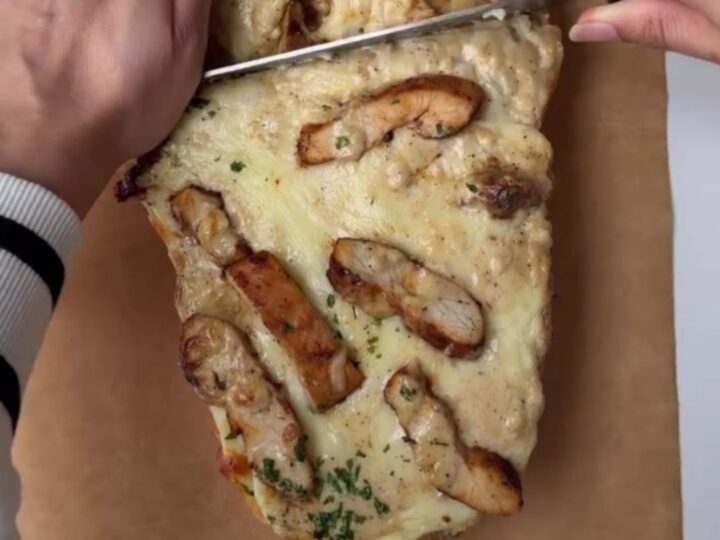
This crispy chicken Alfredo bake is the ultimate one-skillet dinner: juicy, paprika-spiced chicken cutlets smothered in a garlicky cream sauce, blanketed with mozzarella, and broiled until the top is bubbling and blistered.
With just 25 minutes from start to finish, it's a restaurant-quality meal that feels indulgent but comes together with minimal fuss. Perfect for busy weeknights or a cozy weekend dinner, this dish delivers a satisfying crunch, a creamy interior, and that irresistible cheese pull everyone loves.
Chicken Alfredo gets a crispy, cheesy upgrade in this one-skillet bake. Pounded chicken cutlets are seasoned with smoked paprika and seared until golden, then nestled into a rich garlic cream sauce and topped with a blanket of mozzarella.
A quick trip under the broiler creates a crackly, blistered crust that gives way to tender chicken and a silky, garlicky sauce. It's comfort food at its finest, with minimal cleanup and maximum flavor.
Ingredients
- 1 lb chicken breast cutlets, pounded thin
- 1 tbsp smoked paprika
- 1 tbsp garlic powder
- 1 tsp onion powder
- Black pepper, to taste
- Salt, to taste
- 2 tbsp butter
- 2 tbsp minced garlic
- 2 tbsp butter
- 1 cup heavy cream
- 1/2 cup grated parmesan cheese
- 2 cups shredded mozzarella cheese
Why this recipe works
The method here is all about building layers of flavor in a single skillet. Searing the chicken first creates a deep, caramelized crust that locks in juices and adds a savory foundation to the sauce.
The paprika and garlic powder cling to the surface, infusing every bite with warmth and spice. Then, the same pan is used for the Alfredo sauce, picking up all the browned bits left from the chicken — that's where the extra flavor comes from.
Broiling the assembled dish is the secret to the crispy crust. Instead of baking, which can steam the cheese, the broiler's intense heat melts the mozzarella quickly while creating blistered, golden spots. This contrast between the crunchy top and the creamy sauce beneath is what makes each bite so satisfying. Plus, the whole dish comes together in one pan, so cleanup is a breeze.
Notes and substitutions
For the best texture, use chicken breast cutlets that are pounded to an even thickness — this ensures they cook quickly and stay tender. If you can't find cutlets, buy boneless, skinless breasts and pound them yourself between two sheets of plastic wrap. Smoked paprika adds a subtle smokiness that pairs beautifully with the creamy sauce, but sweet paprika works too if that's what you have.
The Alfredo sauce is made with just three ingredients: butter, garlic, and heavy cream, thickened with parmesan. Use freshly grated parmesan for the smoothest melt and best flavor — pre-shredded varieties often contain anti-caking agents that can make the sauce grainy.
The mozzarella should be shredded from a block for the best melt and stretch. A good oven-safe skillet, like cast iron or stainless steel, is essential for the broiler step.
- smoked paprika: regular paprika or a pinch of cayenne for heat
- heavy cream: half-and-half for a lighter sauce (will be slightly thinner)
- chicken breast cutlets: boneless, skinless chicken thighs pounded thin
- parmesan: pecorino romano for a sharper flavor
Equipment
- Large oven-safe skillet
- Meat mallet or rolling pin
- Cutting board
- Chef's knife
- Measuring spoons
- Measuring cups
Up next · Part 2 of 3
5 steps · 15 min of cooking · what to look for at each stage
Step-by-step instructions (Part 2)