Appetizers · Part 3 of 3: Tips & recipe card
Crispy Cheesy Taco Sticks for Easy Snacking Tips, FAQ & printable recipe
- Prep
- Cook
- Total
- Serves
- 6
Tips for success
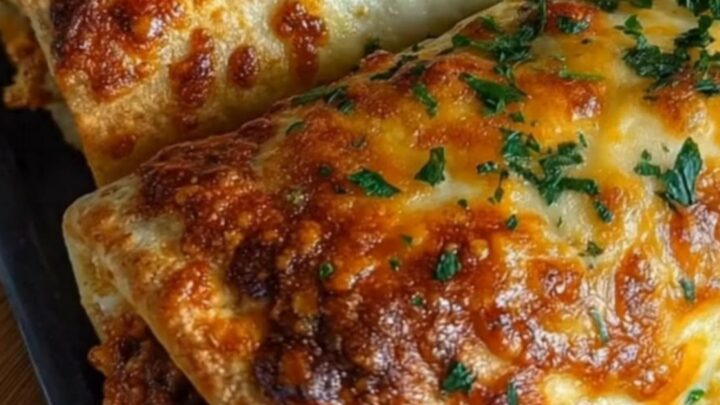
To achieve the most dramatic cheese pull, make sure to assemble the sticks with the cheese placed directly next to the warm meat so it begins melting immediately.
Keeping the oven hot ensures rapid melting without drying out the wrappers. Serve immediately after the short resting period, as melted cheese loses its elasticity as it cools below warm serving temperatures.
When rolling the wrappers, press firmly along the cylinder to eliminate air pockets. Tightly rolled sticks maintain their shape much better on the baking sheet and brown more uniformly.
If any wrappers seem brittle, cover them with a damp paper towel for a minute before filling to restore pliability and prevent seam cracks during the rolling step.
Variations
- Spicy Jalapeño Taco Sticks: Add finely diced pickled or fresh jalapeños to the seasoned beef before rolling. The sharp heat cuts through the rich melted cheese for an extra kick.
- Pepper Jack Taco Sticks: Substitute shredded pepper jack cheese in place of the mild cheese. The embedded chili flecks add gentle spice and robust flavor throughout each bite.
Storage and make-ahead
- Fridge
- Store in an airtight container for up to 3 days. Cool for under 2 hours before chilling to preserve crispness.
- Freezer
- Freeze baked, cooled sticks in a single layer on a tray, then seal in a freezer-safe bag for up to 1 month.
- Reheat
- Reheat on a baking sheet in a 375°F (190°C) oven for 8 to 10 minutes until hot and crispy throughout.
Allow leftovers to cool at room temperature for no more than 2 hours. Once cooled, place the taco sticks into an airtight container and store in the refrigerator for up to 3 days. Proper airtight storage keeps the wrappers from drying out while maintaining the savory quality of the beef and cheese filling.
These taco sticks can be assembled up to 4 hours in advance and stored seam-side down on the baking sheet in the refrigerator, loosely covered with plastic wrap.
When ready to bake, transfer the tray straight into the preheated oven, adding 2 to 3 extra minutes to the baking time to ensure the chilled filling heats all the way through.
Serving ideas
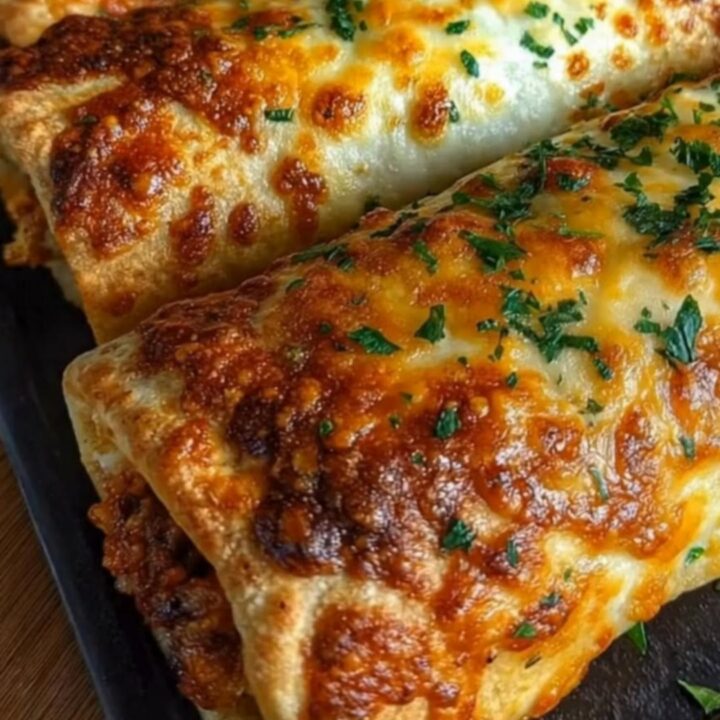
Serve the warm taco sticks arranged neatly on a flat serving plate or board right after baking. Garnish with a light sprinkle of parsley flakes across the top for an inviting contrast of green against the bubbly, browned cheese. Use a spatula to lift them smoothly from the dark baking sheet to keep the crispy bases intact.
Offer these sticks as an appetizer or quick handheld meal for casual family gatherings. They can be enjoyed exactly as they are or paired alongside fresh dipping bowls of salsa, guacamole, or sour cream.
Keep napkins readily available, as the generous, stretchy cheese pull and juicy beef filling make for an indulgent, hands-on eating experience.
Frequently asked questions
Can these taco sticks be assembled ahead of time?
Why do the taco sticks unroll while baking?
How can leftover taco sticks be made crispy again?
Crispy Cheesy Taco Sticks for Easy Snacking
Ingredients
- 1 lb ground beef
- 2 cups shredded cheese
- 12 taco wrappers
- parsley flakes, for serving
Instructions
- Place a large skillet over medium-high heat. Add the ground beef and cook, stirring and breaking the meat into fine crumbles with a spatula, until completely browned, cooked through, and reaching an internal temperature of at least 160°F (71°C). Drain off any excess grease and remove the skillet from the heat.
- Preheat the oven to 400°F (200°C). Lay out the taco wrappers on a clean work surface. Spoon a portion of the warm seasoned ground beef across each wrapper, then top generously with the shredded cheese. Roll each wrapper tightly around the filling into a snug cylinder and transfer seam-side down onto a dark baking sheet.
- Transfer the baking sheet to the oven and bake for 12 to 15 minutes until the wrappers turn crispy and golden brown and the cheese is melted and bubbly. Remove the baking sheet from the oven, sprinkle the tops with parsley flakes, and let rest for 5 minutes before lifting with a spatula and serving.
Estimated nutrition per serving
- Calories
- 270
- Protein
- 15 g
- Carbohydrates
- 16 g
- Fat
- 16 g
- Fiber
- 1 g
- Sugar
- 0.5 g
- Sodium
- 410 mg
Next recipe

Sheet Pan Garlic Cheese Bread
See the recipe → →This recipe is based on a short cooking video and is published under the pen name Clara Weller. It was checked before publication, but errors can slip through. Nutrition, when shown, is an estimate. Read more in our editorial policy and on our food safety page.
More recipes to try
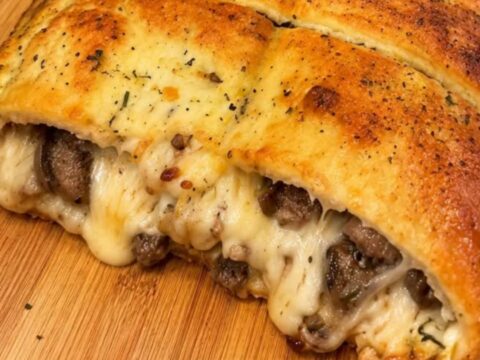
Crispy Sausage and Cheese Stuffed Bread
Total time: 45 min
Cheesy Baked Shrimp and Crab Dip for Entertaining
Total time: 30 min
Crispy Baked Ham and Mozzarella Sticks
Total time: 35 min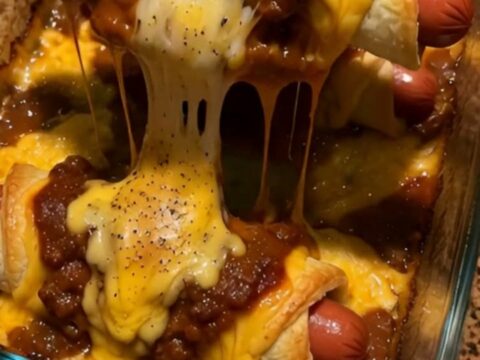
Cheesy Loaded Chili Cheese Dog Crescent Rolls
Total time: 35 min
Crispy Ham and Cheese Puff Pastry Roll
Total time: 35 min