Dinner · Part 3 of 3: Tips & recipe card
Crispy Cheesy Sheet Pan Chicken Tacos Tips, FAQ & printable recipe
- Prep
- Cook
- Total
- Serves
- 4
Tips for success
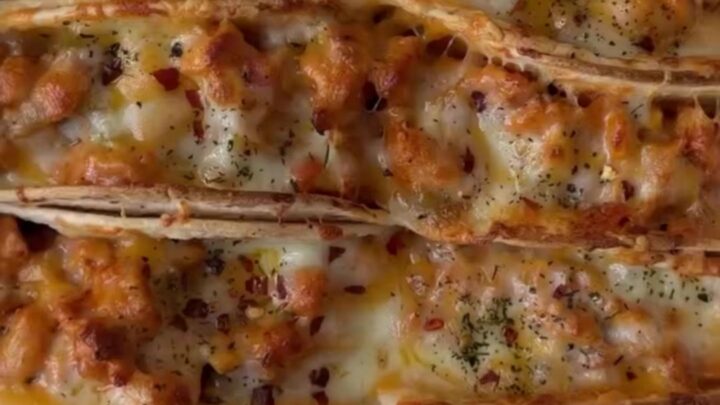
For the crispiest shells, make sure the oven is fully preheated before the tacos go in. A hot oven is key to getting that shattering texture.
If your shells are very curved and tend to tip over, prop them with crumpled foil or use a taco holder. You can also bake the shells empty for a few minutes before filling them, but this recipe is designed to work without that extra step.
Don't skip the 2- to 3-minute rest after baking. It lets the cheese firm up slightly so it doesn't pull away from the shell when you bite.
Serve the tacos immediately after resting, as they lose their crispness as they sit. If you have leftover filling, it's great over rice or in a burrito bowl the next day.
Variations
- Spicy Chorizo Tacos: Swap the chicken for fresh chorizo, cooking it in the skillet until browned and cooked through to 160°F (71°C). Skip the taco seasoning and use just the cumin and smoked paprika. The chorizo's own spices carry the flavor.
- Black Bean and Corn Tacos: For a vegetarian version, replace the chicken with 1 can of black beans (rinsed) and 1 cup of frozen corn, sautéed with the same spices and tomato paste. No protein temperature needed; just heat through.
- Chipotle Chicken Tacos: Add 1 canned chipotle pepper in adobo, minced, along with the tomato paste. This adds a smoky, spicy kick. Reduce the smoked paprika to 1/2 teaspoon to balance the heat.
- Breakfast Tacos: Use the same method with scrambled eggs and cooked breakfast sausage. Cook the sausage until it reaches 160°F (71°C), then stir in beaten eggs and scramble until set. Fill the shells and bake as directed.
Storage and make-ahead
- Fridge
- Store leftover tacos in the refrigerator for up to 2 days. Reheat the filling in a skillet and re-crisp the shells in a 350°F (175°C) oven for 3 to 5 minutes.
- Freezer
- The cooked chicken filling freezes well for up to 3 months. Thaw overnight in the refrigerator, then reheat in a skillet until hot.
- Reheat
- To reheat leftover tacos, place them on a sheet pan and warm in a 350°F (175°C) oven for 5 to 7 minutes, until the shells are crisp again.
Store leftover tacos in an airtight container in the refrigerator for up to 2 days. To keep the shells from getting soggy, store the filling and shells separately if possible.
Reheat the filling in a skillet or microwave, and re-crisp the shells in a 350°F (175°C) oven for 3 to 5 minutes before assembling.
The chicken filling can be cooked up to 2 days ahead and stored in the refrigerator. When ready to serve, reheat the filling in a skillet until hot, then assemble and bake the tacos as directed. The filling can also be frozen for up to 3 months; thaw overnight in the refrigerator before reheating.
Serving ideas
Serve the tacos hot from the oven, with a bowl of cool sour cream and a jar of your favorite salsa for dipping.
The contrast of the warm, crispy shell and the cool, creamy sour cream is the perfect finish. You can also add a sprinkle of fresh cilantro or a squeeze of lime, though the video keeps it simple.
These tacos are hearty enough to be a meal on their own, but they also pair well with a simple side of Mexican rice, refried beans, or a crisp green salad. For a casual taco night, set out bowls of extra toppings like diced avocado, pickled onions, or hot sauce so everyone can customize their own.
Frequently asked questions
Can these tacos be made ahead of time?
Why are your taco shells soggy?
Can you use flour tortillas instead of hard shells?
What is the best cheese for these tacos?
Can these tacos be frozen?
Crispy Cheesy Sheet Pan Chicken Tacos
Ingredients
- 1 lb boneless skinless chicken breast, cut into 1/2-inch cubes
- 2 tbsp olive oil
- 1 tbsp taco seasoning
- 1 tsp ground cumin
- 1 tsp smoked paprika
- 1/2 tsp garlic powder
- 2 tbsp tomato paste
- 8 hard taco shells
- 2 cups shredded Monterey Jack cheese
- sour cream, for serving
- salsa, for serving
Instructions
- Heat the olive oil in a large skillet over medium-high heat. Add the chicken cubes in a single layer and cook, stirring occasionally, until they are lightly browned on all sides, about 3 minutes. Sprinkle with taco seasoning, cumin, smoked paprika, and garlic powder. Stir to coat every piece. Add the tomato paste and stir until the chicken is evenly coated and the paste has darkened slightly, about 1 minute. The chicken should be cooked through to 165°F (74°C) before moving on.
- Preheat the oven to 425°F (218°C). While it heats, arrange the taco shells upright on a sheet pan, leaning them against each other so they stay open. If the shells are very curved, you can prop them with crumpled foil.
- Spoon the cooked chicken mixture into each taco shell, dividing it evenly. Top each shell with a generous sprinkle of shredded Monterey Jack cheese, letting some fall onto the pan around the shells for a crispy cheese crown. Press the filling down gently so the shells stay open.
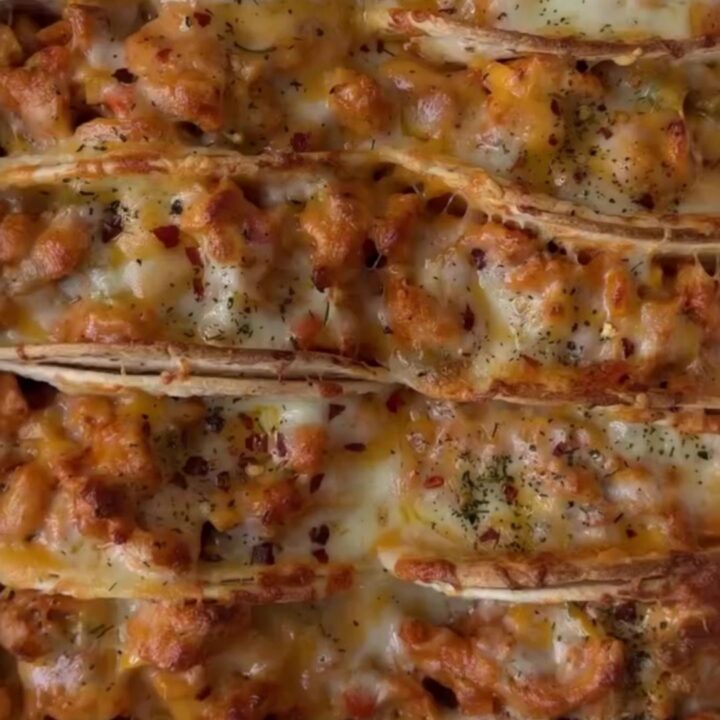
- Place the sheet pan in the oven and bake for 12 minutes, until the shells are deeply golden and crisp, the cheese is melted and bubbling, and the edges of the cheese on the pan have turned deep brown. The cheese should form a lacy, golden crown around each taco.
- Remove the sheet pan from the oven and let the tacos cool on the pan for 2 to 3 minutes. This lets the cheese set slightly so it doesn't slide off when you bite. Serve immediately with sour cream and salsa for dipping.
Estimated nutrition per serving
- Calories
- 520
- Protein
- 35 g
- Carbohydrates
- 28 g
- Fat
- 29 g
Next recipe
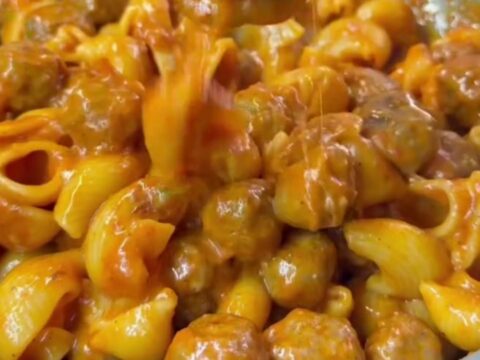
One-Pan Roasted Tomato Rigatoni with Mozzarella
See the recipe → →This recipe is based on a short cooking video and is published under the pen name Clara Weller. It was checked before publication, but errors can slip through. Nutrition, when shown, is an estimate. Read more in our editorial policy and on our food safety page.
More recipes to try
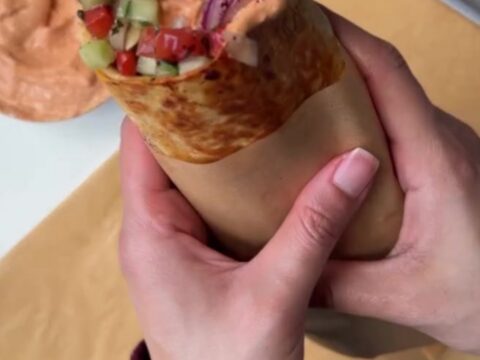
Smoky Sheet Pan Chicken Kebab Wraps with Garlic Yogurt Sauce
Total time: 55 min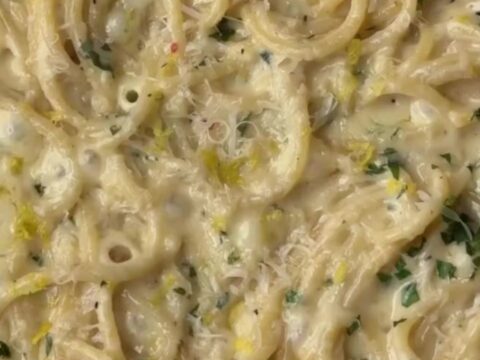
Creamy Lemon Garlic Spaghetti in 12 Minutes
Total time: 12 min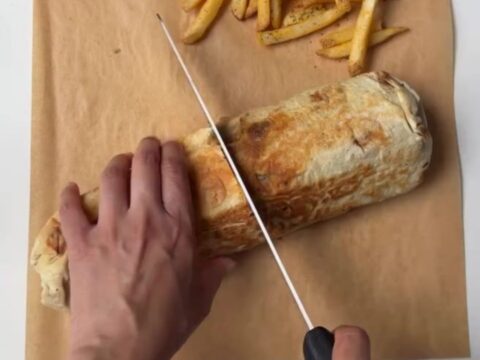
Crispy Chicken Lavash Wrap with Garlic Sauce
Total time: 35 min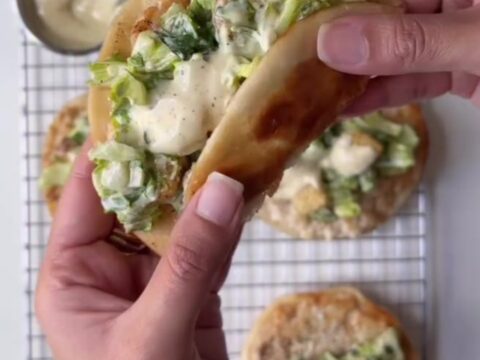
Crispy Smashed Chicken Caesar Tacos
Total time: 27 min
Quick Lemon Garlic Chicken Alfredo with Fettuccine
Total time: 30 min