Dinner · Part 3 of 3: Tips & recipe card
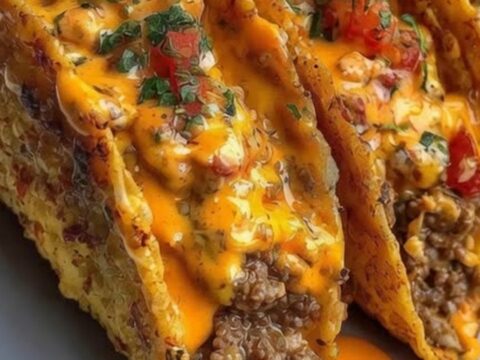
Crispy Cheesy Rotel Beef Tacos Tips, FAQ & printable recipe

- Prep
- Cook
- Total
- Serves
- 4
Tips for success
To add more depth to the beef, consider adding a dash of smoked paprika or cumin during the browning process. These spices enhance the savory notes of the meat and complement the tangy heat of the green chilies found in the cheese sauce, creating a more layered and professional flavor profile in your final dish.
For the best presentation, use a small ladle or a squeeze bottle to apply the cheese sauce to the tacos. This allows you to control the amount of cheese added to each shell, ensuring a clean look while guaranteeing that every bite has the perfect ratio of meat to cheese and crunchy shell.
Variations
- Spicy Version: Add a tablespoon of finely diced jalapeños or a dash of cayenne pepper to the cheese sauce for an extra kick of heat that complements the green chilies.
- Loaded Taco Version: Top the finished tacos with shredded lettuce, diced avocado, and a dollop of sour cream to add fresh, cooling elements that contrast with the hot, savory beef and cheese.
Storage and make-ahead
- Fridge
- Keep leftovers in the refrigerator for up to 3 days in separate airtight containers.
- Freezer
- The beef mixture can be frozen for up to 2 months; the cheese sauce is not recommended for freezing.
- Reheat
- Reheat the beef in a skillet over medium heat until hot; gently warm the cheese sauce in a small saucepan over low heat, stirring occasionally.
Store any leftover beef and cheese sauce separately in airtight containers in the refrigerator. Do not store assembled tacos, as the shells will lose their crispness and become unpleasantly soft.
The beef can be kept for up to three days, and the cheese sauce will remain good for up to two days when refrigerated properly.
You can prepare the beef mixture and the cheese sauce in advance, which makes assembly on the day of serving very quick.
Simply reheat the beef in a skillet and warm the cheese sauce gently over low heat, adding a splash of milk if the sauce has thickened too much in the refrigerator. Assemble the tacos fresh just before serving to ensure the best possible texture.
Serving ideas
Serve these tacos immediately after assembly to ensure the shells remain crunchy and the cheese sauce stays warm. They pair beautifully with sides like seasoned black beans, cilantro-lime rice, or a crisp green salad to round out the meal.
Providing extra toppings like lime wedges, sour cream, or hot sauce on the side allows everyone to customize their tacos to their preferred level of heat and acidity.
Since these tacos are best enjoyed fresh, consider setting up a taco bar where guests can assemble their own. Keep the beef and cheese sauce in small slow cookers or chafing dishes to maintain the ideal temperature throughout the meal.
This approach keeps the shells crisp and allows for a more interactive and relaxed dining experience, making it perfect for casual gatherings or family dinners.
Frequently asked questions
Can the cheese sauce be made in the microwave?
What is the best way to keep the taco shells crispy?
Are there alternatives to processed cheese?
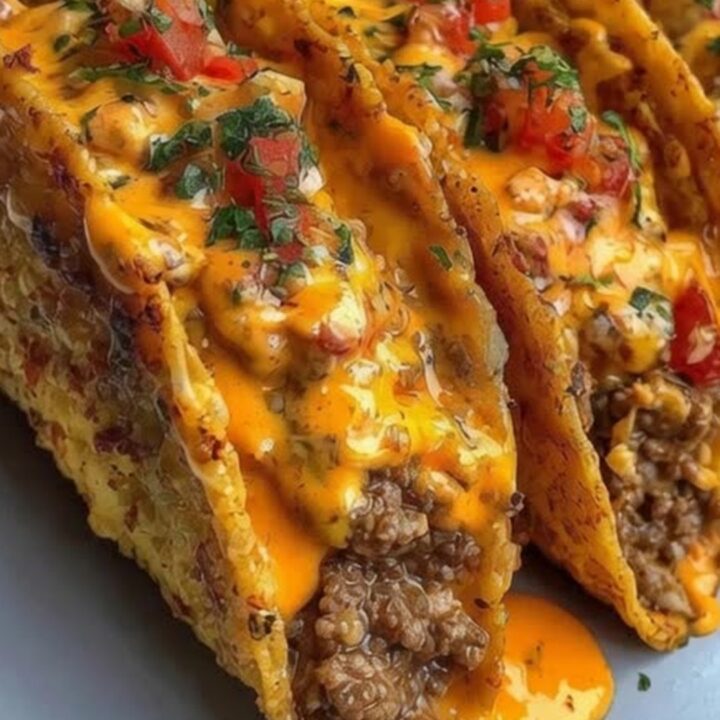
Crispy Cheesy Rotel Beef Tacos
Ingredients
- 1 lb ground beef
- 8 taco shells
- 1 can diced tomatoes with green chilies
- 8 oz processed cheese
- 1/2 cup pico de gallo
Instructions
- Place the ground beef in a skillet over medium-high heat. Break the meat apart with a spatula and cook until fully browned and no longer pink. Ensure the internal temperature reaches 160°F (71°C) to guarantee safety. Drain any excess grease from the pan before proceeding to the next step.
- In a separate saucepan, combine the diced tomatoes with green chilies and the processed cheese over medium-low heat. Stir constantly until the cheese has completely melted into a smooth, velvety sauce and the mixture is bubbling gently. Keep warm until ready to serve with the beef.
- Arrange the crisp taco shells on a serving plate. Fill each shell generously with the cooked ground beef. Ladle the warm Rotel cheese sauce over the beef in each shell. Finally, garnish the top of each taco with a spoonful of fresh pico de gallo and serve immediately while hot.
Estimated nutrition per serving
- Calories
- 450
- Protein
- 22 g
- Carbohydrates
- 28 g
- Fat
- 26 g
- Fiber
- 2 g
- Sugar
- 3 g
- Sodium
- 850 mg
Next recipe
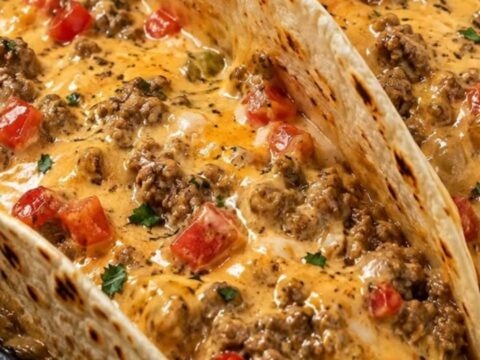
Cheesy Rotel Beef Soft Tortillas
See the recipe → →This recipe is based on a short cooking video and is published under the pen name Clara Weller. It was checked before publication, but errors can slip through. Nutrition, when shown, is an estimate. Read more in our editorial policy and on our food safety page.
More recipes to try
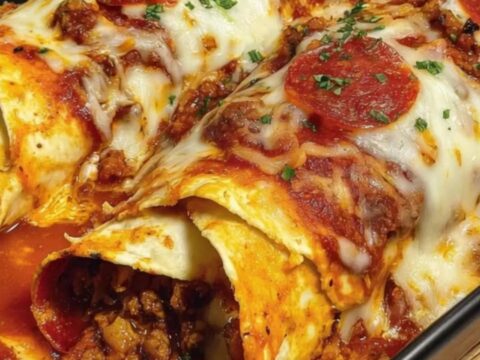
Easy Ground Beef Pizza Enchiladas for a Quick Weeknight Dinner
Total time: 45 min
Creamy Garlic Butter Chicken Breast
Total time: 30 min
Garlic Butter Mushroom Stuffed Chicken
Total time: 45 min
Creamy White Chicken Enchiladas for Easy Comfort
Total time: 55 min
Classic Surf and Turf with Garlic Butter Shrimp and Filet Mignon
Total time: 40 min