Dinner · Part 3 of 3: Tips & recipe card
Crispy Cheesy Beef Cones with Golden Tortilla Crust Tips, FAQ & printable recipe

- Prep
- Cook
- Total
- Serves
- 4
Tips for success
For the crispiest cones, make sure the tortillas are fully dry before shaping. If they are too moist, they will steam rather than crisp. Also, avoid overfilling the cones, as the moisture from the filling can soften the tortilla from the inside.
Baking the cones upright on a foil-lined sheet allows hot air to circulate, ensuring even browning. If you have leftover filling, it can be used in tacos or as a topping for nachos.
To get a nice golden color on the tortillas, you can brush the outside lightly with oil or melted butter before baking. This is optional but adds a rich sheen and extra crispness.
If you prefer a spicier version, add a pinch of cayenne or a diced jalapeño to the beef mixture. For a more indulgent twist, sprinkle extra cheese on top of the cones during the last minute of baking, so it melts and becomes golden and bubbly.
Variations
- Chicken Fajita Cones: Substitute the ground beef with thinly sliced chicken breast, and use fajita seasoning instead of the paprika-cumin blend. Cook the chicken until no longer pink and reaches 165°F (74°C). Add grilled onions and peppers for a smoky flavor.
- Veggie Black Bean Cones: Replace the ground beef with a mixture of black beans, corn, and diced zucchini. Sauté with the same aromatics and spices, and add a splash of lime juice. The beans provide a hearty texture without any meat.
- Spicy Chorizo Cones: Use fresh chorizo sausage instead of ground beef, and omit the additional salt. Cook the chorizo until browned and cooked through, then mix with the peppers and onions. The chorizo adds a spicy, smoky depth that pairs well with the cheese.
- Breakfast Cones: Fill the cones with scrambled eggs, cooked breakfast sausage, and shredded cheddar. Bake as directed, but reduce the time to 6-7 minutes since the filling is already cooked. Serve with salsa or hot sauce for a breakfast twist.
Storage and make-ahead
- Fridge
- Store leftover cones in an airtight container in the refrigerator for up to 3 days. Reheat in a 350°F (175°C) oven for 5-7 minutes to restore crispness.
- Freezer
- Freeze assembled unbaked cones on a baking sheet until firm, then transfer to a freezer bag. Bake from frozen at 400°F (200°C) for 12-15 minutes.
- Reheat
- Reheat baked cones in a 350°F (175°C) oven for 5-7 minutes until hot and crisp. Avoid microwaving to prevent sogginess.
Leftover cones can be stored in an airtight container in the refrigerator for up to 3 days. To maintain their crispness, reheat them in a toaster oven or conventional oven at 350°F (175°C) for 5 to 7 minutes. Avoid microwaving, as it will make the tortillas soggy. The filling can also be stored separately and used to make tacos or quesadillas within a few days.
The beef filling can be prepared up to 2 days in advance and stored in the refrigerator. When ready to serve, reheat the filling in a skillet, then assemble the cones and bake as directed. The cones can also be fully assembled (filled but unbaked) and refrigerated for up to 24 hours; bake them straight from the fridge, adding a couple of minutes to the baking time.
Serving ideas
Serve the crispy cheesy beef cones hot, straight from the oven, with a side of sour cream, salsa, or guacamole for dipping. The contrast between the crunchy tortilla and the molten cheese is best experienced immediately.
These cones are perfect for a casual dinner, game day, or any gathering where people want to eat with their hands. They are also great for kids, who will love the fun shape and the gooey cheese.
For a more substantial meal, pair the cones with a simple green salad or a bowl of black beans. You can also offer additional toppings like chopped cilantro, diced avocado, or a squeeze of lime to brighten the flavors.
If you’re serving a crowd, arrange the cones upright on a platter and let everyone grab one. The cones are sturdy enough to hold up, and the filling stays warm for a while.
Frequently asked questions
Can these cones be made ahead of time?
What is the best way to reheat leftover cones?
Can corn tortillas be used instead of flour?
How can these cones be made gluten-free?
What dipping sauces go well with these cones?
Crispy Cheesy Beef Cones with Golden Tortilla Crust

Ingredients
- 4 large flour tortillas (10-inch)
- 1 lb ground beef (80/20)
- 1 medium yellow onion, finely chopped
- 3 cloves garlic, minced
- 2 medium bell peppers, diced (any color)
- 2 tbsp tomato paste
- 1 tsp smoked paprika
- 1 tsp ground cumin
- 1/2 tsp red pepper flakes
- 1 1/2 cups shredded mozzarella cheese
- kosher salt, to taste
- black pepper, to taste
Instructions
- Heat a large skillet over medium-high heat. Add the ground beef and cook, breaking it up with a spoon, until browned and no longer pink, about 5 to 7 minutes. Add the onion and bell peppers and cook until softened, about 3 minutes. Stir in the garlic, tomato paste, smoked paprika, cumin, red pepper flakes, salt, and black pepper. Cook for 1 minute more until fragrant. Remove from heat and let cool slightly.
- Transfer the beef mixture to a bowl. Add the shredded mozzarella and stir until evenly distributed. The residual heat will begin to melt the cheese slightly, helping the filling hold together.
- Preheat the oven to 400°F (200°C). Wrap the tortillas in a damp paper towel and microwave for 30 seconds to make them pliable. One at a time, shape each tortilla into a cone by folding it in half and then rolling it into a cone shape. Secure with a toothpick if needed. Place the cones upright on a baking sheet lined with foil, using crumpled foil balls on the inside to help them hold their shape.
- Spoon the beef and cheese mixture into each cone, packing it gently but firmly. Fill all the way to the top, leaving a little cheese exposed at the opening. Place the filled cones upright on the prepared baking sheet.
- Bake the cones at 400°F (200°C) for 8 minutes, until the tortillas are golden brown and crisp and the mozzarella is bubbling and browned at the tips. Remove from the oven and let cool for 2 to 3 minutes before serving.
Estimated nutrition per serving
- Calories
- 520
- Protein
- 32 g
- Carbohydrates
- 38 g
- Fat
- 28 g
Next recipe
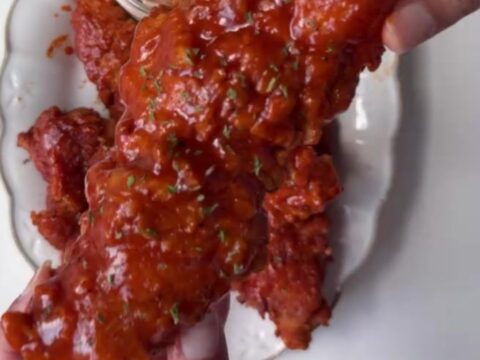
Crunchy Honey BBQ Chicken Tenders with Creamy Dip
See the recipe → →This recipe is based on a short cooking video and is published under the pen name Clara Weller. It was checked before publication, but errors can slip through. Nutrition, when shown, is an estimate. Read more in our editorial policy and on our food safety page.
More recipes to try
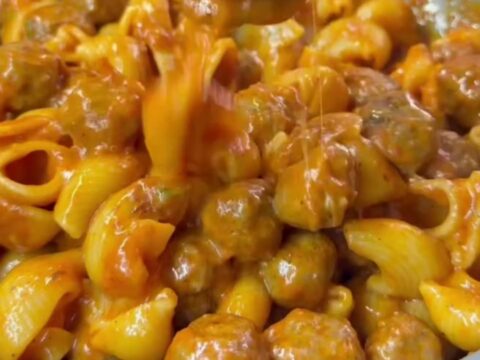
One-Pan Mini Meatball and Shell Pasta
Total time: 45 min
Crispy Oven-Baked Chicken Tacos with Cilantro Crema
Total time: 32 min
Cheesy Chicken Alfredo Garlic Bread
Total time: 30 min
Spicy Chili Crisp Chicken Alfredo: 30-Minute Creamy Pasta
Total time: 30 min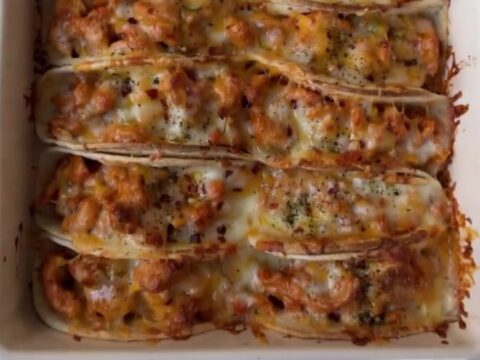
Crispy Oven-Baked Chicken Tacos with Creamy Cajun Filling
Total time: 37 min