Dinner · Part 1 of 3: Ingredients
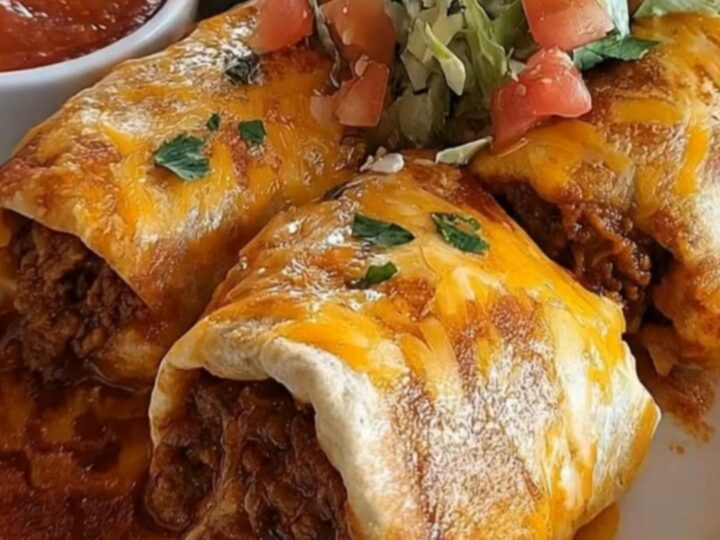
Crispy Cheesy Beef Chimichangas for a Savory Dinner
- Prep
- Cook
- Total
- Serves
- 4
Crispy, golden, and packed with flavor, these homemade beef chimichangas are the definition of comfort food. Whether you are craving a hearty dinner or looking for a way to elevate your usual Mexican-inspired meals, this recipe provides that perfect crunch and melty cheese pull every time. It is a straightforward, reliable method that brings restaurant-style quality directly to your own kitchen table without any unnecessary fuss or complicated ingredients.
Making chimichangas from scratch is surprisingly simple when you focus on the fundamentals of a good filling and a proper fry. The secret lies in the balance between the seasoned ground beef and the cheese, which melts into a stretchy, savory core when fried.
By using high-quality flour tortillas and ensuring the oil is at the right temperature, you achieve a shell that stays crisp while holding all the juices inside. This recipe focuses on creating a consistent, delicious result that serves as a staple for any home cook.
Ingredients
Filling
- 1 lb ground beef
- 4 large flour tortillas
- 2 cups shredded cheese
Cooking
- 2 cups cooking oil for frying
Topping
- 1/2 cup red sauce
- 1/4 cup sour cream
- 1 cup shredded lettuce
Why this recipe works
The method of frying the assembled burrito creates a sealed, crispy exterior that acts as a vessel for the savory filling. By browning the ground beef first, you develop a deep, savory flavor profile that permeates the entire dish.
The addition of cheese inside creates a structural bond when melted, helping the filling stay intact while the shell crisps up in the hot oil. This technique ensures that every bite is consistent, providing the perfect ratio of crunchy tortilla to rich, seasoned meat and melted cheese.
Precision in the frying process is what separates a soggy chimichanga from a perfect one. By placing the seam side down first, the heat immediately seals the tortilla, preventing the filling from leaking into the oil.
Maintaining a steady oil temperature ensures the exterior browns evenly without the tortilla absorbing too much oil, resulting in a light, shattered-glass crunch. This method allows for a quick turnaround time, making it an efficient choice for a satisfying dinner that feels indulgent yet remains entirely achievable.
Notes and substitutions
Choosing the right flour tortilla is essential for the structure of the chimichanga. Look for large, soft flour tortillas that are pliable enough to roll without cracking. If the tortillas are too dry, they may tear during the rolling process; warming them slightly in a microwave for a few seconds can improve elasticity.
The choice of cheese is also flexible, but a good melting cheese like sharp cheddar or a blend of Monterey Jack works best to ensure that signature gooey texture in every bite.
Regarding equipment, a heavy-bottomed skillet or a cast-iron pan is ideal for frying as it holds heat consistently. Always use long-handled tongs to safely turn the chimichangas in the hot oil. Ensure that the frying oil is not overcrowded, as this can drop the temperature too quickly and result in greasy food. Drain the finished chimichangas on a wire rack or paper towels to maintain the crispness of the shell before adding the final toppings of red sauce, sour cream, and fresh lettuce.
- ground beef: ground turkey or ground chicken
- shredded cheese: monterey jack or pepper jack cheese
Equipment
- large skillet
- tongs
- mixing bowl
- paper towels
- slotted spoon
Up next · Part 2 of 3
3 steps · 20 min of cooking · what to look for at each stage
Step-by-step instructions (Part 2)