Dinner · Part 1 of 3: Ingredients
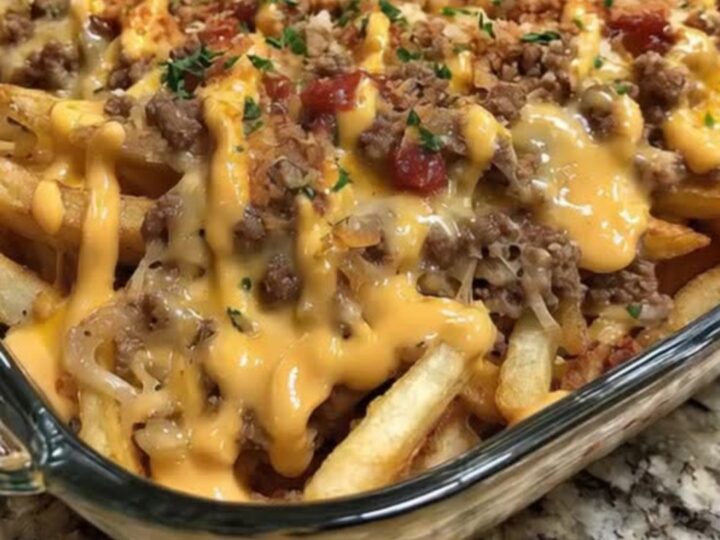
Crispy Cheeseburger French Fry Casserole
- Prep
- Cook
- Total
- Serves
- 6
Sizzle, melt, and crunch your way to dinner heaven with this incredible cheeseburger french fry casserole. It combines seasoned, seared ground beef, crispy golden fries, and a rich, velvety cheddar cheese blanket into one ultimate comfort food dish. Perfect for busy weeknights or game day gatherings, this crowd-pleasing bake delivers classic diner flavors in every single scoop.
There is nothing quite like the combination of a juicy cheeseburger and hot, crispy french fries, but serving them individually to a hungry crowd can be a hassle. This clever casserole solves that dilemma by layering all those beloved flavors into one convenient baking dish.
By pre-baking the fries to ensure they stay crispy under the hearty toppings, then layering them with perfectly seasoned seared ground beef, a rich cheese sauce, and a generous layer of melted cheddar, you get the perfect bite every time. It is a warm, comforting meal that will have everyone coming back for seconds.
Ingredients
- 24 oz frozen french fries, baked until extra crispy
- 1.5 lb ground beef
- 1 cup cheddar cheese sauce, warmed
- 2 cups shredded cheddar cheese
Why this recipe works
The secret to the success of this casserole lies in the dual-texture approach to the cheese and the pre-baking of the fries.
Using both a velvety warm cheese sauce and shredded cheddar cheese ensures that every nook and cranny of the beef and fries is coated in rich, creamy goodness, while the shredded cheese melts into a beautifully golden, gooey crust on top. This prevents the dish from drying out during the final bake while providing that classic cheese-pull texture.
Searing the ground beef over high heat before adding it to the casserole creates a deep, savory fond that locks in moisture and flavor. Seasoning the meat simply to taste with your favorite burger seasonings mimics the flavor profile of a classic griddle-cooked burger patty.
When baked together, the seasoned beef juices mingle with the cheese sauce and infuse the crispy fries, resulting in a cohesive dish rather than just a pile of separate ingredients.
Notes and substitutions
For the best results, select a high-quality ground beef with an 80/20 lean-to-fat ratio. This level of fat provides the necessary moisture and rich flavor that defines a great cheeseburger, and any excess grease can be drained after searing to prevent the casserole from becoming soggy. If preferred, ground turkey or ground chicken can be used as a leaner alternative, though the cooking time may need slight adjustment to prevent drying.
When it comes to the fries, standard cut or crinkle-cut frozen french fries work exceptionally well because they have enough structure to hold up under the heavy toppings.
Be sure to bake them until they are extra crispy before assembling the casserole, as they will soften slightly once layered with the cheese sauce and beef. A rectangular 9x13-inch glass baking dish is the ideal vessel for this recipe, allowing for even heat distribution and beautiful layers.
- ground beef: ground turkey, ground chicken, or a plant-based beef alternative
- cheddar cheese sauce: a homemade roux-based cheese sauce or a warm nacho cheese sauce
Equipment
- 9x13-inch glass baking dish
- Large skillet
- Spatula
- Baking sheet
- Colander
Up next · Part 2 of 3
5 steps · 35 min of cooking · what to look for at each stage
Step-by-step instructions (Part 2)