Dinner · Part 3 of 3: Tips & recipe card
Crispy Cheese-Shell Beef Tacos for a Quick Weeknight Dinner Tips, FAQ & printable recipe

- Prep
- Cook
- Total
- Serves
- 4
Tips for success
To keep the cheese shells upright while they cool, you can rest them against a small bowl or a taco rack. This prevents them from flattening out and ensures they stay open, making it much easier to add the ground beef filling without the shell breaking or collapsing under the weight of the meat.
If you are preparing a larger batch, keep the finished beef warm in a low-temperature oven while you focus on frying the cheese shells. This ensures that everyone can enjoy their tacos at the same time.
Remember to wipe the skillet with a fresh paper towel between each batch of cheese to remove any burnt bits that could affect the flavor of the next shell.
Variations
- Spicy Beef Tacos: Add chopped jalapeños or a dash of cayenne pepper to the beef while it browns for an extra kick of heat that complements the rich cheese shell.
- Tex-Mex Taco Toppings: Garnish the finished tacos with fresh cilantro, diced red onion, or a squeeze of lime juice to brighten the flavors and add a fresh crunch to the dish.
Storage and make-ahead
- Fridge
- Keep leftover beef in a sealed container for up to 3 days.
- Freezer
- The beef filling can be frozen in a freezer-safe bag for up to 2 months.
- Reheat
- Reheat the beef in a skillet over medium heat until steaming hot.
Store any leftover beef in an airtight container in the refrigerator for up to three days. It is not recommended to store assembled tacos, as the cheese shells will lose their crunch and become soggy when refrigerated.
Keep the shells and the filling separate until you are ready to serve to maintain the best quality and texture for your meal.
You can prepare the seasoned ground beef filling up to two days in advance and keep it in the refrigerator. This allows you to quickly reheat the meat and focus entirely on making the fresh cheese shells right before serving.
This approach is ideal for busy weeknights when you want the experience of fresh tacos without the extra preparation time.
Serving ideas
Serve these tacos immediately after assembly for the best texture. The contrast between the hot, crunchy cheese shell and the savory beef is at its peak right when the taco is finished. Pair them with a side of fresh salsa, lime wedges, or a simple green salad to round out the meal without overwhelming the star of the show.
Provide extra creamy sauce on the side for dipping, as the crispy cheese shell makes these tacos perfect for picking up and enjoying.
If serving to a group, set up a small station with additional toppings like shredded lettuce or diced tomatoes, allowing each person to customize their taco while keeping the crispy cheese base as the foundation.
Frequently asked questions
Can the cheese shells be made in the oven?
Why is the cheese sticking to the pan?
Can this be made ahead?
Crispy Cheese-Shell Beef Tacos for a Quick Weeknight Dinner

Ingredients
- 1 lb ground beef
- 1 packet taco seasoning
- 2 cups shredded cheddar cheese
- 1/2 cup creamy sauce, store-bought or made ahead
Instructions
- Heat a large non-stick skillet over medium-high heat. Add the ground beef and cook, breaking it apart with a spatula, until browned and fully cooked through. Stir in the taco seasoning and a splash of water as directed on the packet. Once the beef reaches 160°F (71°C), remove it from the skillet and set aside in a bowl.
- Wipe the skillet clean with a paper towel. Return it to medium heat. Sprinkle a small mound of shredded cheddar cheese into the pan in a circle. Let it cook until the edges turn golden brown and the cheese is bubbling and crispy. Carefully use tongs to fold the cheese circle in half while it is still warm and pliable, then remove it to a plate to cool slightly.
- Fill each crispy cheese shell with the prepared seasoned ground beef. Drizzle the creamy sauce over the top of the beef. Serve immediately while the shells are fresh and crunchy.
Estimated nutrition per serving
- Calories
- 420
- Protein
- 28 g
- Carbohydrates
- 6 g
- Fat
- 32 g
- Fiber
- 1 g
- Sugar
- 1 g
- Sodium
- 750 mg
Next recipe

Loaded Taco Casserole for an Easy Weeknight Dinner
See the recipe → →This recipe is based on a short cooking video and is published under the pen name Clara Weller. It was checked before publication, but errors can slip through. Nutrition, when shown, is an estimate. Read more in our editorial policy and on our food safety page.
More recipes to try

Garlic Parmesan Bacon Cheeseburger Bombs
Total time: 40 min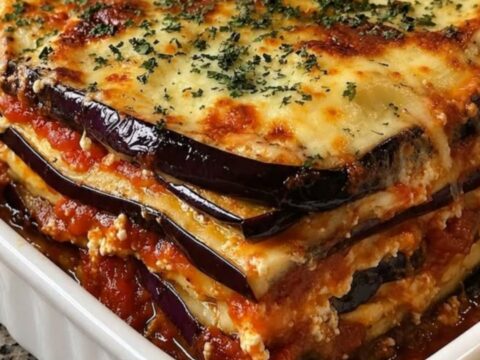
Cheesy Baked Eggplant Lasagna with Rich Tomato Sauce
Total time: 1 h 15 min
Crispy Cheesy Stuffed Cheesesteak Bread
Total time: 45 min
Creamy Garlic Butter Chicken Rotini for a Quick Dinner
Total time: 35 min
Creamy Swedish Meatball Noodle Bake
Total time: 50 min