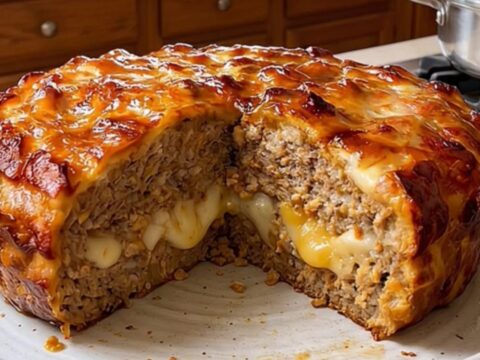
Dinner · Part 3 of 3: Tips & recipe card
Crispy Cheese-Shell Beef Taco Tips, FAQ & printable recipe

- Prep
- Cook
- Total
- Serves
- 4
Tips for success
To achieve the most consistent results, use a high-quality, heavy-bottomed non-stick skillet.
This helps maintain a steady temperature throughout the cheese-frying process, preventing hot spots that might cause the cheese to burn before it has a chance to crisp up into the desired shell shape.
Experiment with adding a pinch of smoked paprika or garlic powder to the cheese while it is in the skillet for an extra layer of savory flavor.
Adding small amounts of seasoning directly to the cheese allows it to integrate into the shell, enhancing the overall experience.
Variations
- Spicy Cheese Shell: Mix a teaspoon of chili powder or cayenne pepper into the shredded cheese before melting it in the skillet to add a spicy kick to the shell itself.
- Vegetarian Option: Substitute the ground beef with seasoned black beans or a meat alternative crumbles for a vegetarian-friendly version that still offers that satisfying, savory protein content.
Storage and make-ahead
- Fridge
- Store leftover beef in an airtight container for up to 3 days.
- Freezer
- The ground beef can be frozen for up to 3 months in a freezer-safe container.
- Reheat
- Reheat the beef in a skillet over medium heat until steaming. Do not attempt to reheat the cheese shells; they will not regain their crispness.
If you have leftovers, store the cooked beef separately from the cheese shells. The beef can be kept in an airtight container for up to three days. The cheese shells are best consumed fresh, as they lose their signature crunch when stored, even in the refrigerator.
The ground beef can be prepared up to two days in advance and kept in the refrigerator.
The diced tomatoes and creamy sauce can also be prepped ahead of time, but the cheese shells should always be cooked immediately before serving to ensure they remain perfectly crispy.
Serving ideas
Serve these tacos immediately after assembly.
The contrast between the hot, crispy cheese shell and the seasoned beef is the main attraction, and this experience is significantly diminished if the tacos are left to sit for more than a few minutes after being filled.
Pair the tacos with fresh lime wedges to cut through the richness of the cheese and beef. A side of pickled red onions or fresh cilantro can also add a bright, acidic note that balances the savory, fatty profile of the dish perfectly.
Frequently asked questions
Can the cheese shells be made ahead of time?
Why does the cheese stick to the pan?
Can different types of cheese be used?
Crispy Cheese-Shell Beef Taco

Ingredients
- 1 lb ground beef
- 1 packet taco seasoning
- 2 cups shredded cheddar cheese
- 1/2 cup creamy orange sauce, prepared or store-bought
- 1/2 cup diced tomatoes
Instructions
- Heat a non-stick skillet over medium-high heat. Add the ground beef and cook, breaking it apart with a spatula, until browned and no longer pink. Drain excess fat if necessary. Stir in the taco seasoning and a splash of water as directed on the packet. Continue cooking until the flavors are well incorporated and the meat reaches 160°F (71°C). Remove from heat and set aside.
- Wipe the skillet clean. Place a portion of shredded cheddar cheese into the skillet over medium heat. Allow the cheese to melt and spread into a thin, even circle. Once the edges start to bubble and brown, carefully fold the cheese circle in half using a spatula or tongs to create a taco shape. Lift it out of the pan and hold it for a few seconds until the cheese sets into a firm, crispy shell.
- Place the crispy cheese shells on a plate. Carefully spoon the prepared seasoned ground beef into each shell. Top with a generous drizzle of the creamy orange sauce and a sprinkle of diced tomatoes. Serve immediately while the shell maintains its signature crunch and the meat is warm.
Estimated nutrition per serving
- Calories
- 420
- Protein
- 22 g
- Carbohydrates
- 8 g
- Fat
- 32 g
- Fiber
- 1 g
- Sugar
- 1 g
- Sodium
- 750 mg
Next recipe

Loaded Taco Casserole: Easy Cheesy Weeknight Dinner
See the recipe → →This recipe is based on a short cooking video and is published under the pen name Clara Weller. It was checked before publication, but errors can slip through. Nutrition, when shown, is an estimate. Read more in our editorial policy and on our food safety page.
More recipes to try
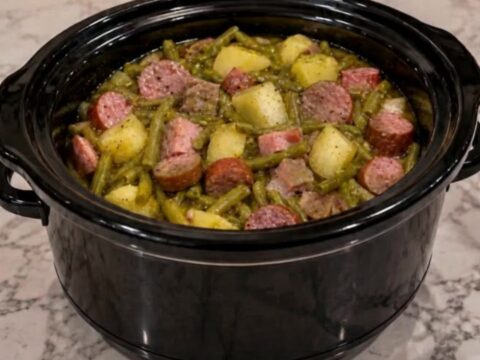
Easy Slow Cooker Green Beans, Potatoes and Smoked Sausage
Total time: 4 h 15 min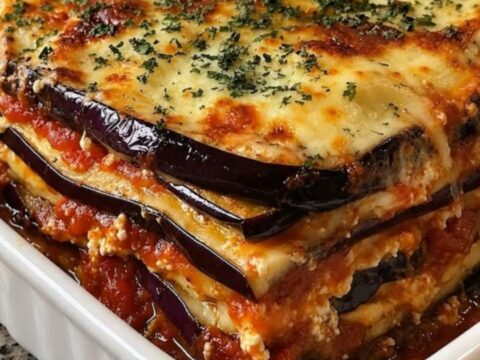
Cheesy Baked Eggplant Lasagna: A Comforting Dinner
Total time: 1 h 15 min
Creamy Garlic Butter Chicken Rotini for a Quick Dinner
Total time: 35 min
Creamy Swedish Meatball Noodle Bake for a Cozy Dinner
Total time: 50 min
Creamy Baked Macaroni and Cheese with Herb Crust
Total time: 50 min