Appetizers · Part 2 of 3: Instructions
Crispy Bacon-Wrapped Stuffed Onion Bombs Step-by-step instructions
- Prep
- Cook
- Total
- Serves
- 4
Before you start
Before beginning, ensure that the oven is clean and the workspace is organized. Have a sharp chef's knife and a sturdy cutting board ready for prepping the onions. Keep a mixing bowl nearby for the beef and cheese mixture.
Ensure the bacon is kept chilled in the refrigerator until the exact moment of assembly to maintain its structural integrity when wrapping. Have your baking tray pre-lined with aluminum foil to catch any rendered fat, which will make the post-cooking cleanup much faster and more efficient.
Ingredients at a glance (4)
- 4 large yellow onions
- 1 lb ground beef
- 4 oz cheddar cheese, shredded
- 8 slices bacon
Instructions
Assembly of the onion shells
- Prepare the onions and fillingPeel the yellow onions and cut them in half. Carefully remove the inner layers, leaving two or three outer rings to form a sturdy cup. In a large mixing bowl, combine the ground beef and shredded cheddar cheese until well incorporated. Stuff each onion shell generously with the beef and cheese mixture, packing it firmly to ensure it holds its shape during the cooking process.Look for The onion cups are firm and the beef mixture is tightly packed inside each shell.Tip Use a spoon to help scoop out the inner layers of the onion without breaking the outer walls.
The onions should be hollowed out into sturdy, intact cups that can hold a significant amount of the beef and cheese mixture. The filling should be pressed firmly into the center of each onion to ensure there are no large air pockets, which helps in even cooking and prevents the bombs from collapsing in the oven.
Baking to crispy perfection
- Wrap and bake the bombsWrap two slices of bacon around each stuffed onion bomb, securing the ends if necessary. Place the assembled bombs onto a foil-lined baking tray. Preheat the oven to 375°F (190°C) and bake for 40 to 45 minutes. Ensure the ground meat reaches an internal temperature of 160°F (71°C) to be fully cooked. The bacon should be crispy and golden brown when removed from the heat.Look for The bacon is crispy and the beef filling is fully cooked through.Safe temperature 160°F (71°C) internal temperature (ground meat)Tip If the bacon is not crisp enough, place the tray under the broiler for two minutes, watching closely to prevent burning.
The bacon should be rendered down and crispy, with a deep golden-brown color. The onions should be tender to the touch when pierced with a fork, and the internal temperature of the ground beef must have reached the safe threshold of 160°F (71°C). The cheese should be fully melted and slightly browned on the surface.
Final resting and plating
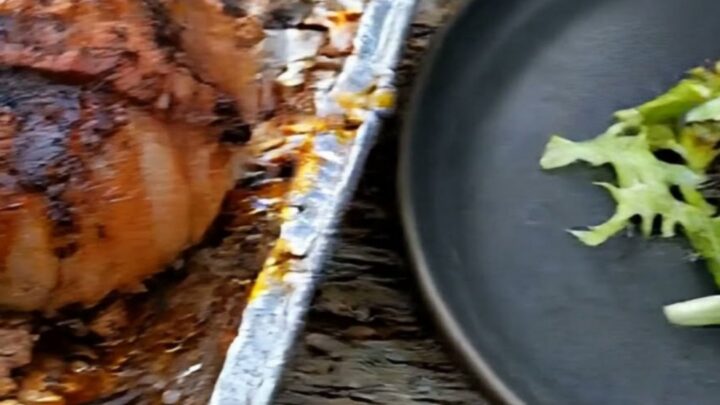
- Rest and serveRemove the onion bombs from the oven and let them rest for at least 5 minutes before serving. This allows the juices to redistribute and the cheese to set slightly, making them easier to handle. Transfer them to a serving plate and serve warm, perhaps alongside fresh salad greens for a balanced presentation.Look for The bombs are slightly cooled and the cheese is molten but manageable.Tip Use metal tongs to safely transfer the hot bombs from the tray to the plate.
The onion bombs should hold their shape when transferred to a plate. The resting period is complete when the steam has dissipated slightly and the cheese has firmed up enough to hold the filling together.
The final presentation should show a clear contrast between the crispy bacon exterior and the soft, savory interior.
Common mistakes
Avoid over-stuffing the onion cups, as this can cause them to burst or lose their shape in the oven. Ensure the bacon is wrapped tightly around the onion, but avoid excessive overlap which might lead to uneven cooking.
Do not skip the resting period, as the structure needs those few minutes to stabilize; cutting into them too early can result in the filling spilling out before it is ready to be served.
How to tell it’s done
The onion bombs are done when the bacon is deeply golden and crispy, and the onions have become tender and translucent.
Most importantly, the internal temperature of the beef filling must reach 160°F (71°C) as verified by an instant-read meat thermometer inserted into the center of the bomb. Ensure the cheese is melted and bubbling at the edges, indicating that the heat has permeated the entire filling.
- Ground meat: 160°F (71°C) in the thickest part
Up next · Part 3 of 3
2 variations · storage & make-ahead · 3 answers · printable card
Tips, FAQ & printable recipe (Part 3)← Back to the ingredients (Part 1)