Dinner · Part 1 of 3: Ingredients
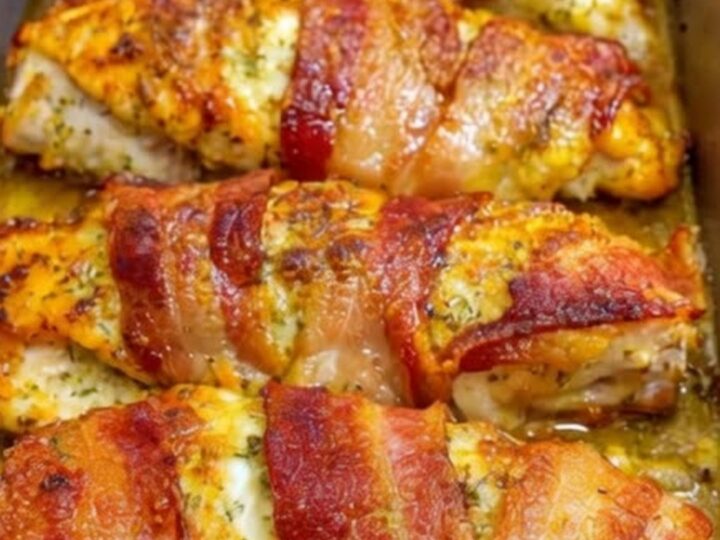
Crispy Bacon Wrapped Garlic Parmesan Chicken
- Prep
- Cook
- Total
- Serves
- 5
Transform simple chicken breasts into a succulent, savory main course with everyday kitchen essentials. This reliable recipe pairs lean, tender poultry with the smoky richness and satisfying crisp of oven-baked bacon, creating an exquisite dinner that looks and tastes restaurant-quality without requiring complex culinary techniques.
This bacon-wrapped garlic parmesan chicken recipe is created for anyone who appreciates deep, comforting, savory flavors without spending hours preparing dinner. Wrapping seasoned poultry in thick-cut bacon forms a natural moisture barrier that keeps the interior exceptionally juicy while suffusing the entire piece with a rich, smoky profile.
The harmonious pairing of fragrant garlic and nutty parmesan creates an irresistible savory crust across the exterior. It serves as a dependable dinner option for busy weeknights or casual dinner parties, delivering a visually appealing meal that consistently satisfies everyone gathered around the dining table.
Ingredients
Main
- 5 pieces chicken breasts, boneless and skinless
- 10 slices thick-cut bacon
Seasoning
- 2 tbsp garlic powder
- 1/2 cup grated parmesan cheese
Why this recipe works
The technique works effectively because the continuous rendering of bacon fat acts as an automated basting mechanism throughout the roasting process. Lean boneless chicken breasts tend to dry out quickly when baked at higher temperatures, but wrapping them in bacon shields the meat from direct dry heat while steadily basting the outer layers with rich drippings.
This continuous thermal insulation ensures that the chicken retains maximum moisture, resulting in tender, succulent bites from the center all the way to the edges.
Furthermore, utilizing a sturdy metal baking pan maximizes rapid heat conduction directly beneath each wrapped cut. Unlike ceramic or glass bakeware, metal transfers heat efficiently to the bottom portions of the meat, allowing the lower bacon layer to render properly and crisp up alongside the top.
The rendered drippings pool slightly in the pan, bubbling vigorously around the chicken and infusing the parmesan coating with deep savory richness while preventing the bottoms from turning soggy during cooking.
Notes and substitutions
Select thick-cut bacon for optimal performance, as standard or paper-thin bacon strips can cook too quickly and disintegrate before the chicken breasts reach safe doneness.
The thicker profile allows enough time for the pork fat to render completely and turn shatteringly crisp in tandem with the chicken roasting to a safe, juicy finish. When working with standard bacon, keep a watchful eye on oven timing to prevent premature charring.
A heavy-gauge rimmed metal baking sheet or pan is the ideal vessel for this preparation. Metal heats up quickly, maintaining an even roasting environment that allows circulating hot air to brown all sides evenly. If a glass dish must be substituted, extend the roasting duration slightly, as glass conducts thermal energy more slowly, which can delay the initial rendering of the bacon fat and lengthen overall baking times.
- Thick-cut bacon: Regular sliced bacon works well, though it will crisp faster and may need less baking time.
- Garlic powder: Fresh minced garlic can be used, but apply it carefully to avoid burning during the longer bake time.
Equipment
- Sharp chef's knife
- Large metal baking pan
- Mixing bowl
- Meat thermometer
Up next · Part 2 of 3
3 steps · 30 min of cooking · what to look for at each stage
Step-by-step instructions (Part 2)