Dinner · Part 1 of 3: Ingredients
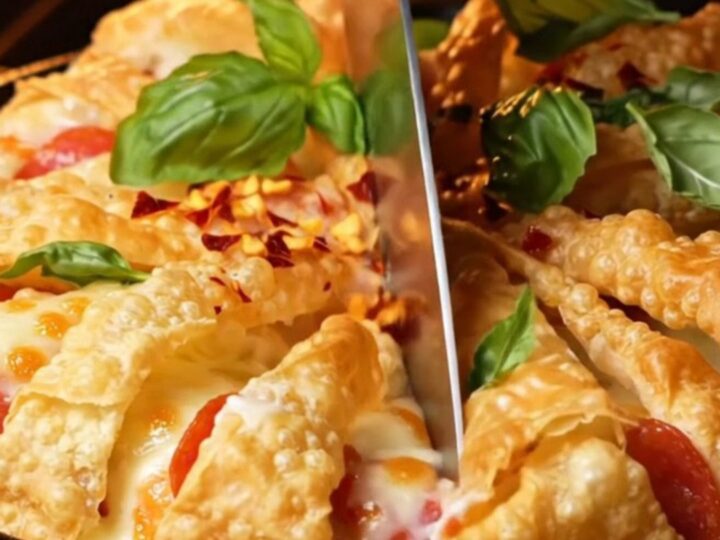
Crispy Accordion-Fold Crinkle Phyllo Pizza Tart
- Prep
- Cook
- Total
- Serves
- 6
Transform humble phyllo pastry into a show-stopping crispy tart using the simple accordion-fold technique. This method creates beautiful, vertical waves that become incredibly crunchy when baked to perfection. It is a visually stunning dish that brings a unique texture to every bite, making it a perfect centerpiece for casual dinners or gatherings where you want to impress with minimal effort.
The crinkle phyllo pizza tart is a modern culinary creation that elevates the classic pizza experience through texture. By folding buttered phyllo sheets into an accordion, you create a surface area that turns exceptionally crispy in the oven.
When filled with creamy mozzarella, savory pepperoni, and a rich garlic egg custard, the result is a savory pie that balances crunch with a soft, custardy interior. This recipe focuses on precise layering and oven temperature to ensure the pastry puffs beautifully while the filling sets into a delicious, cohesive unit.
Ingredients
Pastry
- 12 sheets phyllo pastry, thawed
- 1/2 cup unsalted butter, melted
Filling
- 2 cups mozzarella cheese, shredded
- 3 oz pepperoni slices
Custard
- 3 large eggs
- 1/2 cup heavy cream
- 1 tsp garlic powder
Garnish
- fresh basil leaves, for serving
- red pepper flakes, to taste
Why this recipe works
The accordion-pleating method is the secret to this recipe's success. By folding the phyllo sheets vertically, you create numerous layers that are separated by butter, allowing heat to penetrate and crisp every single fold.
This creates a much more dramatic crunch than flat layers, as the air pockets within the pleats expand during the baking process to create a light, shattered texture that contrasts perfectly with the gooey cheese filling.
Using a custard base of eggs and heavy cream acts as the structural foundation for the tart. As the custard bakes, it sets around the mozzarella and pepperoni, binding the ingredients together within the phyllo waves.
This ensures that every slice holds its shape while maintaining a rich, savory flavor profile. The garlic powder infuses the custard with aromatic depth, providing a savory backbone that complements the richness of the buttered pastry and the salty pepperoni.
Notes and substitutions
Phyllo pastry is extremely delicate and prone to drying out. Keep the unused sheets covered with a slightly damp kitchen towel while you work to prevent them from becoming brittle and difficult to fold.
Always ensure the melted butter is applied evenly to each sheet; this is essential for achieving the golden color and that signature shattering crunch. Do not skimp on the butter, as it is the primary fat source that facilitates the crisping process.
A 9-inch baking pan is the ideal size for this amount of phyllo. If you only have a larger pan, you will need to increase the number of sheets or accept a thinner tart. Always use a serrated knife when slicing the finished tart to prevent the crispy pastry from shattering unevenly. If the tart browns too quickly on top before the custard is set, you can loosely tent it with aluminum foil for the final few minutes of baking.
- heavy cream: half-and-half or whole milk
- mozzarella: provolone or Monterey Jack cheese
Equipment
- 9-inch baking pan
- pastry brush
- mixing bowl
- whisk
- oven
Up next · Part 2 of 3
3 steps · 25 min of cooking · what to look for at each stage
Step-by-step instructions (Part 2)