Dinner · Part 1 of 3: Ingredients
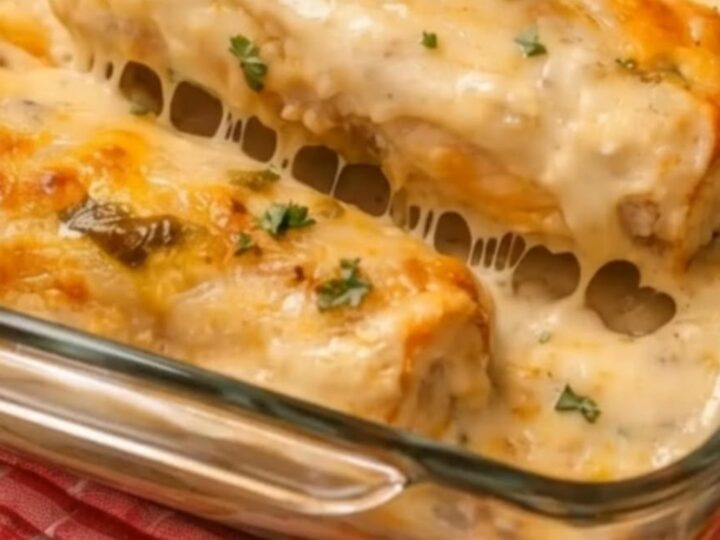
Creamy White Chicken Enchiladas with Monterey Jack
- Prep
- Cook
- Total
- Serves
- 6
Indulge in the ultimate comfort food with these incredibly creamy white chicken enchiladas. Featuring tender shredded chicken wrapped in soft flour tortillas, smothered in a rich, velvety sour cream layer, and topped with a generous blanket of melted Monterey Jack cheese, this dish is a guaranteed crowd-pleaser for any family dinner or casual gathering.
When looking for a warm, satisfying meal that brings everyone to the table, nothing compares to a bubbling dish of homemade enchiladas. This recipe simplifies the classic Tex-Mex favorite by using a luxurious, savory sour cream coating instead of a traditional tomato-based red sauce.
It is rich, mildly tangy, and incredibly comforting. Perfect for busy weeknights or cozy weekend gatherings, this casserole-style dish delivers restaurant-quality flavor right from your home oven with minimal prep work and maximum deliciousness.
Ingredients
Filling
- 2 cups shredded cooked chicken
Sauce
- 1 1/2 cups sour cream
Topping
- 2 cups shredded Monterey Jack cheese, divided
Assembly
- 8 flour tortillas
Why this recipe works
The secret to the velvety texture of this dish lies in the simple combination of sour cream and freshly shredded Monterey Jack cheese. As the casserole bakes, the sour cream melts into a smooth, rich sauce that perfectly coats the tortillas without becoming watery or separating.
This straightforward method eliminates the need for a complex roux while still delivering a luxurious, creamy finish that everyone will love, making it both accessible and highly rewarding.
Baking the enchiladas uncovered at a moderate temperature allows the tortillas to absorb the savory flavors from the chicken filling while keeping their structure intact.
A final quick blast under the broiler melts the Monterey Jack cheese into a beautiful, golden-brown crust with a spectacular cheese pull. This two-step cooking method guarantees that every single bite has the perfect contrast of soft, saucy interior and bubbly, caramelized topping.
Notes and substitutions
For the best results, use block Monterey Jack cheese and shred it yourself at home. Pre-shredded packaged cheeses are often coated with anti-caking agents like potato starch, which prevent them from melting smoothly and can make your sauce gritty.
Freshly shredded cheese melts into a silky, cohesive layer with that iconic, stretchy pull shown in the video. Flour tortillas are highly recommended here as they absorb the creamy sour cream sauce beautifully without tearing or becoming mushy.
You can easily customize the chicken filling by using leftover rotisserie chicken or pre-cooked chicken breasts to save time on busy nights. Ensure your glass baking dish is greased well to prevent the tortillas from sticking, and let the finished casserole rest before slicing to allow the layers to set. This resting period is absolutely crucial for clean, beautiful portions that hold their shape when plated and served.
- shredded Monterey Jack cheese: shredded Mozzarella or Pepper Jack cheese for a different flavor profile or similar meltability.
- flour tortillas: corn tortillas, though they must be warmed thoroughly beforehand to prevent cracking during rolling.
Equipment
- 9x13-inch glass baking dish
- mixing bowl
- spatula
- wooden spoon
Up next · Part 2 of 3
6 steps · 25 min of cooking · what to look for at each stage
Step-by-step instructions (Part 2)