Dinner · Part 1 of 3: Ingredients
Creamy Tortellini Mac and Cheese Bake
- Prep
- Cook
- Total
- Serves
- 4
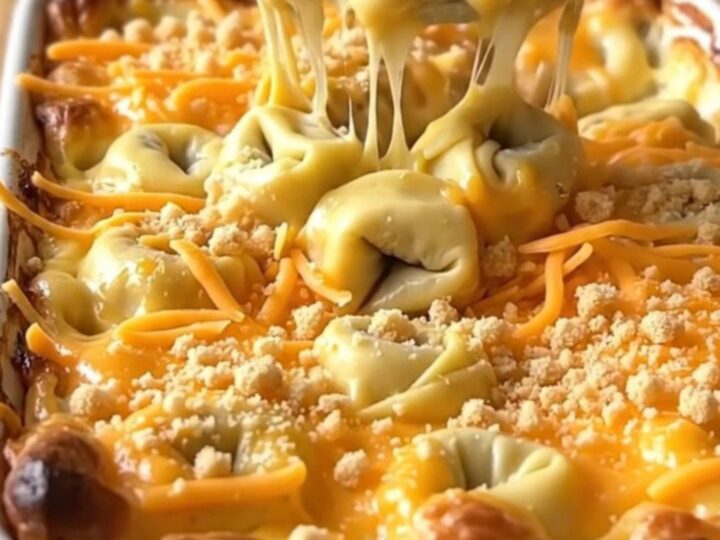
Discover a revolutionary way to prepare dinner that saves time without sacrificing flavor. This tortellini mac and cheese bake turns simple pantry staples into a gourmet-style comfort meal. With minimal effort and maximum reward, this recipe is perfect for busy weeknights when you need a satisfying dish that brings everyone to the table with excitement and anticipation for a hearty, cheesy experience.
This recipe is designed for those who appreciate the convenience of a one-dish meal. By combining fresh cheese-filled tortellini with a creamy milk base and bold sharp cheddar, you create a harmonious balance of textures.
The addition of buttery cracker crumbs provides a necessary crunch that contrasts beautifully with the soft pasta. This dish is built on simplicity, utilizing the natural starch of the pasta to help thicken the milk into a rich sauce as it bakes in the oven, ensuring every bite is coated in goodness.
Ingredients
- 20 oz fresh cheese tortellini
- 2 cups whole milk
- 2 cups shredded sharp cheddar cheese
- 1/2 cup buttery cracker crumbs
Why this recipe works
The method relies on the direct interaction between the pasta and the liquid during the baking process. As the tortellini cooks in the milk, it releases starches that naturally emulsify with the fat from the cheese, creating a smooth and cohesive sauce without the need for a separate roux or heavy cream preparation. This technique effectively traps moisture and flavor inside the dish, resulting in a perfectly cooked pasta that remains tender while being enveloped in a rich, velvety cheese sauce.
Layering the ingredients directly in the baking dish eliminates the need for extra pots or pans, significantly reducing cleanup time. The sharp cheddar provides a robust flavor profile that stands up well to the richness of the milk and the density of the tortellini.
By baking uncovered, the surface area of the cheese and the cracker crumbs are exposed to high heat, which facilitates the Maillard reaction, resulting in a deep, savory crust that provides a satisfying textural contrast to the creamy center.
Notes and substitutions
For the best results, use a high-quality sharp cheddar that you grate yourself, as pre-shredded varieties often contain anti-caking agents that can interfere with the smoothness of the sauce.
The type of buttery cracker used can also influence the flavor; a classic round cracker works best for its neutral, buttery profile that complements the cheese without overpowering it. Ensure the baking dish is large enough to allow the milk to reach the top level of the pasta without overflowing during the bubbling phase.
When selecting tortellini, choose a standard cheese-filled variety found in the refrigerated section of the grocery store. These cook faster and maintain a better texture than dried pasta alternatives.
If you prefer a different flavor profile, you can experiment with spinach and ricotta tortellini, though be mindful that the moisture content might vary slightly. Always use whole milk for this recipe, as the fat content is essential for achieving the desired consistency and mouthfeel of the final sauce after the baking process is complete.
- sharp cheddar cheese: a blend of shredded mozzarella and gruyere for a milder, meltier profile
- whole milk: half and half for a thicker, more luxurious sauce consistency
Equipment
- 9x13 inch baking dish
- measuring cups
- serving spoon
Up next · Part 2 of 3
3 steps · 25 min of cooking · what to look for at each stage
Step-by-step instructions (Part 2)