Dinner · Part 3 of 3: Tips & recipe card
Creamy Three-Cheese Cavatappi Bake Tips, FAQ & printable recipe
- Prep
- Cook
- Total
- Serves
- 6
Tips for success
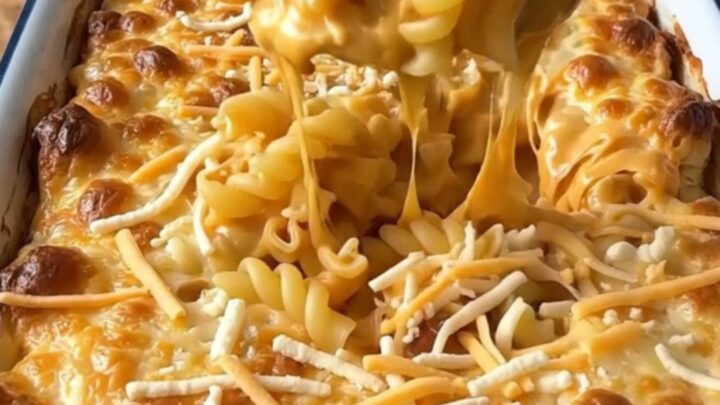
To achieve a more intense golden color on top, you can place the baker under the broiler for the final minute of cooking. Stay nearby and watch it constantly, as the cheese can go from perfectly browned to burnt in seconds. This step adds a nice textural contrast to the soft, creamy pasta, enhancing the overall sensory experience of the finished dish.
If you prefer a bit of texture, consider adding a light sprinkle of breadcrumbs or crushed crackers mixed with a little melted butter to the top of the cheese layer before baking.
This adds a pleasant, buttery crunch that pairs exceptionally well with the creamy, cheesy interior of the cavatappi. This simple addition can elevate the dish for a more sophisticated presentation without requiring any complex techniques or extra cooking time.
Variations
- Spicy Three-Cheese Bake: Stir in two tablespoons of diced pickled jalapeños or a teaspoon of hot sauce into the cheese sauce before pouring it over the pasta to add a subtle, spicy kick that balances the richness of the cheeses.
- Herbed Cheese Bake: Mix a tablespoon of finely chopped fresh parsley or chives into the shredded cheese blend before topping the pasta to add a pop of color and a fresh, aromatic note that brightens the overall flavor profile.
Storage and make-ahead
- Fridge
- Store in an airtight container in the refrigerator for up to 3 days.
- Freezer
- Not recommended, as the creamy sauce may separate upon thawing and reheating.
- Reheat
- Reheat individual portions in the microwave or in a preheated 350°F oven until steaming hot.
Allow any leftovers to cool completely at room temperature for no more than two hours before transferring them to an airtight container. This helps maintain the quality and safety of the dish.
Store the container in the refrigerator to keep the sauce fresh and the pasta texture intact for up to three days. When ready to eat again, ensure the pasta is heated thoroughly until it is steaming hot throughout.
You can assemble the pasta and sauce in the baker up to four hours before baking, keeping it covered in the refrigerator. When you are ready to bake, add the cheese topping just before placing it into the oven. Note that you may need to add an extra five to ten minutes to the total baking time if the dish is starting from a chilled state, ensuring the center is hot.
Serving ideas
Serve this dish immediately after the short resting period to ensure the cheese remains molten and the sauce stays creamy. It pairs beautifully with a simple side salad of crisp greens tossed in a light vinaigrette to cut through the richness of the cheese.
The contrast of the cool, acidic salad against the warm, decadent pasta makes for an enjoyable meal that highlights the flavors of the main dish.
When serving, use a large spoon to portion the pasta, ensuring each serving gets a generous amount of the crispy cheese crust along with the creamy pasta. If you have guests, serve the baker directly at the table for a rustic, inviting presentation.
Keep a small bowl of extra grated cheese on the side for those who prefer an even cheesier experience, allowing everyone to customize their portion to their own personal preference.
Frequently asked questions
Can this be made ahead of time?
Why does the sauce seem dry after baking?
Is it possible to use different types of pasta?
Creamy Three-Cheese Cavatappi Bake
Ingredients
- 1 lb cavatappi pasta
- 2 cups cream cheese sauce, made ahead
- 1 cup shredded cheddar cheese
- 1 cup shredded colby jack cheese
- 1 cup shredded mozzarella cheese
Instructions
- Place the dry cavatappi pasta into a large, clean rectangular baker. Ensure the pasta is spread out evenly across the bottom of the dish to allow for consistent cooking when the sauce is added.
- Pour the prepared cream cheese sauce over the dry pasta. Use a spoon or spatula to gently distribute the sauce so it reaches all corners and just barely covers the pasta tubes.
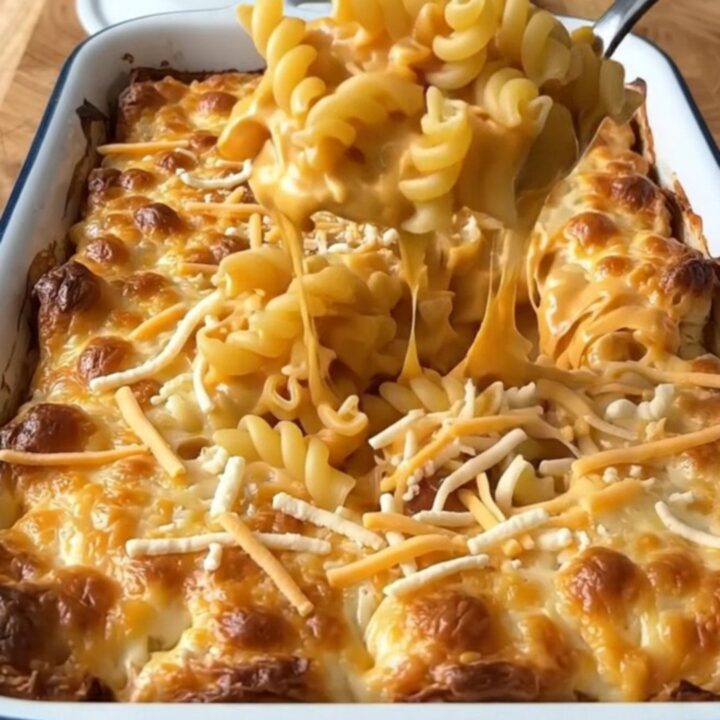
- Heap the shredded cheddar, colby jack, and mozzarella cheeses over the top of the pasta and sauce mixture. Place in a preheated 375°F oven and bake until the cheese is melted, golden, and bubbling at the edges.
Estimated nutrition per serving
- Calories
- 520
- Protein
- 18.5 g
- Carbohydrates
- 55 g
- Fat
- 24 g
- Fiber
- 2 g
- Sugar
- 4 g
- Sodium
- 650 mg
Next recipe
Crockpot Chicken and Cornbread Dressing: Easy Slow Cooker
See the recipe → →This recipe is based on a short cooking video and is published under the pen name Clara Weller. It was checked before publication, but errors can slip through. Nutrition, when shown, is an estimate. Read more in our editorial policy and on our food safety page.
More recipes to try
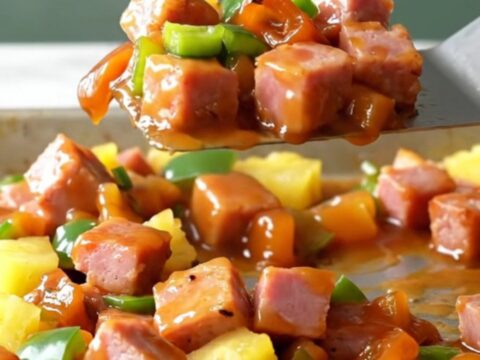
Easy Sheet Pan Sweet Chili Ham with Pineapple and Peppers
Total time: 35 min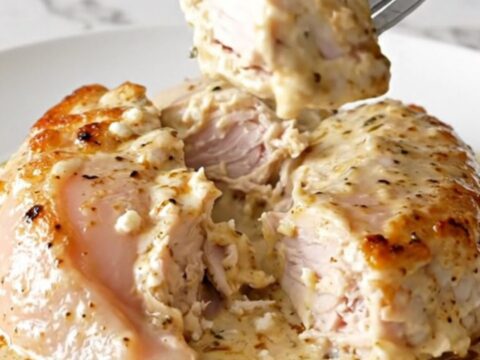
Easy Crockpot Spanakopita Chicken: 4-Ingredient Dinner
Total time: 4 h 10 min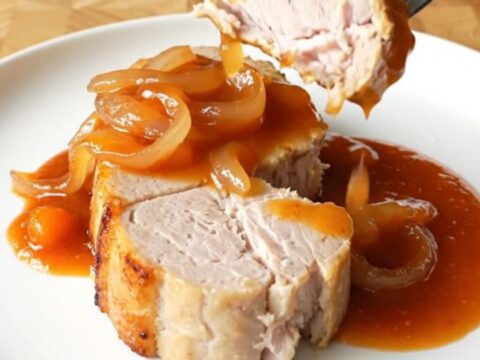
Easy Vintage Catalina Pork Chops
Total time: 5 h 8 min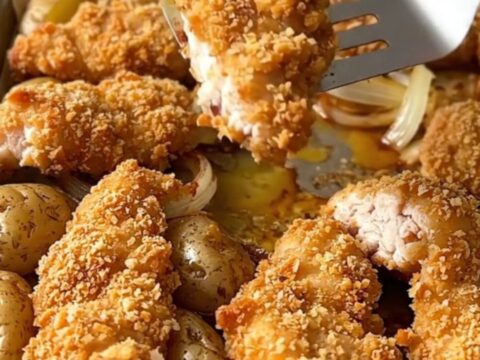
Sheet Pan Pretzel Crusted Chicken and Potatoes
Total time: 45 min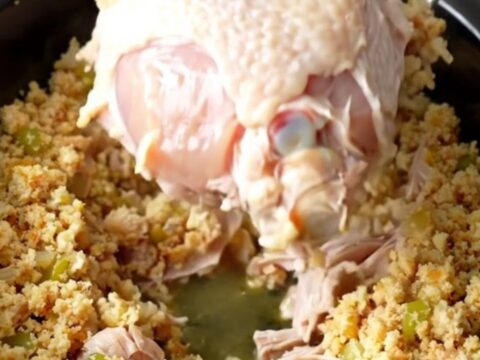
Slow Cooker Turkey Breast with Savory Cornbread Dressing
Total time: 4 h 20 min