Desserts · Part 1 of 3: Ingredients
Creamy Strawberry Banana Vanilla Wafer Pudding
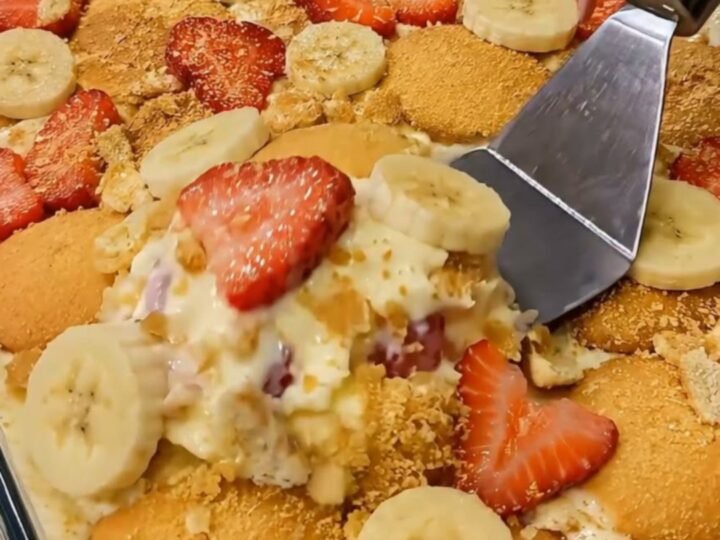
- Prep
- Cook
- Total
- Serves
- 8
Discover the timeless appeal of a classic strawberry banana vanilla wafer pudding. This simple, no-bake dessert is a crowd-pleasing favorite that combines creamy custard, sweet fruit, and crunchy cookies into one impressive dish.
Whether hosting a dinner party or looking for a comforting treat, this recipe delivers a perfect balance of textures and flavors that will satisfy any sweet tooth. It is a straightforward dessert that requires minimal effort while providing maximum flavor, making it an ideal choice for any occasion.
This strawberry banana vanilla wafer pudding is a quintessential dessert that relies on the harmony of fresh produce and rich, creamy custard. By layering high-quality vanilla pudding with ripe bananas, fresh strawberries, and iconic vanilla wafers, you create a dessert that is as beautiful as it is delicious.
The beauty of this recipe lies in its simplicity and the way the ingredients transform as they rest in the refrigerator. The wafers absorb just enough moisture from the pudding and fruit to become tender, creating a delightful texture that contrasts perfectly with the fresh, crisp fruit slices.
Ingredients
Pudding and Wafers
- 4 cups vanilla pudding, prepared
- 1 box vanilla wafers
Fruit
- 3 large bananas, sliced
- 1 lb strawberries, sliced
Why this recipe works
The layering method is essential for achieving the perfect balance of flavors and textures in every bite. By placing the pudding at the bottom and between fruit and wafer layers, the dish remains stable while allowing the ingredients to marry. This structure ensures that each serving provides a consistent experience, with the creamy custard acting as a binding agent that enhances the overall mouthfeel of the dessert.
As the pudding sits, the moisture from the fruit and the custard slowly permeates the vanilla wafers. This process, often referred to as softening, is crucial for the classic pudding texture. The wafers transition from crunchy to a delicate, cake-like consistency that is iconic to this dish. Because the ingredients are layered strategically, the fruit retains its integrity while contributing its natural sweetness to the surrounding layers.
Notes and substitutions
When selecting ingredients, choose ripe but firm bananas to ensure they maintain their shape when sliced. For the strawberries, fresh berries are preferred for their vibrant color and bright flavor. If using store-bought vanilla pudding, ensure it is fully chilled before starting the assembly process.
The quality of the vanilla wafers significantly impacts the final result, so choose a brand that offers a distinct vanilla flavor and a crisp texture that will hold up well during the chilling time.
The equipment required is minimal, making this an accessible recipe for any home cook. A standard glass baking dish is ideal, as it showcases the beautiful layers of the dessert.
A metal spatula is recommended for serving, as it allows you to scoop through the layers cleanly without breaking up the fruit or wafers. While this recipe is straightforward, ensure that all components are prepared and ready before you begin the assembly to keep the process efficient and organized.
- vanilla pudding: banana-flavored pudding or butterscotch pudding
Equipment
- glass baking dish
- metal spatula
- knife
- cutting board
- saucepan
Up next · Part 2 of 3
3 steps · 10 min of cooking · what to look for at each stage
Step-by-step instructions (Part 2)