Desserts · Part 2 of 3: Instructions
Creamy Strawberry Banana Pudding Dessert Step-by-step instructions
- Prep
- Cook
- Total
- Serves
- 4
Before you start
Before beginning, ensure that all ingredients are fresh and ready for assembly. Have your vanilla pudding prepared and cooled, as warm pudding can cause the fruit to soften prematurely and the whipped cream to melt.
Clean your glass serving dish thoroughly, and have your knife and cutting board ready for slicing the fruit. Organizing your workspace ahead of time ensures a smooth and quick assembly process, allowing you to focus on creating beautiful, distinct layers that define this classic dessert.
Ingredients at a glance (4)
- 2 cups vanilla pudding, prepared
- 2 bananas, sliced
- 1 cup fresh strawberries, sliced
- 1 cup whipped cream
Instructions
Preparing the Fruit
- Prepare the fruitPeel the bananas and slice them into rounds. Wash the strawberries, remove the stems, and slice them into even pieces. Keep the fruit chilled until ready to assemble to maintain freshness and texture throughout the dessert.Look for The fruit should be sliced into uniform, bite-sized pieces for consistent texture in every scoop.Tip Slice the bananas just before assembly to prevent them from browning too quickly.
The fruit should be sliced evenly into consistent rounds and pieces. Check that the bananas are firm but ripe, and the strawberries are washed and hulled. Proper preparation at this stage is essential for consistent texture in every bite, ensuring that the fruit adds a refreshing element without being too large or uneven.
Assembling the Layers
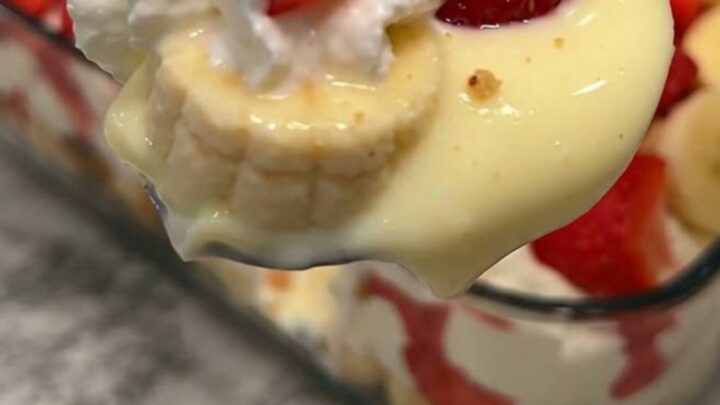
- Assemble the layersIn a glass serving dish, spread a thin layer of the prepared vanilla pudding. Place a layer of banana slices and strawberry slices over the pudding. Repeat the process by adding another layer of pudding followed by the remaining fruit until the ingredients are used up.Look for Ensure the layers are visible through the glass to highlight the beautiful contrast between the creamy pudding and the bright fruit.Tip Use a clear glass dish to showcase the beautiful layers of fruit and pudding.
The layers should be distinct and neatly arranged within the glass dish. Check that each layer of pudding covers the fruit completely before adding the next.
This careful layering ensures that the flavors are distributed evenly, creating a beautiful visual effect that makes the final dessert look enticing and well-constructed.
Chilling and Finishing
- Add topping and chillSpread the whipped cream evenly over the top layer of the pudding. Refrigerate the assembled dish for at least 30 minutes before serving. This allows the flavors to meld together and the pudding to set slightly for easier scooping.Look for The whipped cream should be smooth and cover the entire top surface of the pudding.Tip Chill the dessert thoroughly for the best texture and cooling effect.
The dessert should be topped with a smooth layer of whipped cream and chilled adequately. Check that the pudding has firmed up slightly in the refrigerator. The dish should feel cold to the touch, and the whipped cream should be stable, indicating that the dessert is perfectly set and ready for service.
Common mistakes
Avoid over-mixing the layers once they are in the dish, as this can create a muddy appearance. Ensure that the fruit is sliced evenly so that it does not create large gaps between the layers of pudding.
Another common error is using warm pudding, which can make the fruit mushy and cause the whipped cream to lose its structure. Take your time to carefully place each layer to ensure a clean, professional finish that highlights the beauty of the fresh fruit.
How to tell it’s done
This dessert does not require traditional cooking, so doneness is determined by the set of the pudding and the temperature of the ingredients. Ensure the pudding is firm enough to hold its shape when scooped.
The final dish should be chilled for at least 30 minutes to ensure the textures are perfectly balanced and the whipped cream remains stable. When the pudding feels cold and the layers are distinct, it is ready to be served and enjoyed.
Up next · Part 3 of 3
2 variations · storage & make-ahead · 3 answers · printable card
Tips, FAQ & printable recipe (Part 3)← Back to the ingredients (Part 1)