Dinner · Part 1 of 3: Ingredients
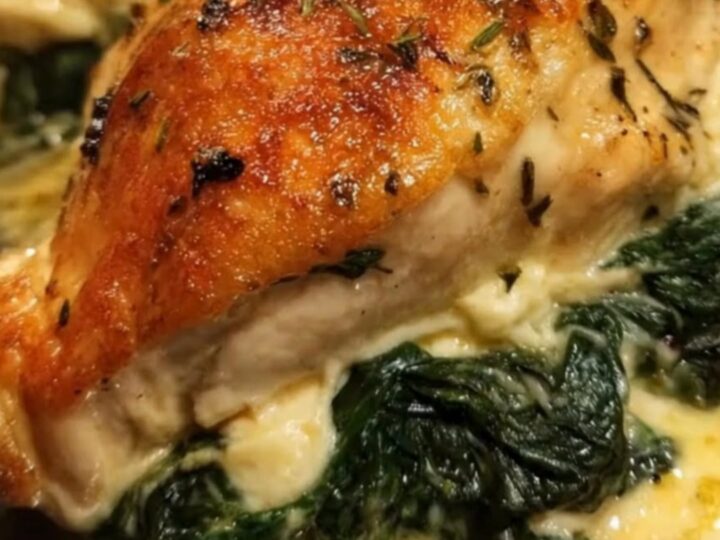
Creamy Spinach Stuffed Chicken Breast
- Prep
- Cook
- Total
- Serves
- 4
Golden, crispy chicken breasts bursting with a rich, creamy spinach and cheese filling make the ultimate weeknight dinner. This recipe delivers restaurant-quality results with minimal effort, combining a perfectly seared exterior with an incredibly juicy, molten center. It is a foolproof way to elevate simple chicken breasts into an extraordinary meal that everyone will love.
Preparing stuffed chicken breasts can seem intimidating, but this straightforward method ensures success every single time. By pocket-cutting the chicken, filling it with a savory blend of cream cheese and spinach, and searing it before baking, you lock in all the natural juices. The final touch of melted cheese and herbs on top creates a beautiful golden crust that seals in the moisture, preventing the chicken from drying out in the oven.
Ingredients
- 4 boneless, skinless chicken breasts
- 4 oz cream cheese, softened
- 2 cups fresh spinach, finely chopped
- 2 tbsp cooking oil
- 1/2 cup shredded mozzarella cheese
- 1 tsp dried Italian seasoning
Why this recipe works
Searing the stuffed chicken breasts in a hot skillet before baking is the secret to achieving both a beautiful color and a superior texture. This initial high-heat contact caramelizes the outer surface of the meat, creating a savory crust that locks in the natural moisture.
Without this step, the chicken would lack that appetizing golden-brown finish and might dry out during the longer baking process. The quick sear also helps seal the pocket slightly, keeping the creamy spinach filling from leaking out too early.
Baking the seared chicken finish-cooks the meat gently and evenly without burning the exterior. The indirect heat of the oven allows the thickest part of the chicken breast to reach the safe internal temperature while simultaneously melting the cheese stuffing into a rich, luscious sauce.
This dual-cooking method—searing for texture and baking for even doneness—guarantees that the chicken remains tender and juicy on the inside while the cheese on top melts into a perfect bubbly layer.
Notes and substitutions
Choosing the right chicken breasts is crucial for this recipe. Opt for plump, thick-cut boneless and skinless chicken breasts, as they are much easier to slice and stuff without cutting all the way through. If the breasts are too thin, the filling will easily escape during cooking.
For the filling, full-fat cream cheese provides the best texture and rich flavor, holding the spinach together beautifully. Ensure the spinach is chopped finely so it distributes evenly throughout the creamy mixture.
For the equipment, a heavy-duty skillet, preferably cast iron or oven-safe stainless steel, is ideal because it retains heat exceptionally well and allows for an even sear.
If your skillet is not oven-safe, you can easily transfer the seared chicken to a standard baking pan before topping it with cheese and herbs. Make sure to have a reliable meat thermometer on hand to check the internal temperature, ensuring the chicken is perfectly cooked without becoming dry.
- fresh spinach: thawed and squeezed dry frozen spinach
- mozzarella cheese: shredded provolone or monterey jack cheese
Equipment
- medium bowl
- cutting board
- chef's knife
- heavy skillet
- baking pan
- meat thermometer
Up next · Part 2 of 3
5 steps · 25 min of cooking · what to look for at each stage
Step-by-step instructions (Part 2)