Dinner · Part 3 of 3: Tips & recipe card
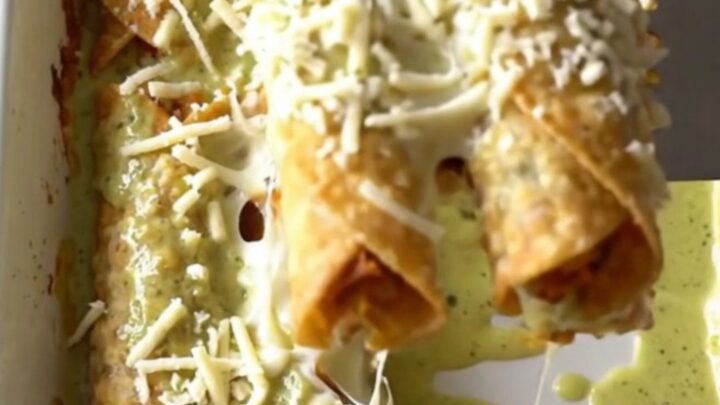
Creamy Smothered Chicken Taquito Bake Tips, FAQ & printable recipe
- Prep
- Cook
- Total
- Serves
- 4
Tips for success
For an added layer of flavor, consider brushing the tops of the taquitos with a tiny amount of melted butter or oil before adding the sauce, which helps enhance the crunch. If the cheese browns too quickly before the center is hot, loosely tent the dish with aluminum foil for the final few minutes of baking. This allows the heat to penetrate the center of the taquitos while protecting the cheese from becoming too dark or brittle.
The presentation of this dish can be elevated by ensuring the taquitos are uniform in size. If serving to guests, consider placing the dish on a decorative heat-proof trivet.
Because the dish retains heat for a long time, inform guests that the ceramic container will remain hot even after it has been removed from the oven for several minutes. This simple precaution ensures a safe and enjoyable dining experience for everyone at the table.
Variations
- Spicy Green Taquito Bake: Add a layer of diced green chiles or sliced pickled jalapeños between the taquitos and the cheese to introduce a bright, spicy heat that complements the creamy sauce perfectly.
- Tex-Mex Loaded Bake: Incorporate a half-cup of cooked black beans or corn kernels into the dish before adding the cheese to create a more textured and filling casserole with added depth.
Storage and make-ahead
- Fridge
- Keep leftovers in an airtight container in the refrigerator for up to 2 days. Allow the dish to cool for no more than 2 hours before refrigerating.
- Freezer
- Freezing is not recommended as the texture of the sauce and the crispness of the taquitos will be significantly compromised upon thawing and reheating.
- Reheat
- Reheat in a preheated oven at 350°F (175°C) until heated through, or use a microwave on medium power for short bursts, checking frequently to avoid overheating.
Store any leftovers in an airtight container to maintain moisture. The sauce and cheese will continue to soften the tortillas over time, so consumption within two days is recommended. Keep the container in the coldest part of the refrigerator to ensure safety.
Avoid storing the dish in the ceramic baking dish if possible, as transferring to a smaller container reduces the surface area exposed to air, helping the leftovers stay fresher for longer.
This dish is best prepared just before baking. While the taquitos can be arranged in the dish in advance, it is recommended to add the sauce and cheese immediately before placing the dish in the oven.
If the sauce and cheese are added too early, the tortillas may become saturated and lose their structural integrity. For the best results, keep the components separate until the final assembly phase to ensure the taquitos remain crisp and the texture is optimal.
Serving ideas
Serve the taquitos directly from the baking dish to keep them warm. Use a wide spatula to lift them out, ensuring each portion includes a generous amount of the bubbling sauce and melted cheese. This hearty dish is substantial enough to be served on its own, but it pairs beautifully with a side of fresh cilantro or a simple green salad to provide a crisp, refreshing contrast to the rich, creamy main course.
For a more complete meal, consider serving the taquitos with a side of warm black beans or seasoned rice. The creamy nature of the sauce means it can also serve as a dip, so ensure there is enough sauce for guests to enjoy.
Place the baking dish on a heat-resistant mat in the center of the table, allowing guests to serve themselves. This communal style of dining works perfectly with the informal, comforting nature of this baked dish.
Frequently asked questions
Can this be made with other types of taquitos?
Why is the resting time necessary?
Can a different cheese be used?
Creamy Smothered Chicken Taquito Bake
Ingredients
- 12 count frozen chicken taquitos
- 1 cup creamy green enchilada sauce
- 1 cup shredded Monterey Jack cheese
Instructions
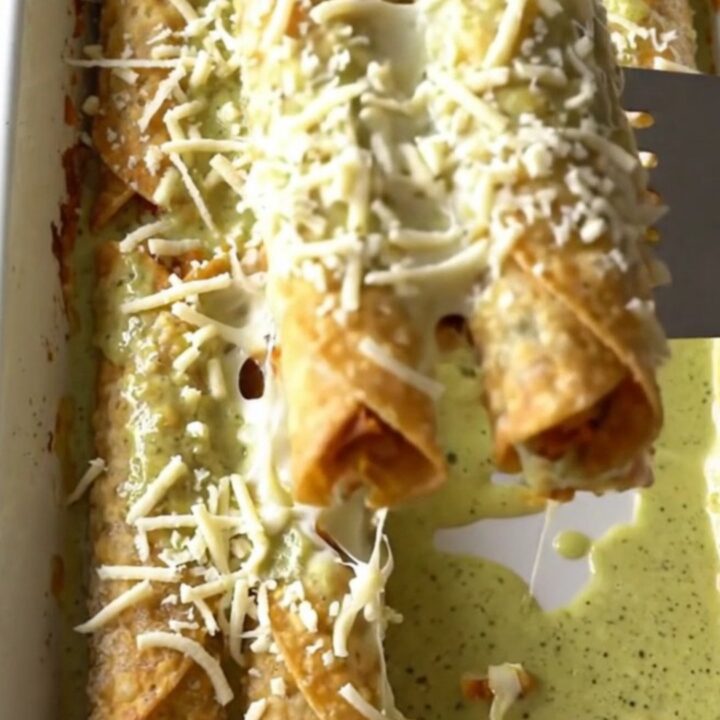
- Preheat the oven to 400°F (200°C). Arrange the frozen chicken taquitos in a single, snug layer within the rectangular baking dish. Ensure they are packed tightly to allow for even cooking and a uniform final presentation.
- Pour the creamy green enchilada sauce evenly over the arranged taquitos, ensuring each one is lightly coated. Follow this by scattering the shredded Monterey Jack cheese thickly across the top of the dish to create a generous layer.
- Place the baking dish into the preheated oven. Bake for approximately 25 minutes or until the sauce is bubbling around the edges and the cheese is melted and golden. Ensure the chicken inside reaches an internal temperature of 165°F (74°C). Remove from the oven and let sit for 5 minutes before serving.
Estimated nutrition per serving
- Calories
- 420
- Protein
- 18 g
- Carbohydrates
- 32 g
- Fat
- 24 g
- Fiber
- 3 g
- Sugar
- 2 g
- Sodium
- 850 mg
Next recipe
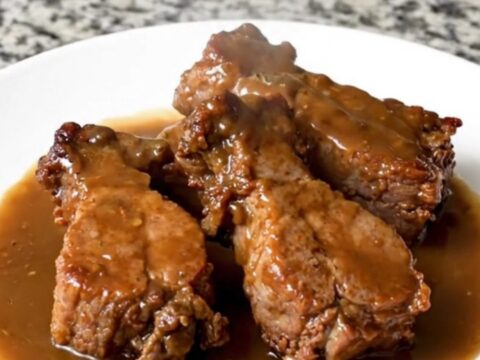
Slow Cooker Pork Tips and Gravy for an Easy Weeknight Dinner
See the recipe → →This recipe is based on a short cooking video and is published under the pen name Clara Weller. It was checked before publication, but errors can slip through. Nutrition, when shown, is an estimate. Read more in our editorial policy and on our food safety page.
More recipes to try
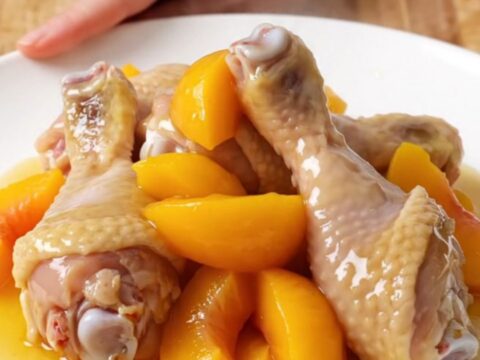
Slow Cooker Hot Honey Peach Chicken Drumsticks
Total time: 4 h 10 min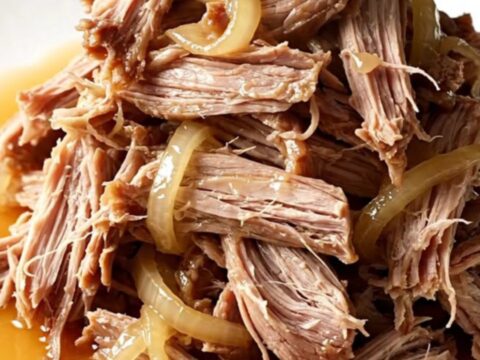
Slow Cooker Sweet Tea Pulled Pork for Easy Dinners
Total time: 8 h 20 min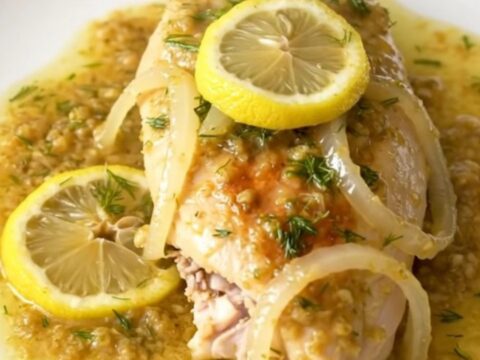
Easy Crockpot Lemon Dill Chicken
Total time: 4 h 15 min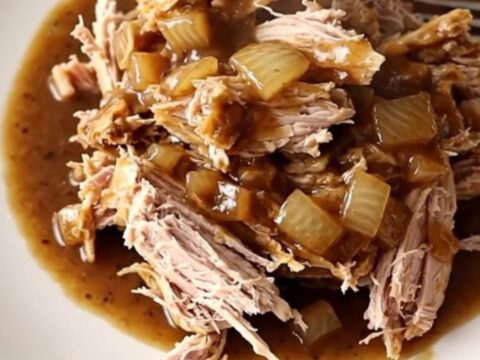
Slow Cooker Poor Man's Turkey Gravy
Total time: 4 h 10 min
Crockpot Cowboy Smoked Sausage and Pinto Beans
Total time: 4 h 10 min