Desserts · Part 2 of 3: Instructions
Creamy Slow Cooker Chocolate Pudding Step-by-step instructions
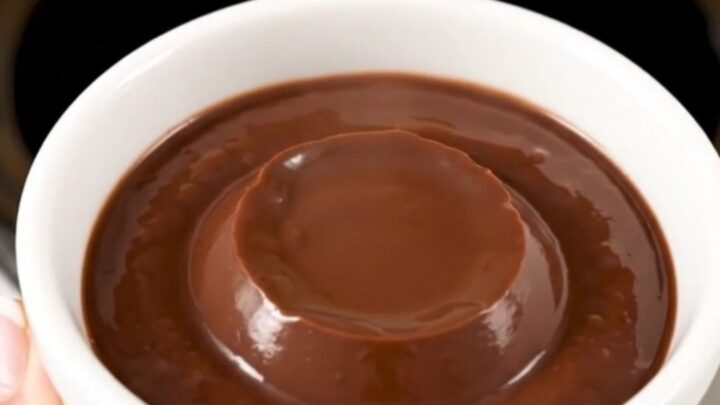
- Prep
- Cook
- Total
- Serves
- 4
Before you start
Before beginning, ensure all ingredients are measured accurately. Have a reliable whisk ready, as it is the most important tool for achieving a smooth consistency.
Clear ample space around the slow cooker to allow for easy access when whisking, and ensure the lid is properly seated to maintain the required internal temperature throughout the cooking process.
Ingredients at a glance (4)
- 6 oz dark chocolate, grated
- 3 tbsp cornstarch
- 1/2 cup granulated sugar
- 2 cups whole milk
Instructions
Initial assembly
- Combine ingredientsPlace the grated dark chocolate into the basin of the slow cooker. Add the cornstarch and granulated sugar, then pour the milk over the dry ingredients.Look for ensure the chocolate is evenly distributed at the bottom of the potTip use a fine grater to ensure the chocolate melts evenly during the cooking process
At this stage, the ingredients are layered in the slow cooker. The grated chocolate sits at the base, topped with the dry starch and sugar, and finally submerged in the milk. Everything looks distinct and unmixed, which is expected before the cooking process begins.
Cooking and thickening
- Cook the puddingCover the slow cooker and cook on the low setting for three hours, whisking the mixture vigorously every forty-five minutes to ensure a smooth, lump-free consistency.Look for the pudding should be thickened and glossy with a uniform dark colorTip frequent whisking is essential to prevent the cornstarch from settling and creating lumps
During the middle phase, the mixture begins to heat up and the chocolate melts. The color transitions from white and brown layers to a uniform, deep chocolate hue. The texture remains liquid at first but will gradually thicken as the cornstarch activates under the gentle heat.
Final consistency check
- Final whisk and serveOnce the cooking time has elapsed, give the pudding one final thorough whisk to incorporate any remaining bits of chocolate and achieve a perfectly velvety texture.Look for the pudding should coat the back of a spoon thicklyTip serve warm directly from the slow cooker or transfer to individual ramekins for a refined presentation
In the final phase, the pudding reaches its peak thickness. It should be smooth, velvety, and pourable but substantial. Any remaining traces of chocolate should be fully incorporated, and the aroma should be rich and intensely cocoa-forward, indicating the dish is ready to be served.
Common mistakes
A common error is failing to whisk the pudding sufficiently during the cooking process, which can lead to lumps forming from the cornstarch or uneven melting of the chocolate.
Another mistake is using milk with insufficient fat content, which lacks the necessary richness to create a decadent mouthfeel.
Always use whole milk or a combination of milk and cream for the best results. Additionally, avoid lifting the lid too frequently, as this releases heat and moisture, which can disrupt the thickening process and lead to an inconsistent final texture.
How to tell it’s done
The pudding is considered done when it has achieved a thick, glossy, and uniform consistency that coats the back of a spoon. It should not be runny or grainy.
If it seems too thin after three hours, continue cooking for another fifteen minutes, checking frequently to ensure it does not become too firm or develop a rubbery texture.
Up next · Part 3 of 3
2 variations · storage & make-ahead · 3 answers · printable card
Tips, FAQ & printable recipe (Part 3)← Back to the ingredients (Part 1)