Dinner · Part 2 of 3: Instructions
Creamy Slow Cooker Celery and Potato Soup Step-by-step instructions
- Prep
- Cook
- Total
- Serves
- 4
Before you start
Before starting, ensure all vegetables are thoroughly washed to remove any grit, especially from the celery stalks. Peel the potatoes and dice them into uniform pieces to ensure they cook evenly. Have your slow cooker clean and ready on a heat-resistant surface.
Check that your immersion blender is clean and the cord reaches your kitchen outlet safely. Gather all ingredients so that the assembly process is smooth and quick, allowing you to set the slow cooker and walk away with confidence.
Ingredients at a glance (4)
- 4 stalks celery, chopped
- 4 medium potatoes, peeled and diced
- 1 cube bouillon cube
- 4 cups water
Instructions
Preparation and Assembly
- Prepare the ingredientsWash the celery stalks thoroughly under cool running water and chop them into uniform pieces. Peel the potatoes and cut them into even, one-inch cubes to ensure they cook at the same rate. Prepare the slow cooker by placing the chopped celery at the bottom of the vessel.Look for Vegetables should be chopped into uniform bite-sized pieces.Tip Uniform sizing helps ensure the soup reaches a consistent texture during the blending phase.
At this phase, the slow cooker is filled with chopped celery and diced potatoes. The bouillon cube is scattered across the top, and the water is added. Everything is ready for the slow, steady cooking process to begin, ensuring all flavors start to meld properly as the temperature rises.
Slow Cooking
- Assemble the slow cookerAdd the diced potatoes on top of the celery layer in the slow cooker. Crumble the bouillon cube evenly over the vegetables to distribute the seasoning. Pour the water over the entire mixture, ensuring the ingredients are partially submerged for even cooking.Look for The bouillon is evenly distributed across the surface of the vegetables.Tip Distributing the bouillon cube prevents flavor pockets from forming in the soup.
The ingredients have softened significantly during the cooking time. The water has infused with the flavors of the celery, potatoes, and bouillon.
You will notice that the potatoes have lost their structure and are yielding to the slightest pressure, indicating that the soup is ready for the final step.
Blending and Finishing
- Cook and blend the soupCover the slow cooker and cook on low for four hours or on high for two hours until the potatoes are fork-tender. Once cooked, use an immersion blender directly in the slow cooker to process the mixture until it reaches a perfectly smooth and velvety consistency.Look for The potatoes are completely soft and easily pierced with a fork.Tip Be careful when blending hot liquids to avoid splashes; start the blender on a low setting.
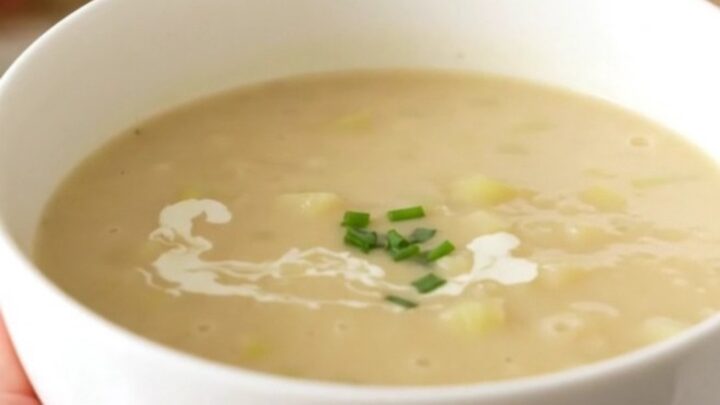
The final phase involves transforming the cooked vegetables into a silky, uniform puree. The soup should look creamy, steaming, and have a consistent texture throughout. It is now ready to be portioned into bowls and served immediately while hot for the best possible experience.
Common mistakes
A common mistake is cutting the potatoes into uneven sizes, which results in some pieces remaining hard while others turn to mush. Ensure all cubes are roughly one inch in size for uniform cooking.
Another error is not blending the soup long enough; take your time with the immersion blender to ensure no chunks of celery remain. Finally, avoid over-filling the slow cooker, as this can lead to uneven cooking and potential spillage during the long heating process.
How to tell it’s done
The soup is ready when the potatoes are completely tender and can be easily mashed against the side of the pot with a fork. The celery should be soft enough to blend into a smooth puree. The consistency should be thick and velvety, coating the back of a spoon.
If the soup appears too thin, continue to cook on high for an additional thirty minutes to reduce the liquid, or ensure that all vegetable pieces are fully incorporated during the blending phase.
Up next · Part 3 of 3
2 variations · storage & make-ahead · 3 answers · printable card
Tips, FAQ & printable recipe (Part 3)← Back to the ingredients (Part 1)