Dinner · Part 1 of 3: Ingredients
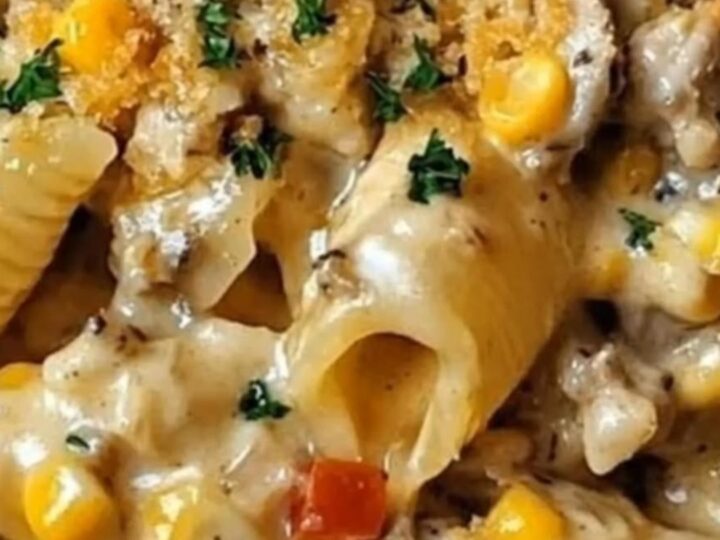
Creamy Rotisserie Chicken Shells with Corn and Parmesan
- Prep
- Cook
- Total
- Serves
- 4
Indulge in the ultimate comfort food with these creamy rotisserie chicken shells. This recipe combines tender pasta with a rich, velvety cream sauce, sweet golden corn, and savory Parmesan cheese, all topped with a crispy, toasted breadcrumb finish. It is the perfect quick dinner for busy weeknights when you want something that feels incredibly luxurious but requires minimal effort.
When you need a satisfying meal on the table fast, relying on pre-cooked rotisserie chicken is a brilliant shortcut. This dish elevates humble ingredients into a restaurant-quality pasta bake style skillet meal.
By cooking the corn directly in the skillet, you release its natural sweetness, which beautifully balances the salty richness of the Parmesan and heavy cream. The addition of toasted breadcrumbs provides a delightful textural contrast that keeps you coming back for another bite.
Ingredients
- 8 oz pasta shells
- 1 cup corn kernels, fresh or frozen
- 1 cup heavy cream
- 2 cups shredded rotisserie chicken
- 1/2 cup grated Parmesan cheese
- 1/2 cup toasted breadcrumbs
- 2 tbsp fresh parsley, chopped
Why this recipe works
The method of building the sauce directly in a single skillet works exceptionally well because it allows the flavors to concentrate and emulsify. Simmering the corn directly in the heavy cream first infuses the dairy with its natural sweetness, creating a rich and savory base.
When the cream reduces to a velvety consistency, it ensures that every single pasta shell is thoroughly coated inside and out with a deeply flavorful sauce rather than just sitting in a pool of liquid.
Stirring the grated Parmesan cheese into the warm cream sauce at the very end creates a smooth, stable emulsion without clumping. The cheese melts evenly into the residual heat, thickening the sauce naturally without the need for a flour-based roux. This technique keeps the texture silky and prevents the sauce from separating, ensuring a consistently glossy coat over the shredded chicken and pasta shells.
Notes and substitutions
For the best results, select high-quality pasta shells that have a ridged exterior, often labeled as conchiglie. These ridges and the deep cavity of the shells are designed specifically to scoop up and hold onto the thick, creamy sauce and corn kernels.
If rotisserie chicken is unavailable, any leftover cooked chicken breast or thighs will work perfectly. Just ensure the meat is shredded or cut into bite-sized pieces so it distributes evenly throughout the pasta dish.
Using freshly grated Parmesan cheese is highly recommended over pre-shredded varieties, as pre-packaged cheese often contains anti-caking agents that prevent it from melting smoothly into the sauce.
For the breadcrumb topping, panko breadcrumbs offer the loudest, most satisfying crunch, but standard fine breadcrumbs work well too. You can easily substitute the heavy cream with half-and-half if you prefer a slightly lighter sauce, though the final texture will be less velvety.
- heavy cream: half-and-half or whole milk with a tablespoon of cornstarch
- rotisserie_chicken: cooked turkey breast or leftover baked chicken thighs
Equipment
- large pot
- colander
- large skillet
- wooden spoon
- cheese grater
Up next · Part 2 of 3
5 steps · 15 min of cooking · what to look for at each stage
Step-by-step instructions (Part 2)