Dinner · Part 1 of 3: Ingredients
Stuffed Jumbo Shells with Roasted Garlic Ricotta
- Prep
- Cook
- Total
- Serves
- 6
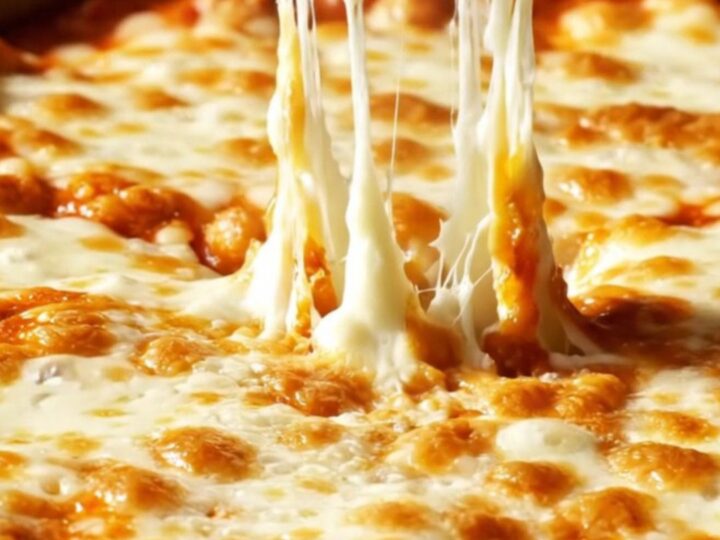
These stuffed jumbo shells are the ultimate Sunday dinner comfort food. Jumbo pasta shells are filled with a luscious whipped ricotta mixture, enriched with sweet roasted garlic, salty Pecorino, and tender spinach, then baked in a rich marinara sauce until the cheese is bubbly and golden.
The contrast of creamy filling, tangy tomato sauce, and stretchy melted mozzarella is irresistible. This recipe is straightforward, uses simple ingredients, and delivers a dish that feels both special and familiar.
This recipe transforms classic stuffed shells into a garlicky, creamy masterpiece. The key is roasting two whole heads of garlic until they become sweet and spreadable, then whipping them into the ricotta filling. The roasted garlic adds a deep, mellow flavor that infuses every bite.
The shells are par-boiled until just tender, then stuffed with the ricotta mixture and baked in marinara sauce until the top is golden and bubbling. The result is a hearty, satisfying baked pasta dish that tastes like it simmered all day, but comes together in under an hour. Serve it with a simple green salad and crusty bread for a complete meal.
Ingredients
- 24 jumbo conchiglioni pasta shells
- 500 ml marinara sauce
- 450 g whole-milk ricotta
- 2 heads roasted garlic
- 100 g shredded mozzarella
- 50 g Pecorino cheese, grated
- 30 g baby spinach, chopped
- fresh basil leaves, for garnish, to taste
Why this recipe works
Roasting garlic transforms its sharp, pungent bite into a sweet, nutty, and almost buttery flavor. When whipped into ricotta, it creates a filling that is creamy, aromatic, and deeply savory without any harsh garlic notes.
The roasting process also softens the cloves so they blend seamlessly into the ricotta, ensuring every bite is infused with that mellow garlic goodness.
Whipping the ricotta with a hand mixer or food processor incorporates air, making the filling light and fluffy rather than dense and grainy.
This technique, combined with the addition of mozzarella and Pecorino, creates a rich, cohesive filling that holds its shape during baking. The spinach adds color and a hint of earthiness, while the marinara provides acidity to cut through the richness.
Notes and substitutions
Use whole-milk ricotta for the creamiest, richest filling. Part-skim will work but will be less luxurious. The roasted garlic is essential – do not skip it or substitute raw garlic, as the flavor will be too harsh. Roast the garlic ahead of time to save prep time; it can be stored in the refrigerator for up to a week.
Choose a high-quality marinara sauce, or use homemade if you have it. The sauce should be thick enough to coat the bottom of the dish without being watery. Jumbo conchiglioni shells are the classic choice, but you can use any large pasta shell or manicotti tubes. Be sure to cook the shells just shy of al dente, as they will continue to cook in the oven.
- jumbo conchiglioni shells: Large pasta shells (conchiglie) or manicotti tubes; adjust boiling time accordingly.
- whole-milk ricotta: Part-skim ricotta or cottage cheese (drained) for a lighter texture.
- Pecorino: Parmesan or Asiago for a similar salty, nutty flavor.
- baby spinach: Chopped kale (cooked briefly) or Swiss chard, squeezed dry.
Equipment
- Large pot for boiling pasta
- Colander
- Baking dish (9x13-inch)
- Mixing bowl
- Hand mixer or stand mixer
- Piping bag or zip-top bag
- Measuring cups and spoons
- Chef's knife
Up next · Part 2 of 3
5 steps · 22 min of cooking · what to look for at each stage
Step-by-step instructions (Part 2)