Dinner · Part 1 of 3: Ingredients
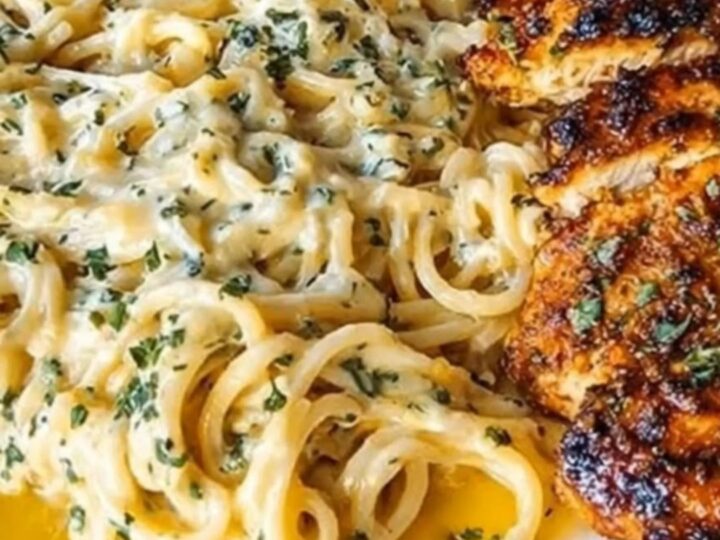
Creamy Parmesan Garlic Chicken with Spaghetti
- Prep
- Cook
- Total
- Serves
- 4
Discover the ultimate combination of crispy, golden parmesan-crusted chicken and a velvety, garlic-infused cream sauce that clings to every strand of spaghetti. This dish brings professional, restaurant-quality comfort food directly to your dinner table with minimal effort and maximum flavor payoff.
It is the ideal solution for busy weeknights when a craving for something rich, savory, and incredibly satisfying strikes. With just a handful of staple ingredients, you can transform simple chicken and pasta into a memorable masterpiece that impresses everyone at the table.
This recipe focuses on the harmony of textures and flavors. By coating the chicken in parmesan before searing, a savory, crispy crust is created that perfectly complements the soft, rich noodles. The sauce relies on the simplicity of garlic, cream, and mozzarella to provide a luscious base that binds the dish together.
Whether you are cooking for family or hosting a casual dinner, this meal is designed to be straightforward and consistent. Follow these steps to achieve a perfectly balanced dish that highlights the quality of your ingredients while keeping the cooking process efficient and enjoyable for any home cook.
Ingredients
Chicken
- 2 lbs chicken breasts, sliced into cutlets
- 1 cup grated parmesan cheese
Sauce
- 3 tbsp unsalted butter
- 4 cloves garlic, minced
- 1 cup heavy cream
- 1 cup shredded mozzarella cheese
Pasta
- 1 lb spaghetti
Why this recipe works
The method of coating chicken in parmesan creates a flavorful, golden-brown crust that stays crispy even when served alongside the saucy pasta. This technique adds depth to the meat, ensuring that every bite is packed with savory notes that cut through the richness of the cream sauce.
By searing the chicken first, the pan retains those delicious browned bits, which are then incorporated into the sauce for an extra layer of complexity.
Using mozzarella in the cream sauce instead of just parmesan allows for a superior, stretchy, and silky texture. The cream provides the necessary fat to emulsify the cheese, resulting in a smooth sauce that clings perfectly to the spaghetti.
This approach ensures that the pasta is thoroughly coated without becoming greasy, creating a cohesive dish where the sauce and noodles are perfectly integrated into one harmonious, comforting bowl.
Notes and substitutions
For the best results, use freshly grated parmesan cheese rather than the pre-grated variety, as it melts more evenly and provides a better flavor profile. The chicken breasts should be sliced into uniform cutlets of about half an inch thick to ensure they cook through quickly and evenly without drying out. If you prefer a more intense garlic flavor, feel free to increase the amount of minced garlic used in the sauce.
A heavy-bottomed skillet is recommended for this recipe to ensure even heat distribution and prevent the delicate cream sauce from scorching. If the sauce appears too thick after adding the pasta, simply stir in a tablespoon or two of the reserved hot pasta water to reach the desired consistency. This simple adjustment ensures the pasta remains glossy and perfectly coated right up until the moment it is served on the plate.
- heavy cream: half and half for a lighter sauce
- mozzarella: provolone for a sharper flavor
Equipment
- large skillet
- large pot
- tongs
- colander
- chef knife
Up next · Part 2 of 3
3 steps · 20 min of cooking · what to look for at each stage
Step-by-step instructions (Part 2)