Dinner · Part 1 of 3: Ingredients
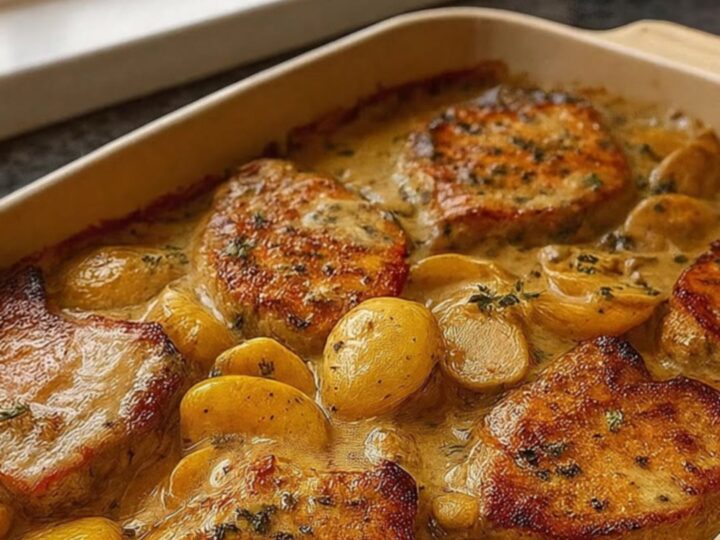
Creamy Mushroom Skillet Pork Chops
- Prep
- Cook
- Total
- Serves
- 4
Elevate your dinner routine with this indulgent, one-pan creamy mushroom pork chop recipe that promises tender, juicy meat every single time you cook it for your family.
This dish brings together the savory depth of seared pork chops and the comforting, velvety texture of a classic mushroom cream sauce. By combining these elements in a single pan and finishing them in the oven, you achieve a harmonious blend of flavors where the potatoes soak up all the rich juices. It is a sophisticated yet approachable meal that feels special enough for guests but is simple enough to prepare on a busy weeknight.
This recipe relies on high-quality searing to build the foundation of the flavor profile, followed by a gentle braise in the oven to ensure everything reaches a perfect, tender consistency. The balance of earthy mushrooms and cooling sour cream creates a luxurious sauce that ties the entire dish together beautifully.
Ingredients
Main
- 4 pork chops, bone-in
Sauce
- 8 oz mushrooms, sliced
- 1 can cream of mushroom soup
- 1/2 cup sour cream
Sides
- 1 lb baby potatoes, halved
Garnish
- fresh thyme sprigs, for serving
Why this recipe works
The method of searing the pork chops first creates a flavorful crust, known as the Maillard reaction, which is essential for developing the base flavor of the entire dish.
By using the same pan for searing and then transferring the ingredients to a baking dish, you retain all those flavorful browned bits that would otherwise be lost. This technique ensures that the pork remains succulent while the sauce develops a deep, complex character that only pan-searing can provide.
Baking the pork and potatoes together in the creamy mushroom sauce allows the ingredients to meld while the potatoes cook to tender perfection. The sauce acts as a natural braising liquid, infusing the potatoes with savory mushroom notes while keeping the pork chops moist throughout the cooking process.
This approach is highly efficient, as it minimizes cleanup and concentrates the flavors, resulting in a cohesive, restaurant-quality meal that is remarkably consistent every time you prepare it.
Notes and substitutions
For the best results, use bone-in pork chops, as the bone helps insulate the meat, preventing it from drying out during the baking phase. If you prefer a leaner option, boneless chops can be used, but be mindful that they will cook faster and require closer monitoring. The mushrooms should be sliced uniformly to ensure even cooking, and fresh thyme is highly recommended over dried to provide a bright, aromatic lift that cuts through the richness of the cream sauce.
When it comes to equipment, a heavy-bottomed skillet is ideal for achieving the necessary sear on the pork. If your skillet is not oven-safe, ensure you have a ceramic or glass baking dish ready for the final cooking stage.
If you find the sauce is too thick before baking, a small splash of vegetable broth or even water can be used to adjust the consistency to your preference, though the moisture released from the mushrooms and potatoes usually provides ample liquid.
- cream of mushroom soup: a homemade roux thickened with heavy cream and sautéed mushrooms
- baby potatoes: diced Yukon Gold potatoes or roasted sweet potatoes
Equipment
- large skillet
- ceramic baking dish
- tongs
- knife
- cutting board
Up next · Part 2 of 3
3 steps · 25 min of cooking · what to look for at each stage
Step-by-step instructions (Part 2)