Dinner · Part 1 of 3: Ingredients
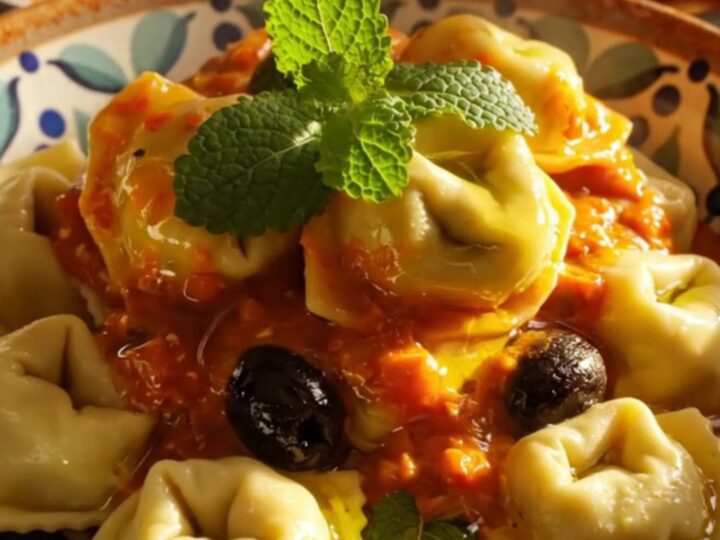
Creamy Mediterranean Crockpot Tortellini with Chicken
- Prep
- Cook
- Total
- Serves
- 4
Discover how a simple slow cooker can transform basic pantry staples into a restaurant-quality meal. This Mediterranean-inspired chicken tortellini uses roasted red peppers and feta to create a velvety, flavor-packed sauce that coats every bite.
It is the ultimate solution for busy evenings when you crave something hearty, comforting, and sophisticated without spending hours in the kitchen. Let the slow cooker do the heavy lifting while you enjoy a meal that feels like a getaway to the Greek islands.
This recipe relies on the magic of slow cooking to meld sharp, tangy flavors with a creamy texture. By blending roasted red peppers with broth and cream cheese, you create a vibrant, flavorful base that tenderizes the chicken perfectly.
The addition of artichoke hearts, Kalamata olives, and feta cheese provides a distinct Mediterranean profile that balances the richness of the sauce. It is a complete meal in one pot, combining proteins and pasta for a satisfying dinner that requires minimal effort from start to finish.
Ingredients
Main
- 1.5 lb chicken tenders
Sauce
- 12 oz jarred roasted red peppers
- 1 cup chicken broth
- 8 oz cream cheese
- 1 cup quartered artichoke hearts
- 1 tsp dried oregano
Finish
- 20 oz cheese tortellini
- 1/2 cup pitted Kalamata olives
- 1 cup crumbled feta cheese
Garnish
- fresh mint for serving
- olive oil for serving
Why this recipe works
The slow cooking process on a low setting allows the chicken tenders to remain exceptionally juicy while absorbing the savory notes from the roasted red pepper sauce.
Because the chicken is cooked in a closed environment with moisture, it stays tender throughout the three-hour duration, avoiding the dryness that often occurs with high-heat methods. This slow, steady heat is essential for developing a deep flavor profile.
Blending the roasted red peppers ensures that every spoonful of the sauce is infused with their natural sweetness and charred depth. This method emulsifies the cream cheese and broth into a silky, cohesive sauce that clings beautifully to the cheese tortellini.
By adding the pasta and feta only at the end, you ensure the tortellini maintains its structure and the feta stays distinct, providing salty pops of texture in every bite.
Notes and substitutions
Choose high-quality jarred roasted red peppers and ensure they are well-drained before blending to prevent a watery sauce. If you prefer a more intense flavor, you can add a pinch of red pepper flakes to the sauce base. The chicken tenders are ideal for this recipe because they cook quickly and maintain a tender texture even after three hours, but you can use chicken breasts if they are cut into uniform strips.
When it comes to equipment, a standard 6-quart slow cooker works perfectly for this quantity. Ensure your blender is fully sealed before starting to avoid any spills. If you are substituting the cheese tortellini with a different type of stuffed pasta, keep in mind that cooking times may vary slightly, so check the pasta for doneness during the final phase to ensure it reaches the desired texture without becoming mushy.
- chicken tenders: boneless skinless chicken breasts cut into strips
- cheese tortellini: spinach and ricotta tortellini or another stuffed pasta
Equipment
- slow cooker
- blender
- chef's knife
- cutting board
- serving bowl
Up next · Part 2 of 3
3 steps · 3 h of cooking · what to look for at each stage
Step-by-step instructions (Part 2)