Dinner · Part 1 of 3: Ingredients
Creamy Lemon Garlic Herb Lobster Tail Pasta
- Prep
- Cook
- Total
- Serves
- 4
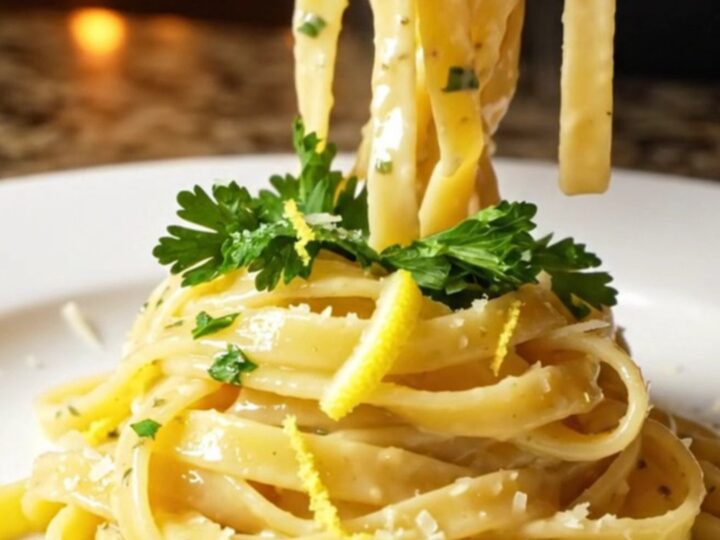
This creamy lemon garlic herb lobster tail pasta is the pinnacle of luxury dining, yet it comes together in one skillet in under 30 minutes. Butter-poached lobster chunks are seared until tender, then folded into a velvety sauce of cream, lemon, garlic, and parmesan.
Every strand of fettuccine is coated in a bright, rich sauce that balances the sweetness of the lobster with a hint of citrus. Finished with fresh parsley and a whisper of lemon zest, this dish delivers a restaurant-quality experience at home.
Lobster tail is often reserved for special occasions, but this recipe makes it approachable for any night of the week.
The key is to sear the lobster briefly in foaming butter, which locks in its natural sweetness and keeps it tender. The sauce builds on the same pan, picking up the browned bits and infusing the cream with garlic and lemon.
Using reserved pasta water helps the sauce cling to the noodles, while parmesan adds a savory depth. The result is a dish that tastes elegant and complex, yet requires only a handful of ingredients and one pan. Serve it as a showstopper dinner for guests or a treat for yourself.
Ingredients
- 2 lb lobster tails (about 4 tails)
- 4 tbsp unsalted butter, divided
- 4 cloves garlic, minced
- 2 tbsp fresh lemon juice
- 1 tbsp lemon zest (from 1 lemon)
- 1 cup heavy cream
- 1/2 cup reserved pasta water
- 12 oz fettuccine pasta
- 1/2 cup grated parmesan cheese
- 2 tbsp fresh parsley, chopped
- Salt to taste
- Black pepper to taste
Why this recipe works
The method of searing the lobster in butter before building the sauce is what makes this dish exceptional. The quick, high-heat sear caramelizes the exterior while keeping the interior moist and sweet.
This technique also creates a flavorful fond in the pan, which becomes the base of the sauce, adding depth without extra effort.
Adding pasta water to the cream sauce is a classic Italian technique that helps the sauce emulsify and cling to the pasta. The starch in the water binds the cream and parmesan into a silky coating rather than a heavy pool. This ensures every bite is evenly flavored and luxuriously creamy.
Notes and substitutions
For the best flavor, use fresh lobster tails and remove the meat from the shells yourself. If using frozen, thaw them overnight in the refrigerator and pat them dry before searing. The lemon zest should be freshly grated, as bottled zest lacks the aromatic oils that brighten the dish.
Heavy cream is essential for a rich, stable sauce; half-and-half may curdle when simmered. Parmesan should be finely grated from a wedge rather than pre-shredded, as the anti-caking agents in pre-shredded cheese can make the sauce grainy. Fettuccine is traditional, but any long pasta works.
- lobster tails: Use large shrimp or scallops for a more budget-friendly option; adjust cooking time to just until opaque.
- fettuccine: Substitute with linguine, tagliatelle, or any long pasta shape.
- heavy cream: Use half-and-half for a lighter sauce, but note the sauce will be less thick.
- parmesan: Use pecorino romano or grana padano for a slightly sharper flavor.
Equipment
- Large pot for pasta
- Large skillet
- Tongs
- Microplane or zester
- Chef's knife
- Cutting board
- Measuring cups and spoons
Up next · Part 2 of 3
8 steps · 15 min of cooking · what to look for at each stage
Step-by-step instructions (Part 2)