Dinner · Part 3 of 3: Tips & recipe card
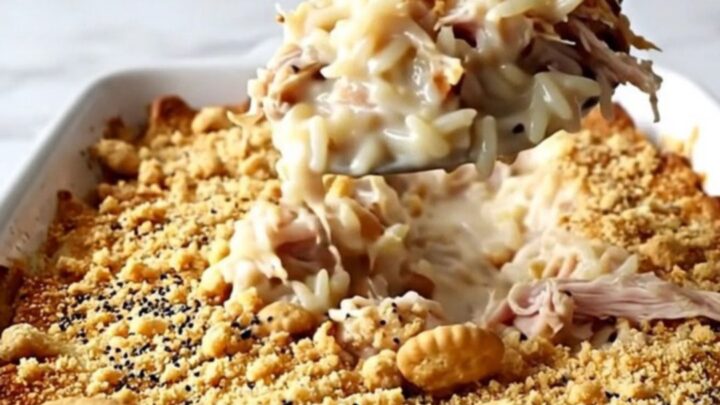
Creamy Leftover Turkey and Rice Casserole with Poppy Seed Crunch Tips, FAQ & printable recipe
- Prep
- Cook
- Total
- Serves
- 6
Tips for success
To add more depth of flavor, consider incorporating finely chopped fresh herbs like thyme or parsley into the creamy sauce before pouring it over the rice. These herbs provide a fresh contrast to the richness of the dairy and the buttery crackers. If the sauce is too thick, thin it slightly with a small amount of chicken broth to ensure it reaches the bottom of the dish during the baking phase, promoting even hydration for the rice.
When crushing the buttery crackers, aim for a mix of fine crumbs and slightly larger, pea-sized pieces. This variation in size creates a more interesting texture on the crust. Ensure the poppy seeds are evenly distributed within the crumbs to avoid clumping.
If the topping seems dry after mixing, a very light drizzle of melted butter over the surface can help achieve an even more vibrant golden color during the final stages of the baking process.
Variations
- Cheesy Turkey Rice: Stir one cup of shredded sharp cheddar cheese into the creamy sauce before pouring it over the rice. This adds a savory richness and a beautiful golden melt to the dish.
- Herb-Infused Turkey: Mix a tablespoon of fresh chopped thyme and rosemary into the turkey and rice base. The aromatics elevate the dish, providing a classic, earthy flavor profile that complements the creamy sauce.
Storage and make-ahead
- Fridge
- Store in an airtight container in the refrigerator for up to 3 days.
- Freezer
- Freeze in a freezer-safe container for up to 2 months. Thaw in the refrigerator overnight before reheating.
- Reheat
- Reheat in a preheated oven at 350°F (175°C) until warmed through, or use a microwave for individual portions, covering to prevent drying.
Allow the casserole to cool to room temperature for no more than two hours before transferring it to an airtight container. Keep the container in the refrigerator to maintain freshness. The casserole will hold its texture well for up to three days.
When storing, try to keep the crispy topping intact by covering the dish loosely, or store it in a separate airtight container if you prefer to re-crisp it in the oven before serving again.
You can assemble the casserole up to 24 hours in advance, but for the best results, add the cracker topping immediately before baking. If you assemble it ahead of time, keep the dish covered and refrigerated.
When ready to bake, remove it from the refrigerator and let it sit on the counter for about 20 minutes to take the chill off before placing it in the preheated oven. You may need to add an extra five minutes to the total baking time.
Serving ideas
Serve the casserole warm, directly from the baking dish. Because of its comforting nature, it pairs beautifully with a side of steamed green vegetables or a crisp garden salad with a light vinaigrette.
The acidity of the salad helps cut through the richness of the creamy sauce and the buttery topping, creating a more pleasant dining experience. Use a sturdy spoon to serve, ensuring each portion includes a generous amount of the golden crust from the top.
For a more formal presentation, individual portions can be plated and garnished with a pinch of fresh parsley or an extra sprinkle of poppy seeds. If serving to guests, consider providing a small bowl of extra creamy sauce on the side for those who prefer a more moist consistency. The casserole is best enjoyed immediately after its short rest, when the topping is at its peak crispness and the creamy center is perfectly set and warm.
Frequently asked questions
Can this be made ahead of time?
Why is the rice still hard after baking?
Can other types of leftover meat be used?
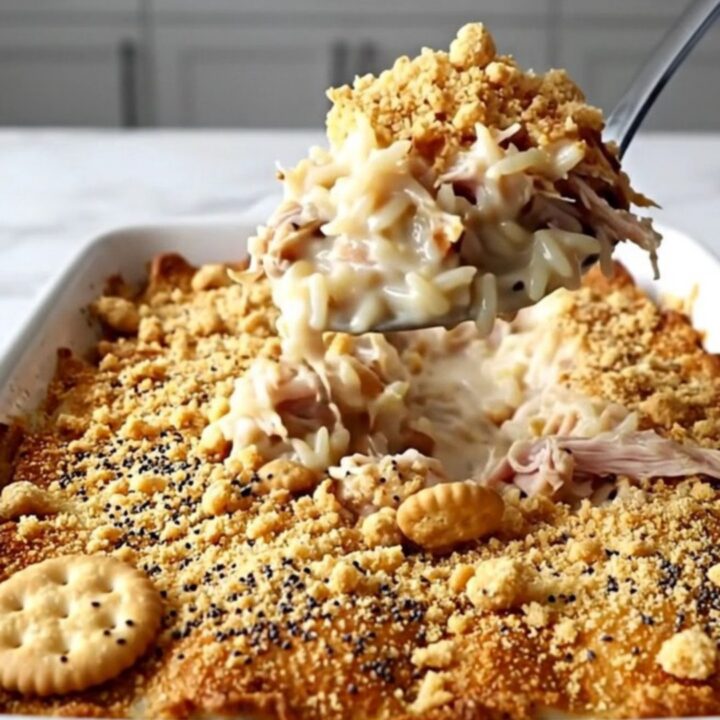
Creamy Leftover Turkey and Rice Casserole with Poppy Seed Crunch
Ingredients
- 2 cups long-grain white rice, uncooked
- 3 cups shredded cooked turkey
- 2 cups creamy white sauce, store-bought or made ahead
- 1 1/2 cups buttery round crackers, crushed
- 1 tbsp poppy seeds
Instructions
- Preheat the oven to 375°F (190°C). In a large 9x13 inch baking dish, evenly spread the uncooked rice and the shredded cooked turkey across the bottom of the dish.
- Pour the creamy sauce over the rice and turkey mixture, ensuring it is evenly distributed to cover the ingredients. In a small bowl, combine the crushed buttery round crackers with the poppy seeds, then sprinkle this mixture thickly and evenly over the top of the casserole.
- Place the baking dish into the preheated oven and bake for 35 minutes, or until the edges are bubbling and the top is golden brown. Ensure the internal temperature of the turkey reaches 165°F (74°C). Remove from the oven and let it rest for 5 minutes before serving.
Estimated nutrition per serving
- Calories
- 480
- Protein
- 22 g
- Carbohydrates
- 45 g
- Fat
- 24 g
- Fiber
- 1.5 g
- Sugar
- 2 g
- Sodium
- 750 mg
Next recipe
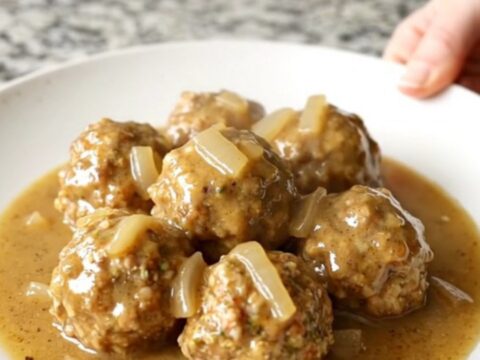
Crockpot Swedish Chicken Meatballs with Creamy Gravy
See the recipe → →This recipe is based on a short cooking video and is published under the pen name Clara Weller. It was checked before publication, but errors can slip through. Nutrition, when shown, is an estimate. Read more in our editorial policy and on our food safety page.
More recipes to try

Pineapple Brown Sugar Ham and Sweet Potato Bake
Total time: 1 h
Crockpot Lentil and Sweet Potato Stew for Easy Weeknight Dinners
Total time: 4 h 15 min
Easy Crockpot Tex-Mex Chicken and Pinto Beans
Total time: 6 h 5 min
Crockpot Creamy Street Corn Chicken Meatballs
Total time: 3 h 10 min
Easy Slow Cooker Chicken Parmesan Meatballs
Total time: 3 h 10 min