Desserts · Part 1 of 3: Ingredients
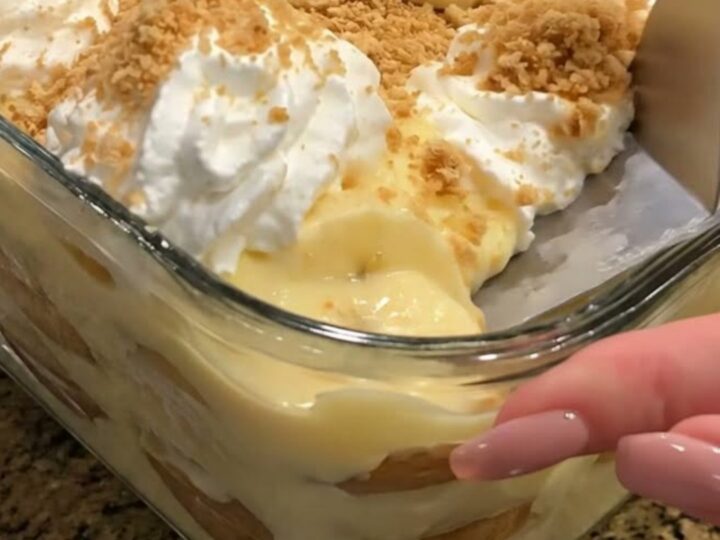
Creamy Homemade Banana Pudding for Easy Dessert
- Prep
- Cook
- Total
- Serves
- 8
Discover the secret to the ultimate comfort dessert: a perfectly layered homemade banana pudding that balances rich creaminess with the satisfying crunch of vanilla wafers and fresh fruit notes.
Banana pudding is a beloved classic that brings together simple ingredients to create a sophisticated, crowd-pleasing treat. This recipe focuses on achieving the ideal texture by layering high-quality vanilla pudding with crisp cookies and ripe bananas.
Whether hosting a casual gathering or simply seeking a comforting treat, this dessert is designed to satisfy cravings with its smooth, velvety finish and delightful presentation. Follow these steps to assemble a beautiful, chilled dessert that looks as good as it tastes, ensuring every bite is packed with balanced flavor and satisfying consistency.
Ingredients
Pudding Base
- 3 cups vanilla pudding, prepared
Layers
- 1 box vanilla wafers
- 4 bananas, sliced
Topping
- 2 cups whipped cream
Why this recipe works
The method of alternating layers allows the vanilla wafers to soften slightly against the pudding while retaining just enough texture to provide a pleasant contrast. This layering technique ensures that every spoonful contains a harmonious combination of all ingredients, preventing any one element from becoming overwhelming. By starting with a thin layer of pudding, the base remains stable and prevents the cookies from sliding.
Chilling the dessert for at least two hours is essential for the flavors to meld effectively. During this time, the custard permeates the wafers, turning them into delicate, cake-like pieces that enhance the overall creamy profile.
This resting period also helps the banana slices release their natural sweetness into the pudding, creating a deeper, more cohesive flavor profile that defines a truly authentic banana pudding experience.
Notes and substitutions
Choosing the right vanilla pudding is key to the success of this dish. Whether choosing to make a homemade custard or use a high-quality mix, ensure it is completely cooled before layering.
If the pudding is too warm, the whipped cream topping will melt and the banana slices may lose their structural integrity. Consistency is important; the pudding should be thick enough to hold the layers in place but smooth enough to spread easily.
Regarding equipment, a clear glass dish is recommended to showcase the beautiful layers. A sharp knife is necessary for slicing bananas cleanly, and a piping bag will give the whipped cream a professional, decorative look.
If a piping bag is unavailable, a simple spoon can be used to create rustic dollops. Vanilla wafers are the traditional choice, but ensure they are fresh and crisp before starting to maintain the desired textural balance throughout the dish.
- vanilla pudding: butterscotch or banana-flavored instant pudding mix prepared according to package directions
- whipped cream: a non-dairy whipped topping substitute
Equipment
- 9-inch square glass dish
- piping bag
- spatula
- knife
- mixing bowl
Up next · Part 2 of 3
3 steps · 15 min of cooking · what to look for at each stage
Step-by-step instructions (Part 2)