Dinner · Part 1 of 3: Ingredients
Creamy Green Chile Chicken Enchilada Casserole
- Prep
- Cook
- Total
- Serves
- 6
Bring the comforting flavors of classic enchiladas to the table with minimal effort. This Green Chile Chicken Enchilada Casserole strips away the tedious rolling process, replacing it with quick, satisfying layers of tender shredded chicken, creamy green chile sauce, and plenty of melted cheddar cheese. It is the perfect cozy dinner for busy weeknights when time is short but cravings for warm comfort food are high.
Casseroles are the ultimate solution for stress-free family dinners, and this green chile version is a standout favorite. By combining poached chicken breasts with a rich, creamy green chile sauce, you create a luscious filling that stays incredibly moist during baking.
Layered with sharp cheddar cheese and diced green chiles, the dish bakes into a cohesive, sliceable masterpiece. This recipe delivers all the classic, tangy, and savory notes of green enchiladas with a fraction of the preparation time, making it an instant addition to the weekly meal rotation.
Ingredients
- 1 1/2 lb boneless skinless chicken breasts
- 16 oz creamy green chile sauce
- 2 cups shredded cheddar cheese
- 4 oz canned diced green chiles, drained
Why this recipe works
Layering the ingredients in a baking dish instead of rolling individual enchiladas is a highly efficient technique that saves valuable preparation time and effort.
This method eliminates the risk of tearing or uneven filling, creating stable strata of cheese, sauce, and chicken that hold their shape beautifully when sliced. The chicken absorbs the flavorful sauce from all sides, ensuring every single bite is incredibly tender, juicy, and packed with savory green chile flavor.
Using a pre-made creamy green chile sauce serves a dual purpose during the baking process. The rich consistency of the sauce acts as a protective barrier, preventing the chicken from drying out under high oven heat.
This creates a velvety, cohesive texture that clings to the shredded chicken and keeps the poultry moist. As the casserole bakes, the sauce bubbles and melds with the melting cheddar cheese, forming a rich, savory gravy.
Notes and substitutions
Selecting high-quality ingredients is the key to elevating this simple casserole. For the best flavor and meltability, purchase a block of sharp cheddar cheese and shred it by hand.
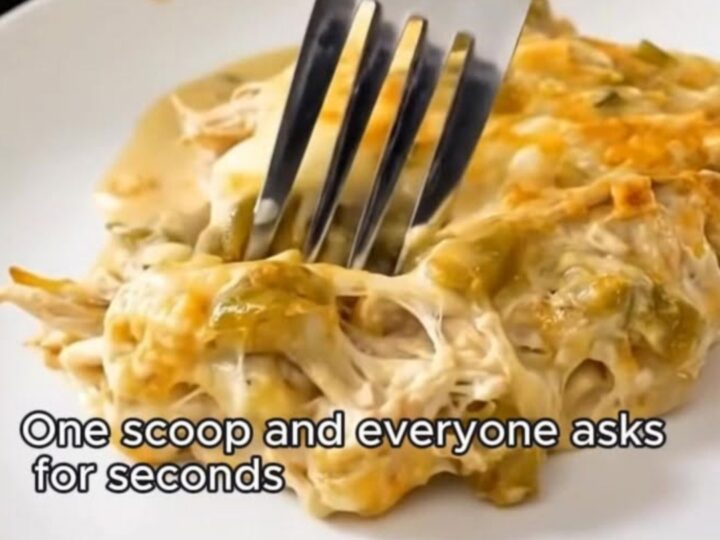
Pre-shredded packaged cheeses are coated with anti-caking agents like potato starch, which can prevent the cheese from melting into that signature, stretchy pool of gooey goodness shown in the video. Standard canned green chiles work beautifully, but look for a medium-heat variety if a subtle kick of spice is preferred.
A standard ceramic or glass baking dish is the ideal vessel for this recipe, ensuring even heat distribution and a beautiful presentation. If preparing this dish ahead of time, an aluminum foil pan is an excellent alternative for easy freezing and cleanup. When it comes to substitutions, Monterey Jack or pepper jack cheese can be used in place of cheddar if a milder or spicier flavor profile is preferred by the household.
- cheddar cheese: Monterey Jack or pepper jack cheese can be used for a different flavor profile or extra spice.
- creamy green chile sauce: A mixture of green enchilada sauce and cream cheese can be used as a quick homemade alternative.
Equipment
- 9x13-inch baking dish
- large mixing bowl
- medium saucepan
- meat thermometer
Up next · Part 2 of 3
5 steps · 40 min of cooking · what to look for at each stage
Step-by-step instructions (Part 2)