Dinner · Part 2 of 3: Instructions
Creamy Garlic Parmesan Chicken and Fettuccine Step-by-step instructions
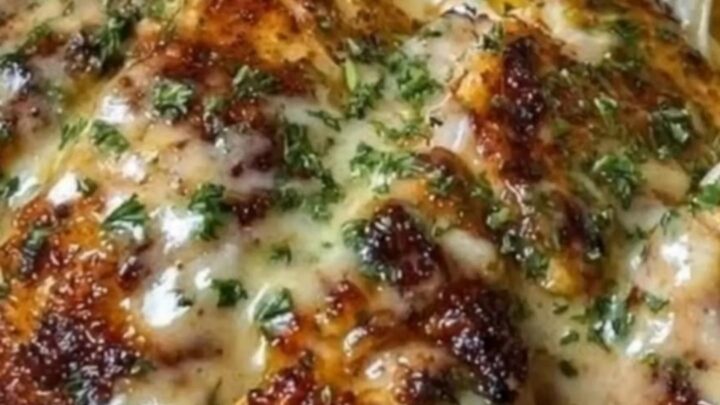
- Prep
- Cook
- Total
- Serves
- 2
Before you start
Before beginning, organize all ingredients and have your equipment ready. Pat the chicken breasts dry with paper towels to ensure a better sear. Grate the parmesan cheese finely so it melts quickly into the sauce.
Bring a large pot of water to a boil and salt it generously. Have your tongs and whisk nearby, as the cooking process moves quickly once the heat is turned on. Preparing everything in advance allows for a smooth, stress-free cooking experience.
Ingredients at a glance (4)
- 2 breasts boneless skinless chicken breasts
- 1/2 cup grated parmesan cheese
- 8 oz fettuccine
- 3 cloves garlic, minced
Instructions
Searing the chicken
- Sear the chickenSeason the chicken breasts with salt and pepper. Heat a skillet over medium-high heat with a little oil. Sear the chicken until golden brown and cooked through, reaching an internal temperature of 165°F (74°C). Remove from the pan and let it rest for 5 minutes.Look for golden brown crust on both sidesSafe temperature 165°F (74°C) internal temperature (poultry)Tip Do not crowd the skillet to ensure a proper sear.
The chicken should have a deep golden-brown crust on both sides. The meat should feel firm to the touch, and when sliced, the juices should run clear. Ensure the pan is hot enough before adding the chicken to prevent sticking.
After searing, set the chicken aside on a plate to rest, as this allows the juices to redistribute, keeping the meat moist and tender throughout the rest of the cooking process.
Creating the sauce
- Prepare the pasta and sauceCook the fettuccine in a large pot of salted boiling water until al dente. While the pasta cooks, add the minced garlic to the skillet. Stir in the parmesan cheese until the sauce is smooth and glossy.Look for sauce coats the back of a spoonTip Reserve a splash of pasta water to adjust the sauce consistency if needed.
The sauce should smell intensely of garlic. As the sauce simmers, it should begin to thicken slightly. Once the parmesan is whisked in, the mixture should transform into a smooth, emulsified, and glossy sauce. Check that the garlic is soft and not browned, as this ensures a mellow, sweet garlic flavor rather than a sharp or burnt one, which is vital for the overall balance of the dish.
Final assembly
- Combine and serveToss the cooked fettuccine directly into the garlic sauce until well coated. Slice the rested chicken breasts and serve them over the top of the pasta. Garnish with extra parmesan if desired and serve immediately while steaming hot.Look for pasta is fully coated in sauceTip Serve on warm plates to keep the sauce creamy longer.
The pasta should be fully coated and appear glossy. When you lift a forkful, the sauce should hold onto the fettuccine without pooling at the bottom of the plate. The chicken slices should be succulent and warm.
Everything should look cohesive and inviting. Check the seasoning one last time, adding a pinch of salt or freshly cracked pepper if needed to brighten the flavors before serving the meal immediately.
Common mistakes
Avoid overcooking the chicken, which can lead to a dry texture. Keep the heat controlled during the searing phase to prevent the exterior from burning before the inside is cooked. When making the sauce, do not boil the mixture too vigorously, as this can cause the fat to separate. Keep the heat at a gentle simmer to maintain the integrity of the dairy and ensure a silky finish.
How to tell it’s done
The chicken is done when it reaches an internal temperature of 165°F (74°C). Use a meat thermometer inserted into the thickest part of the breast to confirm.
The sauce is ready when it is thick enough to coat the back of a spoon without running off immediately. The fettuccine should be al dente, meaning it has a slight chew, which provides a pleasant contrast to the silky, smooth sauce.
- Poultry: 165°F (74°C) in the thickest part
Up next · Part 3 of 3
2 variations · storage & make-ahead · 3 answers · printable card
Tips, FAQ & printable recipe (Part 3)← Back to the ingredients (Part 1)